UNREGISTERED VI
UNREGISTERED VI
Bodywork 8«3
/
fl j
- /
y/ y^
L ^ ^
-^^^Htf?"
SS^Bj^*^gy
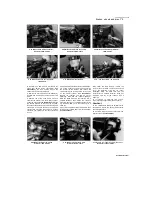
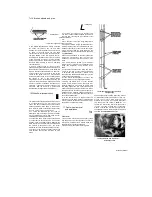
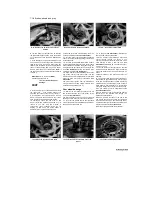
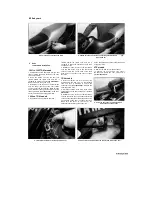
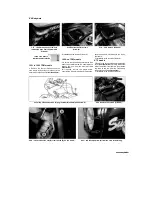
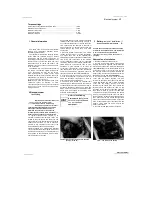
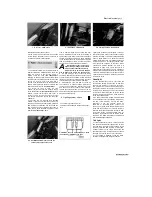
2.11 Locate the tab (A) under the bracket (B)
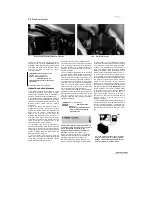
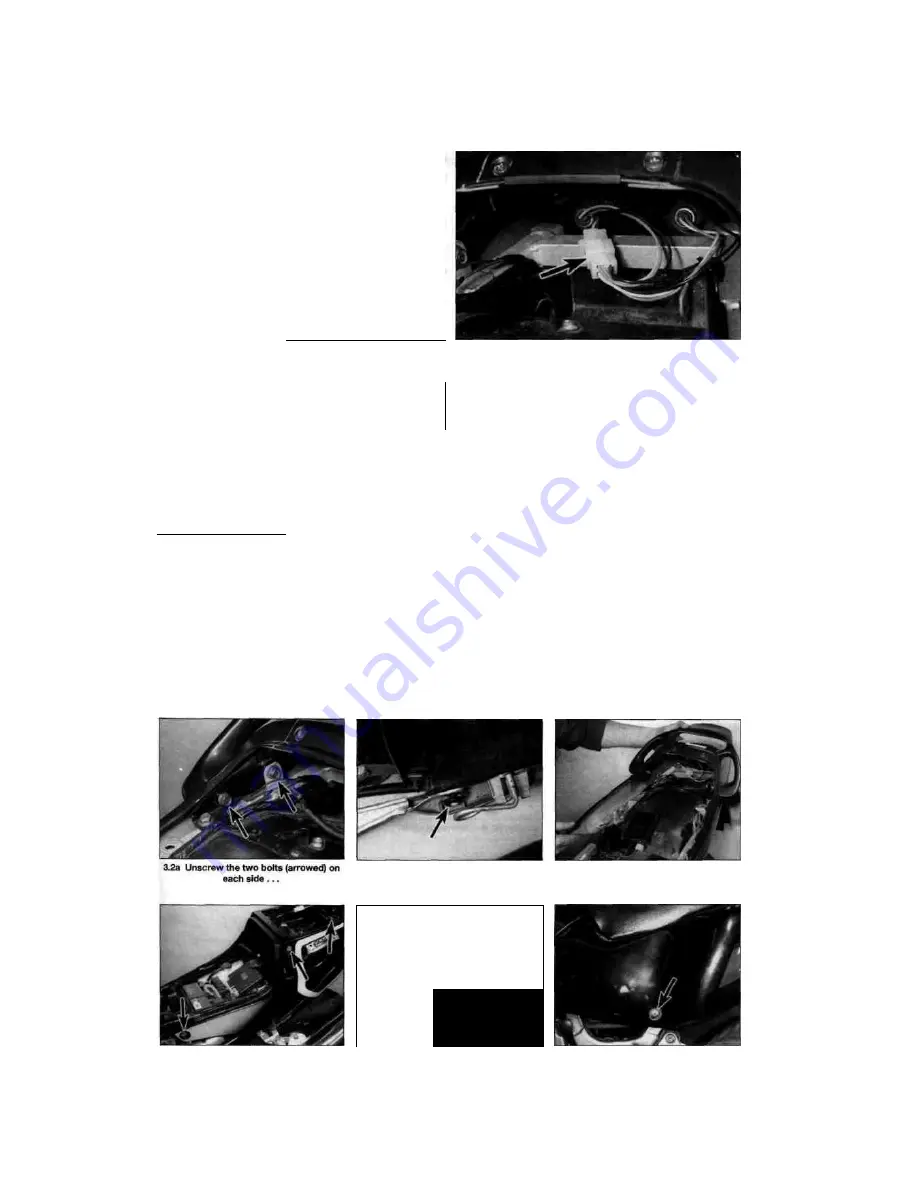
3.1 Disconnect the tail light wiring connector (arrowed)
11
Installation is the reverse of removal.
Make sure the tab at the front of the seat
locates correctly under the tank bracket, then
tighten the bolts securely
(see illustration).
Side covers -
removal and installation
TDM models
1
Remove the seat (see Section 2). Disconnect
the tall light wiring connector
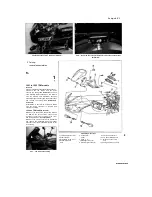
(see illustration).
2
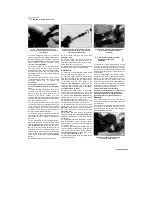
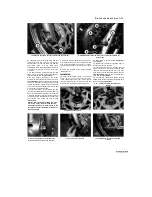
Unscrew the four bolts securing the side
cover assembly to the frame
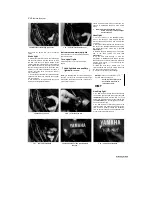
(see illustration).
Carefully pull each side away from the frame at
the front to release the clips from the
grommets
(see illustration).
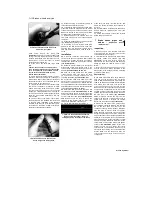
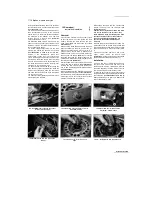
Carefully lift one
side up to clear the frame then remove the
assembly along with the tail light
(see
illustration).
3
Installation is the reverse of removal.
TRX models
4
Remove the seats (see Section 2).
5 Remove the six screws securing the side
cover assembly
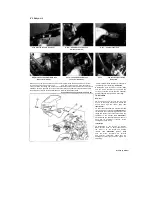
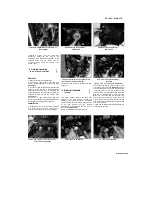
(see illustration).
Carefully lift
one side up to clear the frame then remove
the assembly
(see illustration).
6
Installation is the reverse of removal.
XTZ models
7
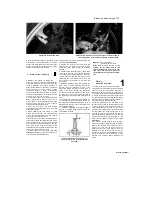
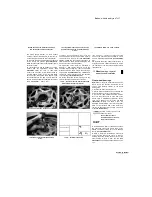
Remove the screw securing the side cover
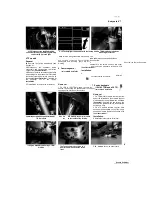
(see illustration).
Carefully pull the cover
away from the frame to release the pegs from
the grommets, one at each end of the cover
(see illustration).
8
Installation is the reverse of removal.
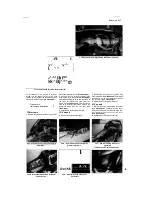
3.5a Remove the three screws (arrowed)
on each side ...
3.2b
...
then release each clip from its
grommet (arrow)...
1
-
i\^|
I
M
M
3.5b ... and remove the side cover
assembly
3.2c ... and remove the side cover
assembly
3.7a Remove the screw (arrowed)
...
8
|

