O.RE.ISEERiP VERSION Of RICEORiTiiiSr
Electrical system 9»17
22 Sidestand
switch
-
^
check and replacement
^
Check
1
The sidestand switch is mounted on the
sidestand. The switch is part of the safety cutout
circuit which only allows the starter motor to
operate if the transmission is in neutral or the
clutch lever is pulled in and the sidestand is up.
Before checking the electrical circuit, check the
fuse (see Section 5).
2 To access the wiring connector, on TDM
models remove the seat, on TRX models remove
the side covers, and on XTZ models remove the
left-hand side cover (see Chapter 8). Trace the
wiring back from the switch and disconnect it at
the connector
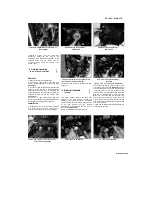
(see illustration and 21.2a and
b).
3
Check the operation of the switch using an
ohmmeter or continuity test light. Connect the
meter probes to the terminals on the switch side
of the connector. With the sidestand up there
should be continuity (zero resistance) between
the terminals, and with the stand down there
should be no continuity (infinite resistance).
4 If the switch does not perform as expected, it
is defective and must be renewed.
5 If the switch is good, check the wiring between
the various components in
the
starter safety
circuit (see the
wiring diagrams
at the end of this
book).
Replacement
6 The sidestand switch is mounted on the
sidestand. To access the wiring connector, on
TDM models remove the seat, on TRX models
remove the side covers, and on XTZ models
remove the left-hand side cover (see Chapter
8). Trace the wiring back from the switch to its
connector and disconnect it
(see illustrations
21.2a and b and 22.2).
Work back along the
switch wiring, freeing it from any relevant
retaining clips and ties, noting its correct
routing.
7 Unscrew the switch bolts or screws and
remove the switch from the stand, noting how
it fits
(see illustration).
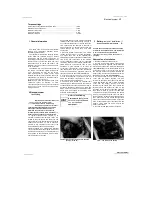
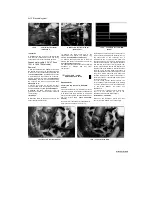
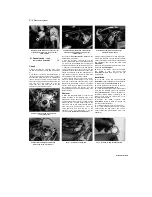
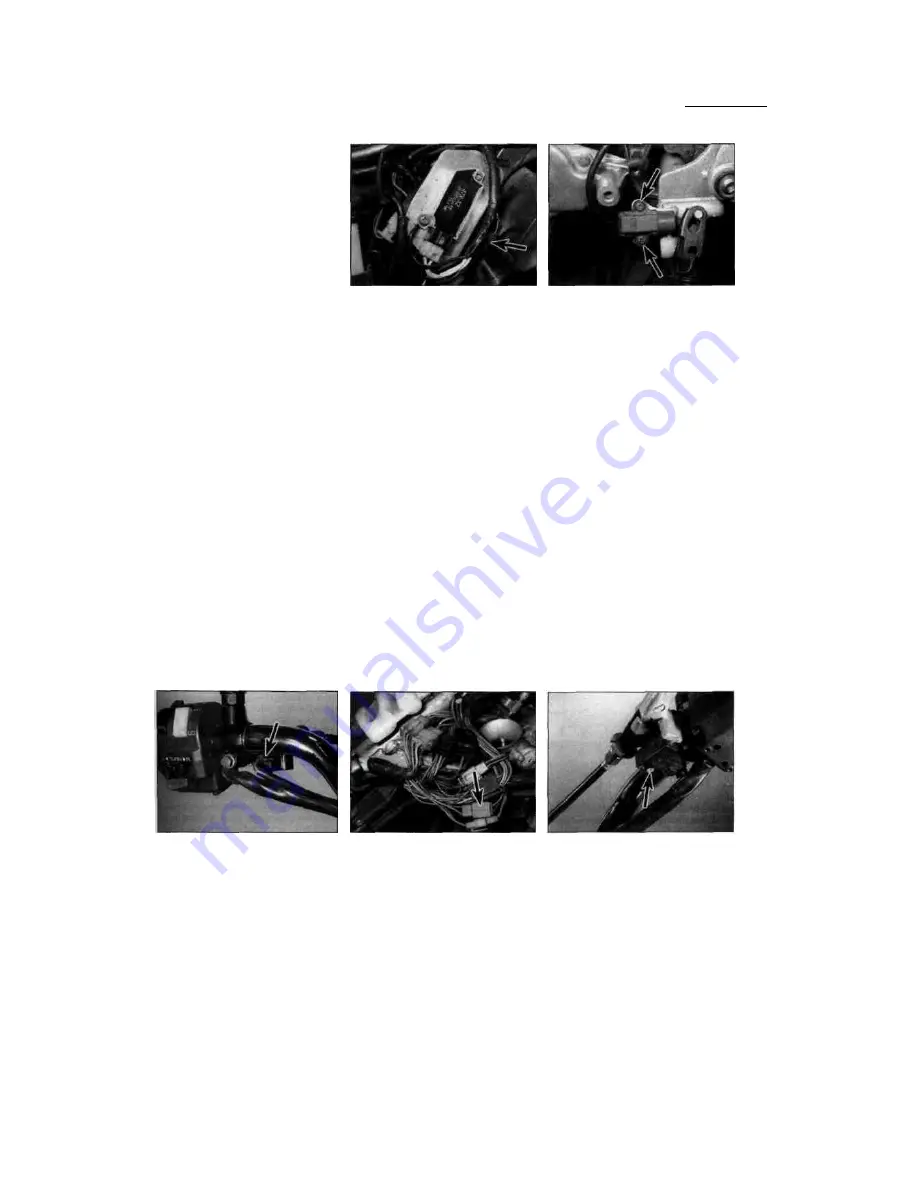
22.2 Sidestand switch wiring connector -XTZ
models
8
Fit the new switch onto the sidestand, making
sure the plunger locates correctly, and tighten
the bolts or screws securely.
9 Make sure the wiring is correctly routed up to
the connector and retained by all the necessary
clips and ties.
10 Reconnect the wiring connector and check
the operation of the sidestand switch.
11
On TDM models install the seat, on TRX
models install the side covers, and on XTZ
models install the left-hand side cover (see
Chapter 8).
23 Clutch switch
-
^
check and replacement
||
Check
1
The clutch switch is mounted on the underside
of the clutch lever bracket on TDM and TRX
models, and is a push-fit into the bracket on the
XTZ models. The switch is part of the safety
circuit which prevents or stops the engine
running if the transmission is in gear whilst the
sidestand is down, and prevents the engine from
starting if the transmission is in gear unless the
sidestand is up and the clutch lever is pulled in.
The switch isn't adjustable.
2 On XTZ models, to access the switch wiring
connector, remove the fuel tank (see Chapter 4).
To check the switch, disconnect the wiring
connector(s)
(see illustrations).
Connect the
probes of an ohmmeter or a continuity test
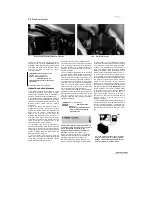
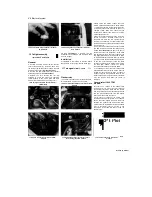
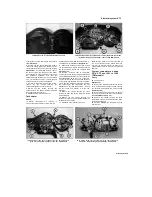
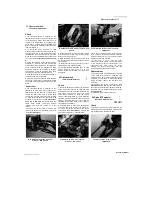
22.7 Sidestand switch screws (arrowed) -
TDM shown
light to the two switch terminals. With the clutch
lever pulled in, continuity should be indicated.
With the clutch lever out, no continuity (infinite
resistance) should be indicated.
3 If the switch is good, check the other
components in the starter circuit as described
in the relevant sections of this Chapter. If all
components are good, check the wiring
between the various components (see the
wiring diagrams
at the end of this book).
Replacement
4 The clutch switch is mounted on the underside
of the clutch lever bracket on TDM and TRX
models, and is a push-fit into the bracket on XTZ
models. On XTZ models, to access the switch
wiring connector, remove the fuel tank (see
Chapter 4).
5 Disconnect the wiring connector(s)
(see
illustrations 23.2a and b),
then either remove
the screw(s) and detach the switch or withdraw
the switch from the bracket, according to model
(see illustration).
6
Installation is the reverse of removal.
24 Diode (XTZ models)
-
^
check and replacement
^
BMHHI
Check
1
The diode is a small block that plugs into the
main wiring harness (see
Wiring Diagrams
at the
end of the Chapter). Remove the seat
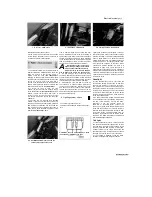
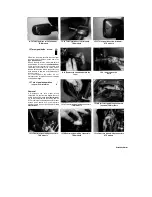
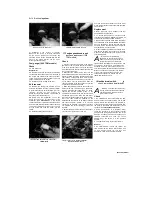
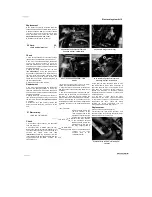
23.2a Clutch switch wiring connector
(arrowed)
-
TDM models
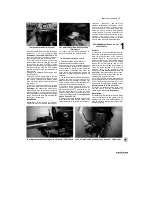
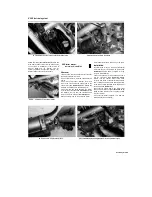
23.2b Clutch switch wiring connector
(arrowed) - XTZ models
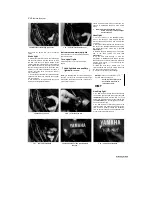
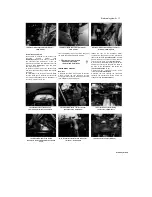
23.5 Clutch switch screw (arrowed) -
TDM models
UNREGISTERED VERSION OF PICTURE-DES
K
H
Scaned by Stalker

