UNREGISTERED VI
UNREGISTERED VI
Every 4000 miles (6000 km) or 6 months 1.17
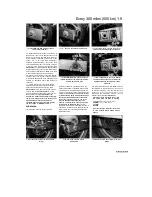
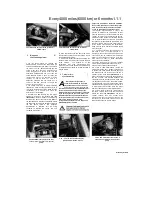
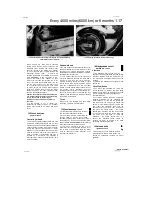
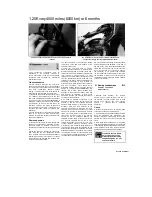
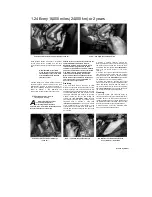
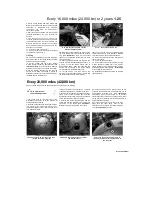
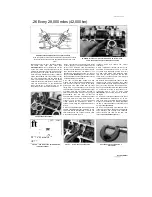
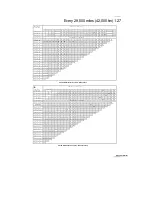
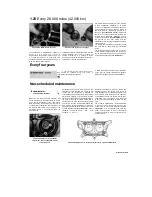
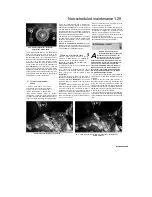
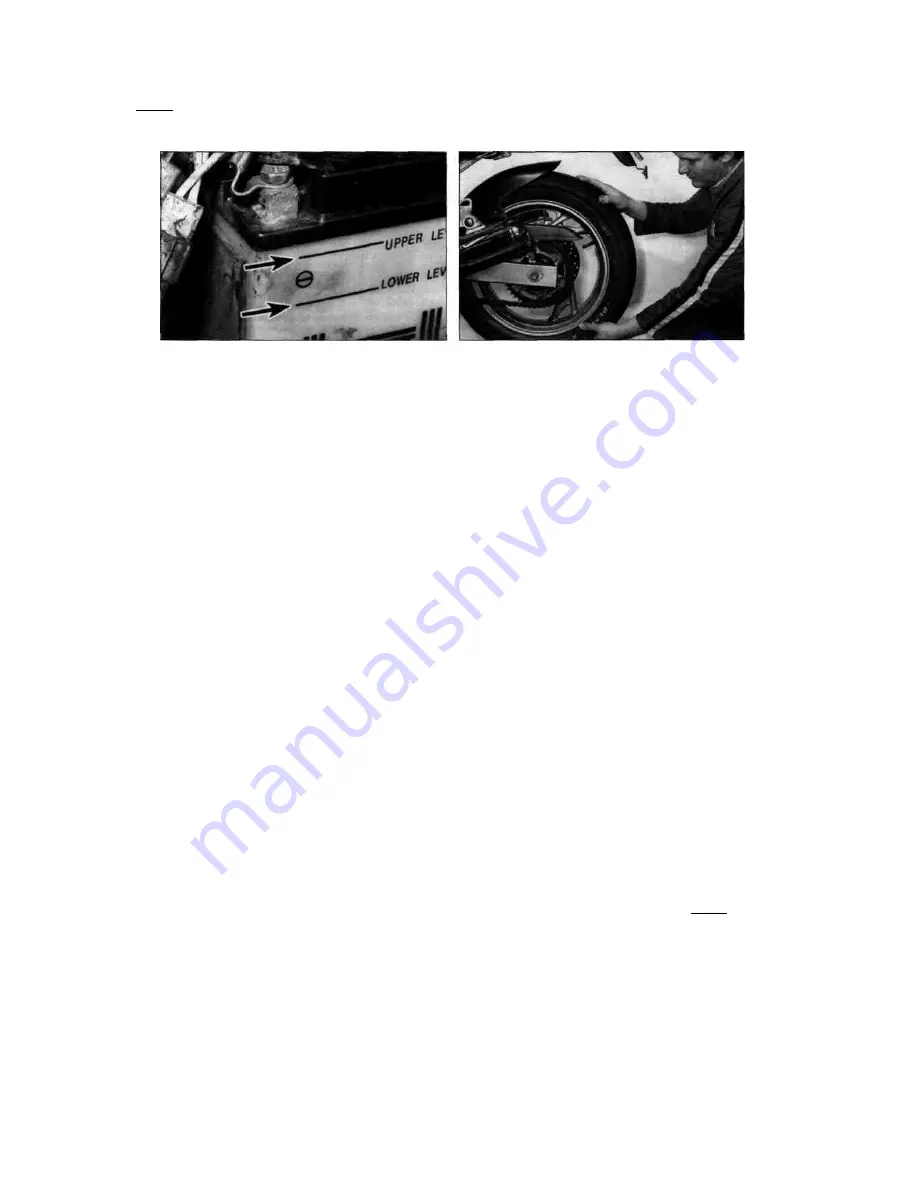
11.2 Check that the electrolyte level is between the UPPER and
LOWER level lines (arrowed)
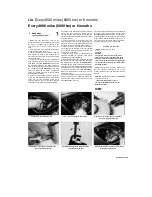
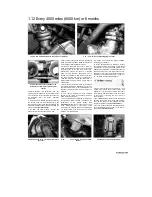
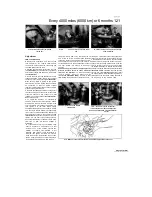
13.2 Checking for play in the wheel bearings
2
XTZ models are fitted with a standard
battery which requires regular checks of the
electrolyte level. Remove the left-hand side
cover for access to the battery (see Chapter
8). The electrolyte level is visible through the
translucent battery case - it should be
between the UPPER and LOWER level marks
(see illustration).
If the electrolyte is low,
remove the battery (see Chapter 9), then
remove the cell caps and fill each cell to the
upper level mark with distilled water. Do not
use tap water (except in an emergency), and
do not overfill. The cell holes are quite small,
so it may help to use a clean plastic squeeze
bottle with a small spout to add the water.
Install the battery cell caps, tightening them
securely, then install the battery.
Caution: Be extremely careful when handling
or working around the battery. The electrolyte
is very caustic and an explosive gas
(hydrogen) is given off when the battery is
charging.
3 If the machine is not in regular use,
disconnect the battery and give it a refresher
charge every month to six weeks (see Chap
ter 9).
12 Wheels and tyres
-
general check
Cast alloy wheels
1 The cast alloy wheels fitted to TDM and TRX
models are virtually maintenance free, but they
should be kept clean and checked periodically for
cracks and other damage. Also check the wheel
runout and alignment (see Chapter 7). Never
attempt to repair damaged cast wheels; they
must be renewed. Check the valve rubber for
signs of damage or deterioration and have it
renewed by a motorcycle tyre specialist if
necessary. Also, make sure the valve stem cap is
in place and tight.
Spoked wheels
2 On XTZ models, visually check the spokes for
damage, breakage or corrosion. A broken or bent
spoke must be renewed immediately because
the load taken by it will be transferred to adjacent
spokes which may in turn fail.
3 If you suspect that any of the spokes are
incorrectly tensioned, tap each one lightly with a
screwdriver and note the sound produced.
Properly tensioned spokes will make a sharp
pinging sound, loose ones will produce a lower
pitch and overtightened ones will be higher
pitched. A spoke wrench will be needed if any of
the
spokes
require
adjustment.
Unevenly
tensioned spokes will promote rim misalignment -
check the wheel runout and alignment (see
Chapter 7) and seek the help of a wheel building
expert if this is suspected.
Tyres
4
Check the tyre condition and tread depth
thoroughly - see
Daily pre-ride) checks.
13 Wheel bearings
- check
1 Wheel bearings will wear over a period of
time and result in handling problems.
2 Support the motorcycle upright using an
auxiliary stand so that the wheel being
checked is off the ground. Check for any play in
the bearings by pushing and pulling the wheel
against the hub
(see illustration).
Also rotate the
wheel and check that it rotates smoothly.
3 If any play is detected in the hub, or if the
wheel does not rotate smoothly (and this is not
due to brake or transmission drag), the wheel
must be removed for closer inspection of its
bearings (see Chapter 7).
14 Sidestand and cut-off
switches
- check
Sidestand
1 The sidestand return spring must be
capable of retracting the stand fully and holding
the stand retracted when the motorcycle is in
use. If the spring is sagged or broken it must be
renewed.
2 Lubricate the sidestand pivot regularly (see
Section 18).
Cut-off switches
3 The clutch and sidestand are fitted with
cut-off switches to prevent the bike being
started in gear unless the clutch lever is pulled
in, and to prevent the bike being ridden with
the sidestand down.
-j
4 Your bike's owners handbook contains
a
checking procedure for the sidestand and
clutch switches. To test, turn the ignition ON
and make sure the engine stop switch (kill
switch) is in the RUN position. Sit on the bike
and retract the sidestand, then shift the
transmission into gear. Pull in the clutch lever
and press the starter button - the engine
should start, indicating that the clutch switch
is in good order. With the engine idling and
the clutch lever still held in, lower the
sidestand - the engine should stop; if it
doesn't, the sidestand switch should be
checked out. Refer to Chapter 9 for clutch
switch and sidestand switch tests.
15 Nuts and bolts
-
tightness check
1 Since vibration of the machine tends to
loosen fasteners, all nuts, bolts, screws, etc.
should be periodically checked for proper
tightness.
UNREGISTERED VI
Staned by Stalker
UNREGISTERED VI
I
I
I
I
Is
Kg

