Engine, clutch and transmission 2*9
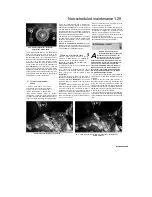
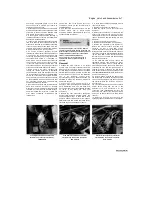
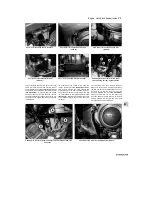
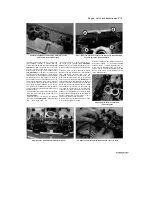
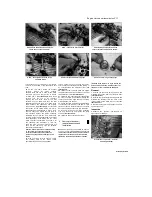
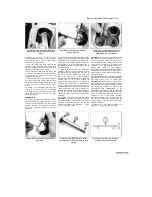
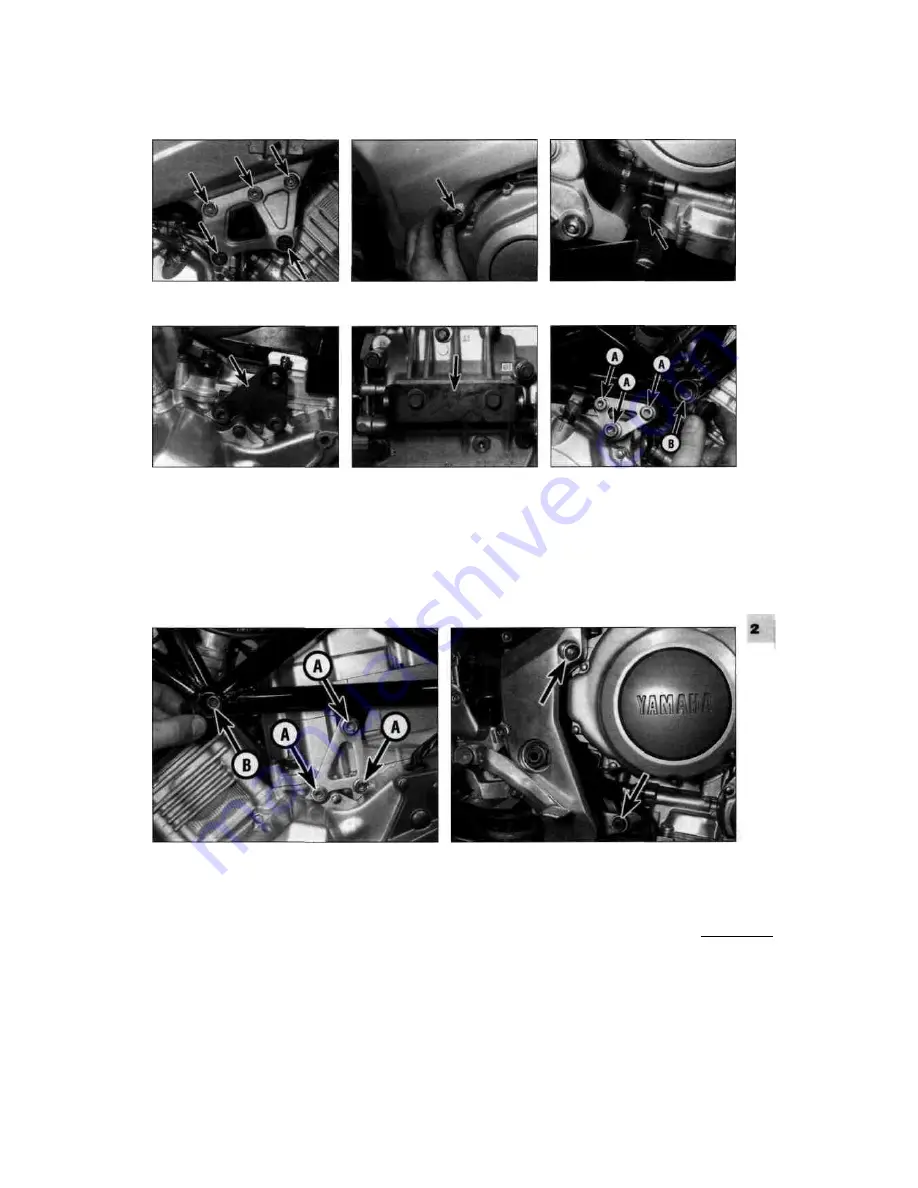
5.21b ... and right-hand engine brackets
5.21c Upper rear engine mounting bolt
5.21d Lower rear engine mounting bolt
(arrowed)
(arrowed)
5.21
e
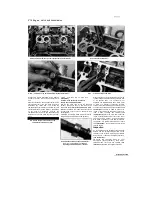
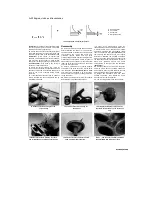
Remove the triangular bracket
(arrowed)...
5.21f ... and the bottom bracket (arrowed)
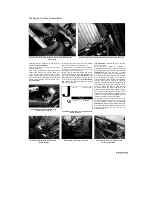
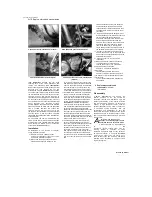
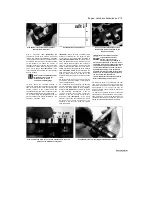
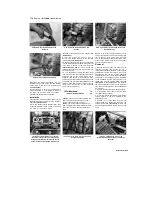
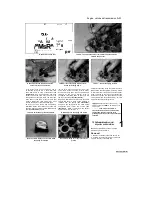
5.22a Engine bracket bolts (A) and upper
front mounting bolt (B) - right-hand side
as well. Remove the cap from each end of the
upper rear mounting bolt, then unscrew the nut
and withdraw the bolt
(see illustration).
Finally
unscrew and remove the lower rear mounting bolt
(see illustration).
If required, after the engine
has been removed, unscrew the bolts securing
the small triangular mounting bracket to the left-
hand side of the engine and the bolts securing
the bracket to
the underside of the engine at the back and
remove the brackets
(see illustrations). 22
On
TRX models, unscrew the bolts securing the
engine bracket to the frame and the engine on
each side and remove the brackets, along with
the collar fitted with the right-hand bracket
(see
illustrations).
Note which bolt fits where as they
are of different lengths. Remove the caps from
the upper
front mounting bolts, then unscrew the bolts.
Make sure the engine is properly supported on
the jack, and have an assistant support it as well.
Unscrew the nut from the upper rear mounting
bolt and withdraw the bolt
(see illustration).
Finally unscrew the nut on the lower rear
mounting bolt and remove the bolt. 23 On XTZ
models, unscrew the nut from the lower front
mounting bolt and remove the bolt
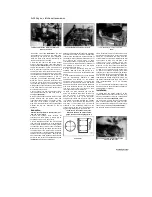
5.22b Engine bracket bolts (A) and upper front mounting bolt (B) -left-
hand side
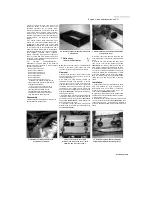
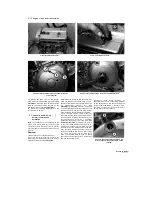
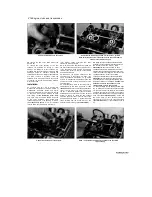
5.22c Upper and lower rear mounting bolts (arrowed)
Scaned by Stalker

