I UNREGISTERED VI
Engine, clutch and transmission 2»25
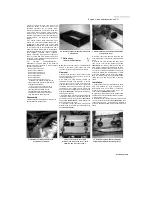
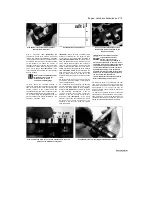
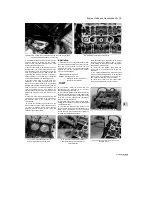
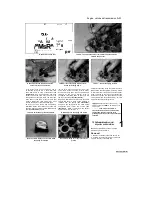
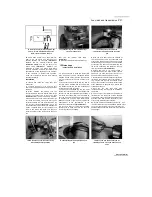
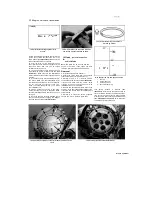
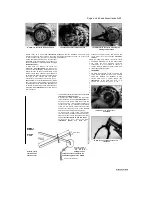
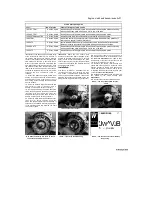
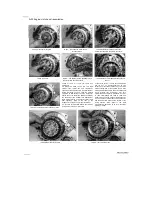
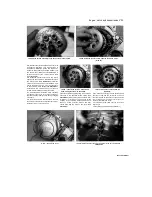
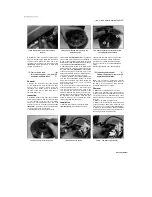
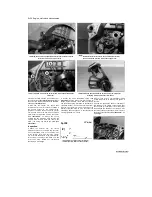
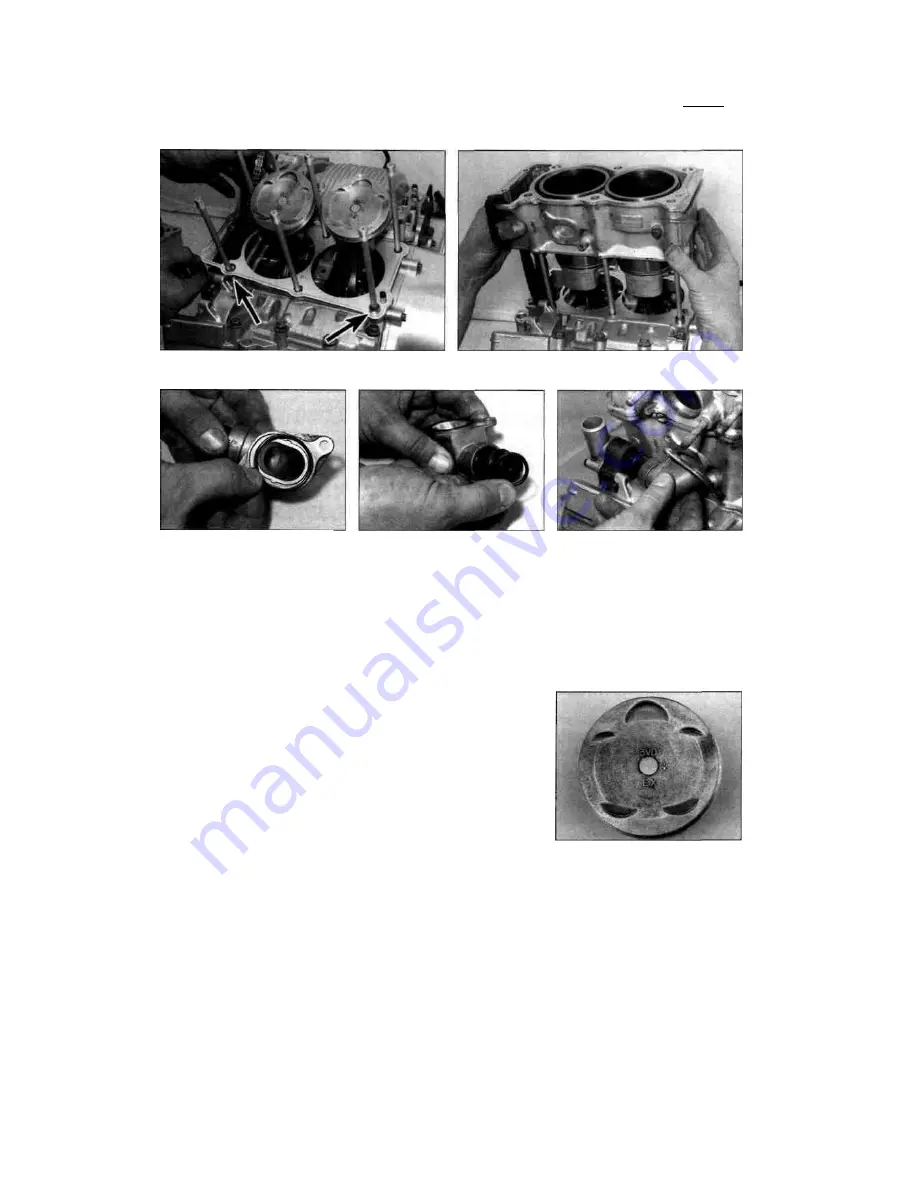
13.15 Lay the new gasket over the dowels (arrowed) and onto the
crankcase
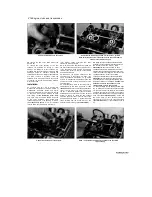
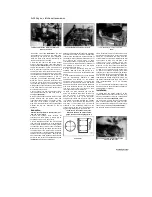
13.17 Carefully lower the block onto the pistons
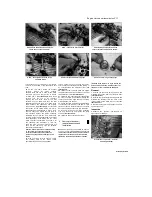
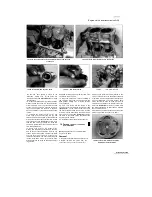
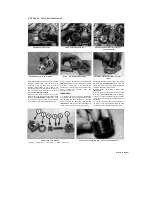
13.20a Fit a new O-ring onto the union .
13.20b ... and the joint pipe
.
13.20c
. then install the union
Lay the new base gasket in place on the
crankcase, making sure all the holes are
correctly aligned
(see illustration).
Never reuse
the old gasket.
16 If required, install piston ring clamps onto the
pistons to ease their entry into the bores as the
block is lowered. This is not essential as each
cylinder has a good lead-in enabling the piston
rings to be hand-fed into the bore. If possible,
have an assistant to support the block while this
is done.
17 Lubricate the cylinder bores, pistons and
piston rings, and the connecting rod big- and
small-ends, with clean engine oil, then install the
block down over the studs until the piston crowns
fit into the bores
(see illustration).
At this stage
feed the cam chain up through the block and
secure it in place with a piece of wire to prevent it
from falling back down.
18 Gently push down on the cylinder block,
making sure the pistons enter the bore squarely
and do not get cocked sideways. If piston ring
clamps are not being used, carefully compress
and feed each ring into the bore as the block is
lowered. If necessary, use a soft mallet to gently
tap the block down, but do not use force if the
block appears to be stuck as the pistons and/or
rings will be
damaged. If clamps are used, remove them once
the pistons are in the bore.
19 When the pistons are correctly installed in
the cylinders, press the block down onto the
base gasket, making sure it locates correctly
onto the dowels.
20 Fit a new O-ring into the groove in the
coolant union face and around the pipe joint
(see
illustrations).
Fit the coolant hose union onto
the front of the block and the joint pipe, or fit the
joint pipe into the water pump housing if it came
away with the union
(see illustration).
Tighten
the bolts to the torque setting specified at the
beginning of the Chapter.
21
Install the cylinder head (see Section 10).
14 Pistons
- removal, inspection
and installation
Note:
The pistons can be removed with the
engine in the frame.
Removal
1
Remove the cylinder block (see Section 13).
2 Before removing the piston from the
connecting rod, use a sharp scriber or felt
marker pen to write the cylinder identity on the
crown of each piston (or on the inside of the skirt
if the piston is dirty and going to be cleaned) as it
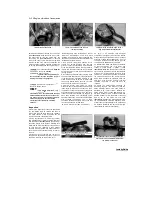
must be installed in its original cylinder. Each
piston should also have an arrow mark on its
crown which should face the exhaust side of the
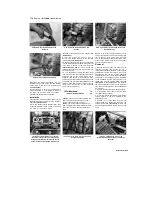
bore (see
illustration).
If this is not visible, mark
the piston accordingly so that it can be installed
the correct way round.
3 Carefully prise out the circlip on one side of the
piston using needle-nose pliers or a small
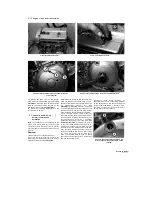
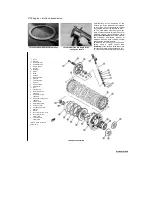
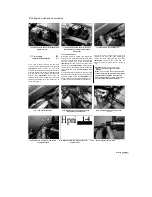
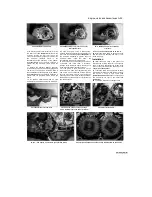
14.2 Note the arrow mark on the piston
which must point forwards
Staned by Stalker
UNREGISTERED VERSION OF PICTURE-DESK
I

