UNREGISTERED VERSION OF PICTURE-DESK |
UNREGISTERED VI
2*50 Engine, clutch and transmission
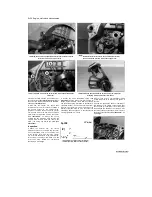
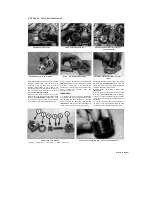
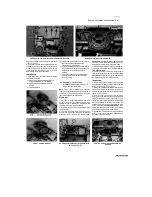
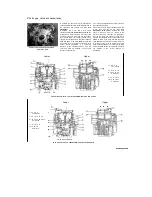
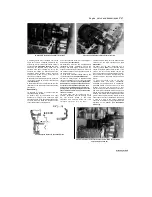
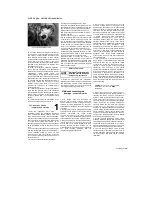
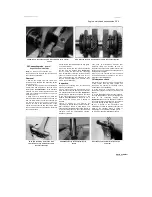
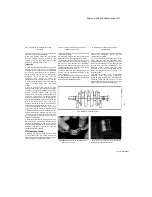
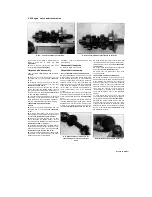
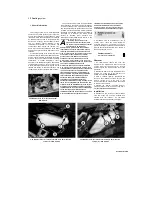
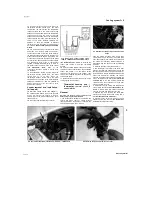
28.21a Big-end journal size numbers (A),
main journal size numbers (B)
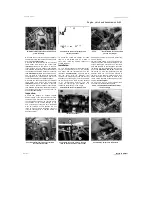
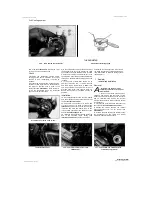
28.21b Connecting rod size number is
marked across the cap and rod join
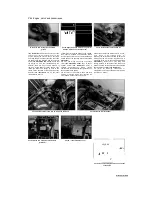
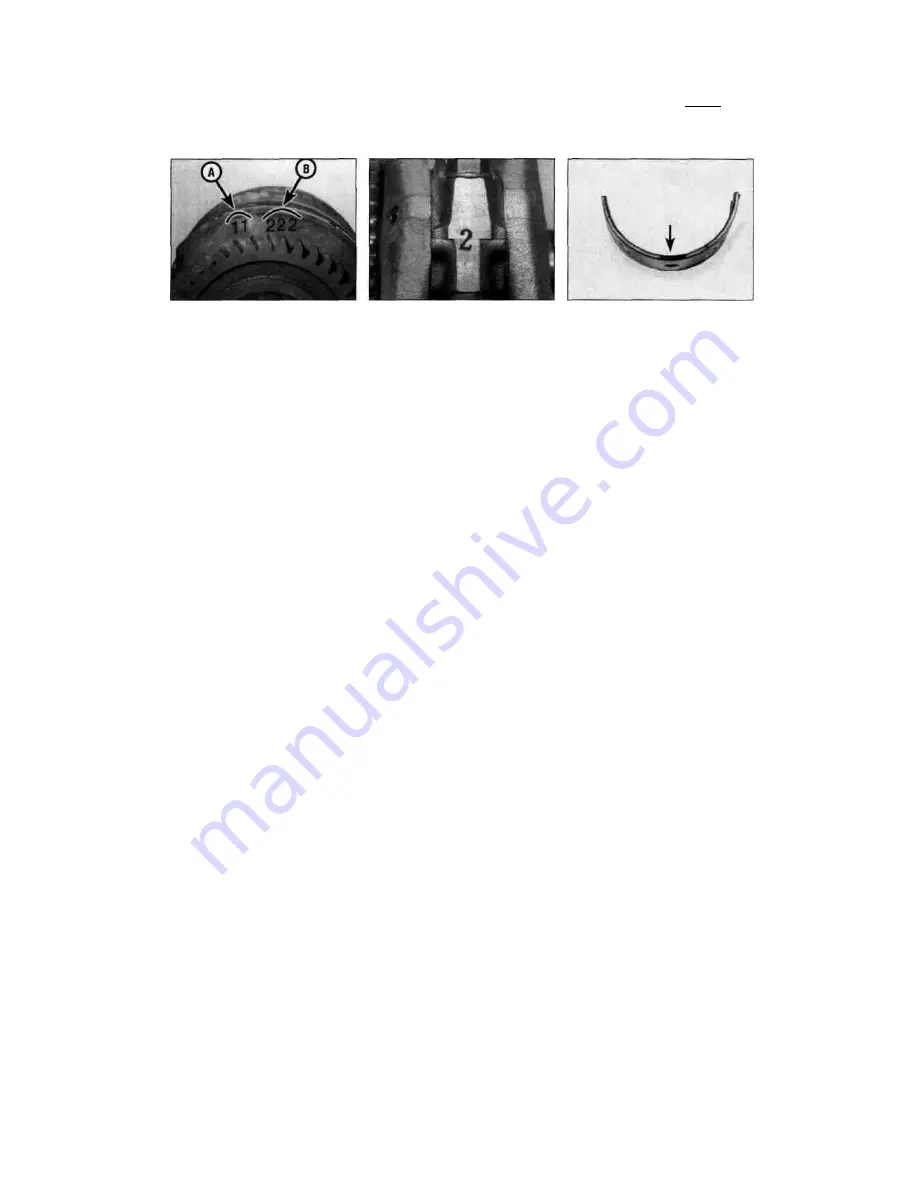
28.22 Bearing shell colour code location
the bolt shanks and threads and to the seats
of the nuts. Install the (clean) connecting rod,
shells and cap. Make sure the cap is fitted the
correct way around so the previously made
markings align, and that the rod is facing the
right way (see Step 3). Tighten the nuts finger-
tight, making sure the connecting rod does
not rotate on the crankshaft.
14 Tighten the bearing cap nuts evenly, in
two or three stages, to the initial torque
setting specified at the beginning of the
Chapter, making sure the connecting rod
does not rotate on the crankshaft. Now
tighten each nut in turn and in one continuous
movement to the final torque setting
specified. If the tightening is interrupted
between the initial and final torque settings,
slacken the nuts and begin the procedure
again.
15 Slacken the cap nuts and remove the
connecting rod, again taking great care not to
rotate the rod or crankshaft.
16 Compare the width of the crushed
Plastigauge on the crankpin to the scale
printed on the Plastigauge envelope to obtain
the connecting rod bearing oil clearance
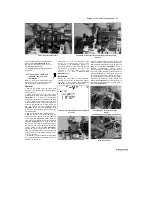
(see
illustration 29.20).
Compare the reading to
the specifications at the beginning of the
Chapter.
17 On completion carefully scrape away all
traces of the Plastigauge material from the
crankpin and bearing shells using a fingernail
or other object which is unlikely to score the
shells.
18 If the clearance is within the range listed in
this Chapter's Specifications and the bearings
are in perfect condition, they can be reused. If
the clearance is beyond the service limit,
renew the shells (see Steps 21 and 22). Check
the oil clearance once again (the new shells
may be thick enough to bring bearing
clearance within the specified range). Always
renew the shells in both connecting rods at
the same time.
19 If the clearance is still greater than the
service limit listed in this Chapter's
Specifications, the crankpin is worn and the
crankshaft should be renewed.
20 Repeat the bearing selection procedure
for other connecting rod.
Bearing shell selection
21
New bearing shells for the big-end
bearings are supplied on a selected fit basis.
Code numbers stamped on various
components are used to identify the correct
parts. The crankshaft journal size numbers are
stamped on the outside of the crankshaft web
on the right-hand end
(see illustration).
The
block of two numbers are for the big-end
bearing journals (the block of three
numbers are for the main bearing journals).
The left-hand number is for the left-hand
(No. 1 cylinder) journal. The connecting
rod numbers are marked in ink on the flat face
of the connecting rod and cap
(see
illustration).
22
A range of bearing shells is available. To
select the correct bearing for a particular
connecting rod, subtract the big-end bearing
journal number (stamped on the crank
web) from the connecting rod number
(marked on the rod). Compare the bearing
number calculated with the table below to
find the colour coding of the new bearing
required. The bearing shell colour code is
marked on the side of the shell
(see
illustration).
Number Colour
1
Blue
2
Black
3
Brown
4
Green
Installation
23 Clean the backs of the bearing shells and
the bearing locations in both the connecting
rod and cap.
24 Press the bearing shells into their
locations, making sure the tab on each shell
locates in the notch in the connecting rod/cap
(see illustration 28.11).
Make sure the
bearings are fitted in their correct locations
and take care not to touch any shell's bearing
surface with your fingers. Lubricate the shells
with clean engine oil.
25 Apply molybdenum disulphide grease to
the bolt shanks and threads and to the seats
of the nuts. Assemble the connecting rod and
cap on the crankpin. Make sure the cap is
fitted the correct way around so the
previously made markings align, and that the
rod is facing the right way (see Step 3).
Tighten the nuts finger-tight, making sure the
connecting rod does not rotate on the
crankshaft. Check again to make sure all
components have been returned to their
original locations using the marks made on
disassembly.
26 Tighten the bearing cap nuts evenly, in
two or three stages, to the initial torque
setting specified at the beginning of the
Chapter, making sure the connecting rod
does not rotate on the crankshaft. Now
tighten each nut in turn and in one continuous
movement to the final torque setting
specified. If the tightening is interrupted
between the initial and final torque settings,
slacken the nuts and begin the procedure
again.
27 Check that the rods rotate smoothly and
freely on the crankpin. If there are any signs of
roughness or tightness, remove the rods and
re-check the bearing clearance. Sometimes
tapping the bottom of the connecting rod cap
will relieve tightness, but if in doubt, recheck
the clearances.
28 Reassemble the crankcase halves (see
Section 25).
29 Crankshaft and main
bearings - removal, inspection
and installation
Note:
To remove the crankshaft the
engine must be removed from the
frame and the crankcase halves
separated.
Removal
1 Remove the engine from the frame (see
Section 5) and separate the crankcase halves
(see Section 25).
2 Separate the connecting rods from the
crankshaft (see Section 28).
Note:
If no work
is to be carried out on the crankshaft or
connecting rod assemblies, there is no need
to separate them.
3 Lift the crankshaft out of the upper
Scaned by Stalker
&
I
^

