6-9
FRONT BRAKE
CHAS
CAUTION:
NOTE:
NOTE:
*****************************************************
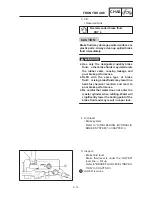
Disc brake components rarely require dis-
assembly. DO NOT:
D
disassemble components unless abso-
lutely necessary;
D
use solvents on internal brake compo-
nents;
D
use spent brake fluid for cleaning; (use
only clean brake fluid)
D
allow brake fluid to come in contact with
the eyes, as this may cause eye injury;
D
splash brake fluid onto painted surfaces
or plastic parts, as this may cause dam-
age;
D
disconnect any hydraulic connection, as
this would require the entire brake system
to be disassembled, drained, cleaned,
properly filled and bled after reassembly.
BRAKE PAD REPLACEMENT
It is not necessary to disassemble the brake cal-
iper and brake hose to replace the brake pads.
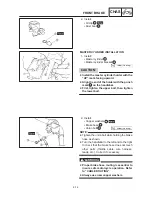
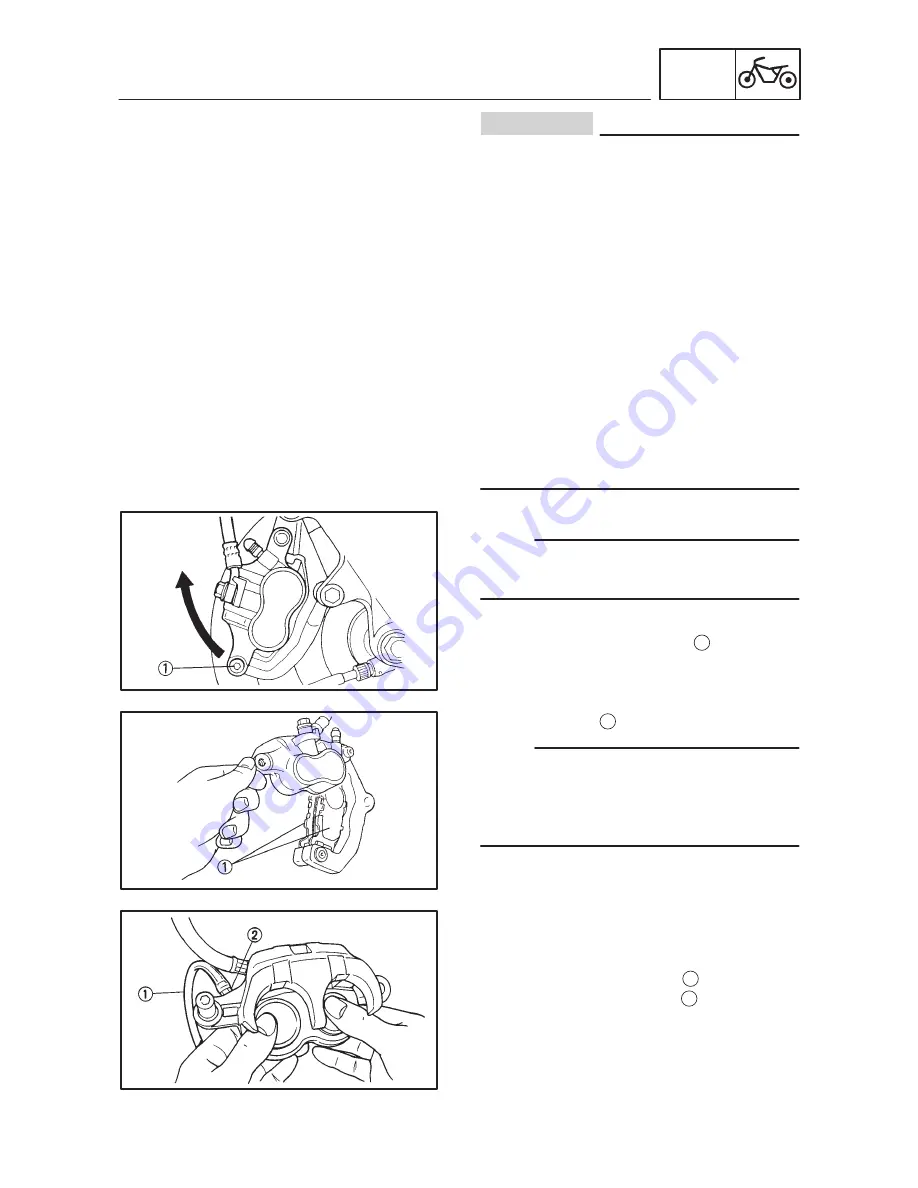
1. Remove:
S
Bolt (caliper support bolt)
1
Move the direction brake caliper to the ar-
row mark.
2. Remove:
S
Brake pads
1
D
Install new brake pad springs when the brake
pads have to be replaced.
D
Replace the brake pads as a set if either is
found to be worn to the wear limit.
3. Install:
S
Brake pads
S
Brake pads spring
Installation steps:
D
Connect a suitable hose
1
tightly to the
brake caliper bleed screw
2
. Put the other
end of this hose into an open container.
Summary of Contents for XVS6501997
Page 1: ......
Page 2: ......
Page 8: ......
Page 10: ...GEN INFO ...
Page 18: ...GEN INFO ...
Page 20: ...SPEC ...
Page 44: ...2 24 LUBRICATION DIAGRAMS SPEC 1 Crankshaft 2 Oil filter 3 Oil pump ...
Page 102: ...INSP ADJ ...
Page 188: ...CARB ...
Page 198: ...CARB ...
Page 266: ...CHAS ...
Page 268: ...ELEC SELF DIAGNOSIS 7 49 TROUBLESHOOTING 7 50 ...
Page 298: ...E 7 30 SIGNAL SYSTEM ELEC EB806000 SIGNAL SYSTEM CIRCUIT DIAGRAM ...
Page 320: ...TRBL SHTG ...
Page 326: ...TRBL SHTG ...

