


8-23
8
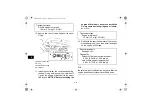
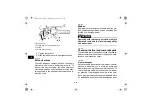
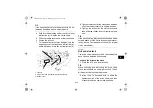
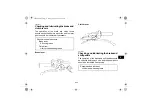
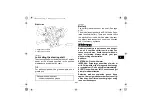
TIP
The wheels need to be removed to check the
brake pads. (See page 8-43.)
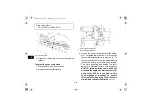
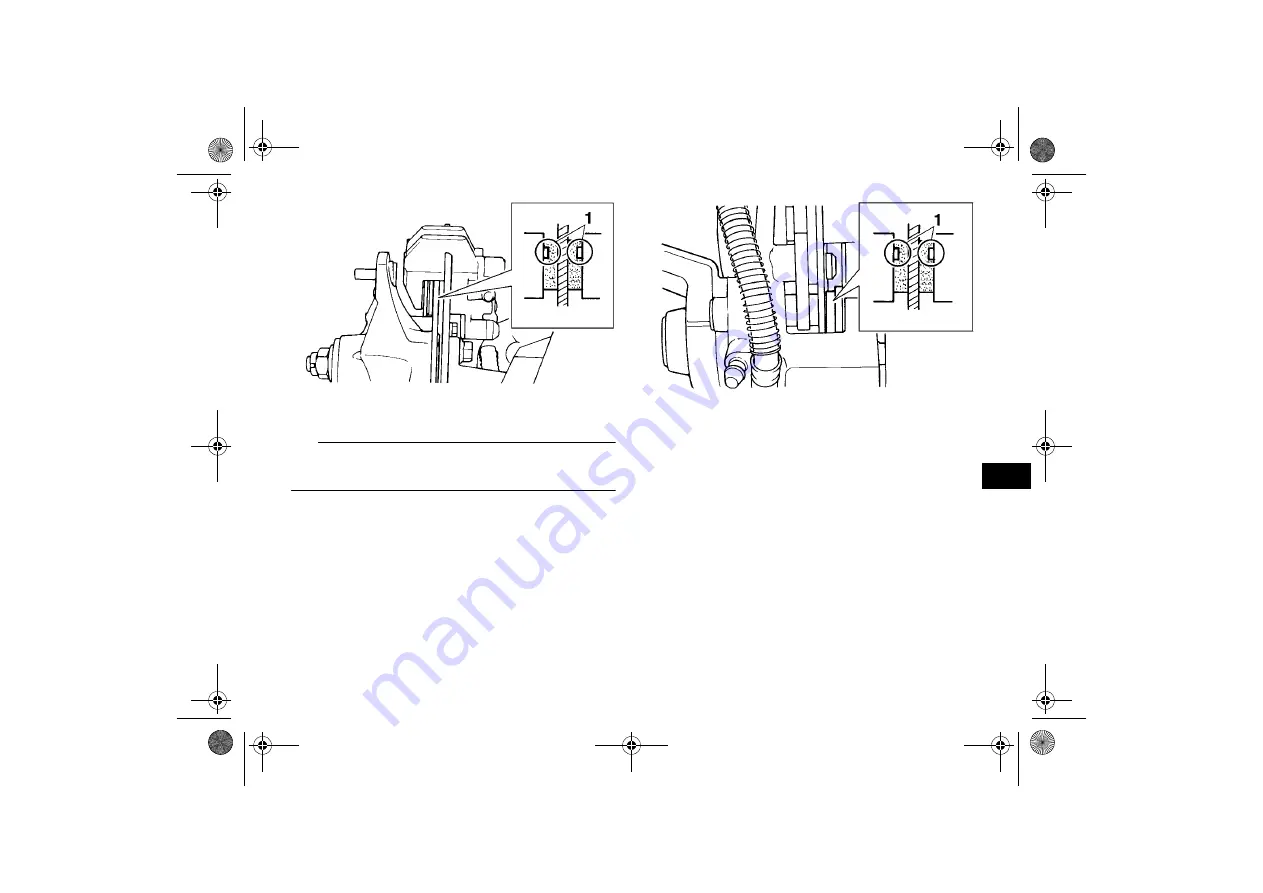
EBU28800
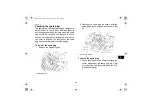
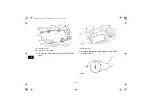
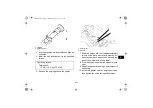
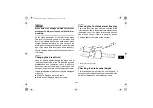
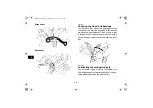
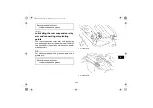
Rear brake pads
Each brake pad is provided with two wear indicator
grooves, which allow you to check the brake pad
wear without having to disassemble the brake. To
check the brake pad wear, check the wear indica-
tor grooves. If a brake pad has worn to the point
that a wear indicator groove almost appears, have
a Yamaha dealer replace the brake pads as a set.
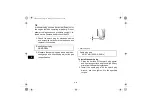
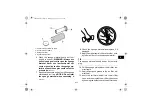
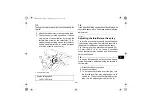
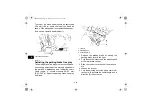
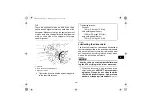
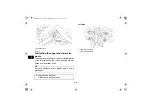
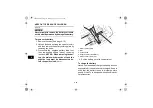
EBU29841
Checking the brake fluid level
Before riding, check that the brake fluid is above
the minimum level mark. Check the brake fluid lev-
el with the top of the reservoir level. Replenish the
brake fluid if necessary.
1. Wear indicator groove
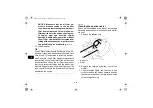
1. Wear indicator groove
U1BS62E0.book Page 23 Monday, April 18, 2011 6:43 PM
Summary of Contents for YFM350RB
Page 12: ...1 2 1 4D3 2816L 20 43P 2816R 01 1 2 U1BS62E0 book Page 2 Monday April 18 2011 6 43 PM ...
Page 17: ...1 7 1 For Oceania 1 3 2 4 5 6 U1BS62E0 book Page 7 Monday April 18 2011 6 43 PM ...
Page 58: ...7 1 7 EBU21141 RIDING YOUR ATV U1BS62E0 book Page 1 Monday April 18 2011 6 43 PM ...
Page 139: ...U1BS62E0 book Page 3 Monday April 18 2011 6 43 PM ...


