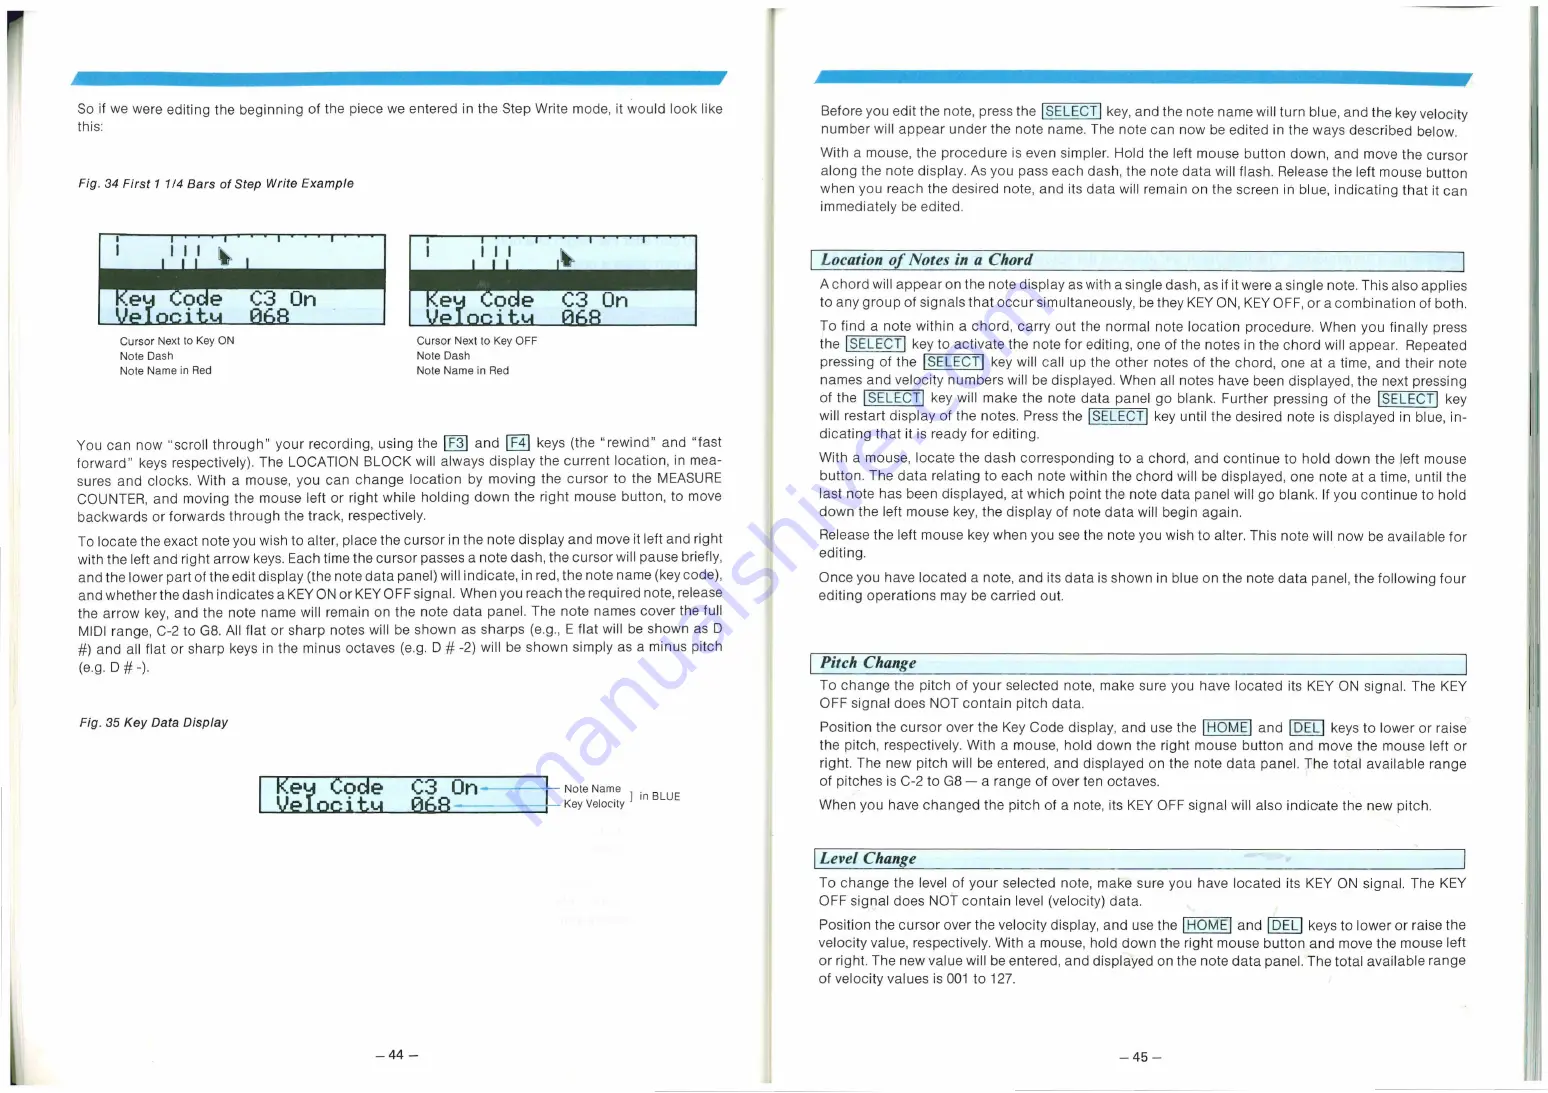
C3 On
—
44 —
Cursor Next to Key OFF
Note Dash
Note Name in Red
•ough" your recording, using the I F31 and keys (the ''rewind" and "fast
ely). The LOCATION BLOCK will always display the current location, in mea-
a mouse, you can change location by moving the cursor to the MEASURE
the mouse left or right while holding down the right mouse button, to move
through the track, respectively.
you wish to alter. place the cursor in the note display and move it left and right
'ow keys. Each time the cursor passes a note dash, the cursor will pause briefly,
edit display (the note data panel) will indicate, in red, the note name (key code),
dicates a KEY ON or KEY OFF signal. When you reach the required note, release
note name will remain on the note data panel. The note names cover the full
ll flat or sharp notes will be shown as sharps (e.g., E flat will be shown as D
keys in the minus octaves (e.g. D # -2) will be shown simply as a minus pitch
Ke Code C3 On-
Ve ocittA 06R -
tNote Name in BLUE
Key Velocity
Location of Notes in a Chord
A chord will appear on the note display as with a single dash, as if it were a single note. This also applies
to any group of signals that occur simultaneously, be they KEY ON, KEY OFF, or a combination of both.
To find a note within a chord, carry out the normal note location procedure. When you finally press
the [SELECT' key to activate the note for editing, one of the notes in the chord will appear. Repeated
pressing of the LEI_ ECT I key will call up the other notes of the chord, one at a time, and their note
names and velocity numbers will be displayed. When all notes have been displayed, the next pressing
of the SELECT key will make the note data panel go blank. Further pressing of the LS_ELECT key
will restart display of the notes. Press the [SELECT key until the desired note is displayed in blue, in-
dicating that it is ready for editing.
With a mouse, locate the dash corresponding to a chord, and continue to hold down the left mouse
button. The data relating to each note within the chord will be displayed, one note at a time. until the
last note has been displayed, at which point the note data panel will go blank. If you continue to hold
down the left mouse key, the display of note data will begin again.
Release the left mouse key when you see the note you wish to alter. This note will now be available for
editing.
Once you have located a note, and its data is shown in blue on the note data panel, the following four
editing operations may be carried out.
Pitch Change
To change the pitch of your selected note, make sure you have located its KEY ON signal. The KEY
OFF signal does NOT contain pitch data.
Level Change
To change the level of your selected note, make sure you have located its KEY ON signal. The KEY
OFF signal does NOT contain level (velocity) data.
Position the cursor over the velocity display, and use the HOME' and DELI keys to lower or raise the
velocity value, respectively. With a mouse, hold down the right mouse button and move the mouse left
or right. The new value will be entered, and displayed on the note data panel. The total available range
of velocity values is 001 to 127.
—
45 —
Position the cursor over the Key Code display, and use the HOME and I DELI keys to lower or raise
the pitch. respectively. With a mouse, hold down the right mouse button and move the mouse left or
right. The new pitch will be entered, and displayed on the note data panel. The total available range
of pitches is C-2 to G8 a range of over ten octaves.
When you have changed the pitch of a note, its KEY OFF signal will also indicate the new pitch.


