CHASSIS
10-6
EASB29B399
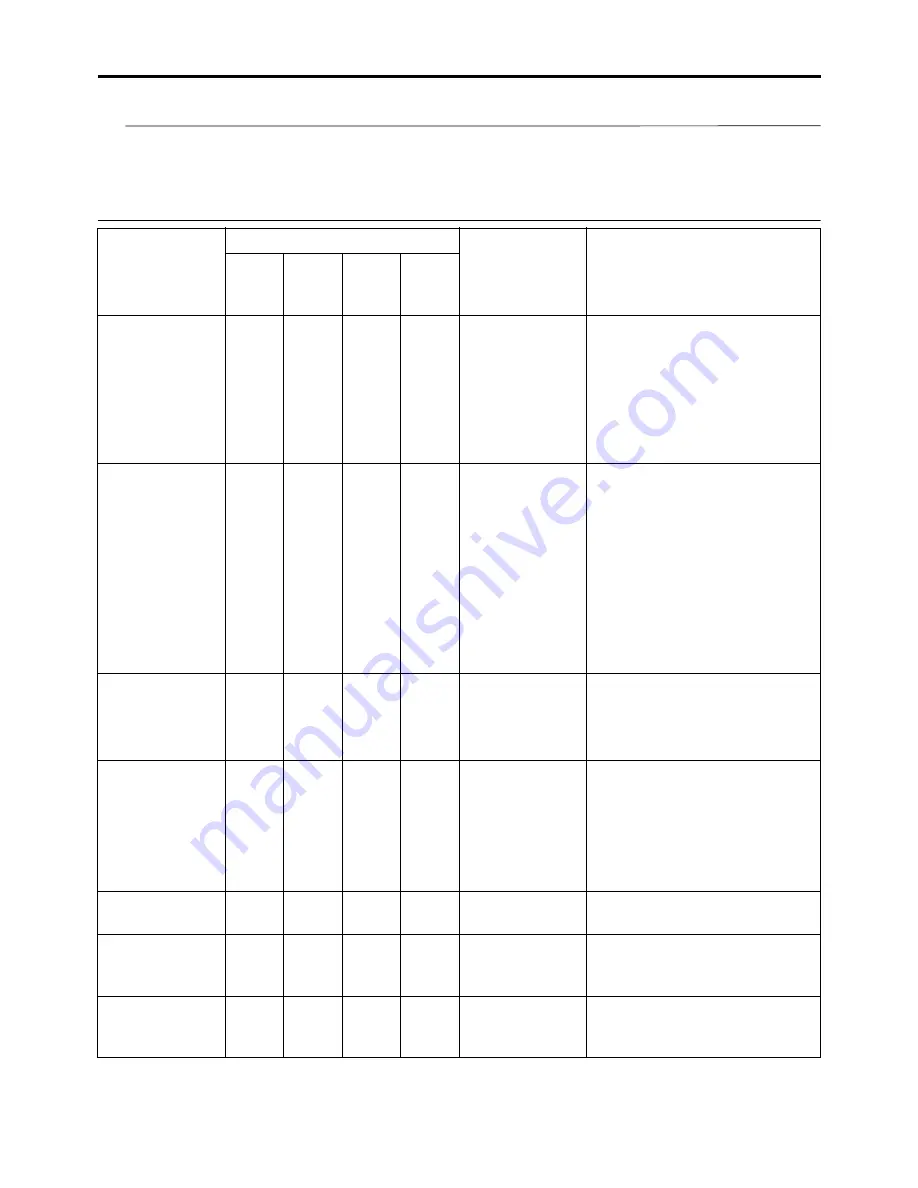
SUSPENSION SETTING (FRONT FORK)
TIP
• If any of the following symptoms is experienced with the standard position as the base, make reset-
ting by reference to the adjustment procedure given in the same chart.
• Before any change, set the rear shock absorber sunken length to the standard figure 90–100 mm
(3.5–3.9 in).
Symptom
Section
Check
Adjust
Jump
Large
gap
Medi-
um
gap
Small
gap
Stiff over entire
range
✓
✓
✓
Compression
damping force
Turn adjuster counterclock-
wise (about 2 clicks) to de-
crease damping.
Oil amount
Decrease oil amount by about
5–10 cm
3
(0.2–0.3 US oz, 0.2–
0.4 Imp.oz).
Spring
Replace with soft spring.
Unsmooth
movement over
entire range
✓
✓
✓
✓
Outer tube
Inner tube
Check for any bends, dents,
other noticeable scars, etc. If
any, replace affected parts.
Slide metal
Replace with a new one for ex-
tended use.
Piston metal
Replace with a new one for ex-
tended use.
Lower bracket
tightening
torque
Retighten to specified torque.
Poor initial
movement
✓
Rebound
damping force
Turn adjuster counterclock-
wise (about 2 clicks) to de-
crease damping.
Oil seals
Apply grease in oil seal wall.
Soft over entire
range, bottom-
ing out
✓
✓
Compression
damping force
Turn adjuster clockwise (about
2 clicks) to increase damping.
Oil amount
Increase oil amount by about
5–10 cm
3
(0.2–0.3 US oz, 0.2–
0.4 Imp.oz).
Spring
Replace with stiff spring.
Stiff toward
stroke end
✓
Oil amount
Decrease oil amount by about
5 cm
3
(0.2 US oz, 0.2 Imp.oz).
Soft toward
stroke end, bot-
toming out
✓
Oil amount
Increase oil amount by about 5
cm
3
(0.2 US oz, 0.2 Imp.oz).
Stiff initial
movement
✓
✓
✓
✓
Compression
damping force
Turn adjuster counterclock-
wise (about 2 clicks) to de-
crease damping.
Summary of Contents for YZ 2018 Series
Page 6: ...EASB916006 YAMAHA MOTOR CORPORATION U S A YZ MOTORCYCLE LIMITED WARRANTY...
Page 10: ......
Page 40: ...MOTORCYCLE CARE AND STORAGE 1 28...
Page 64: ...LUBRICATION SYSTEM CHART AND DIAGRAMS 2 23...
Page 66: ...LUBRICATION SYSTEM CHART AND DIAGRAMS 2 25...
Page 68: ...LUBRICATION SYSTEM CHART AND DIAGRAMS 2 27...
Page 70: ...CABLE ROUTING DIAGRAM 2 29 EASB29B065 CABLE ROUTING DIAGRAM...
Page 72: ...CABLE ROUTING DIAGRAM 2 31...
Page 74: ...CABLE ROUTING DIAGRAM 2 33...
Page 76: ...CABLE ROUTING DIAGRAM 2 35...
Page 78: ...CABLE ROUTING DIAGRAM 2 37...
Page 80: ...CABLE ROUTING DIAGRAM 2 39...
Page 82: ...CABLE ROUTING DIAGRAM 2 41...
Page 84: ...CABLE ROUTING DIAGRAM 2 43...
Page 255: ...OIL PUMP AND BALANCER GEAR 5 58 a 2 10 b 2 9 1 b 5 3 a 4 10 5 9 3 E c d 6 7 8 8 b 6...
Page 276: ...TRANSMISSION 5 79...
Page 290: ...FUEL TANK 7 5 A Left B Right 1 1 A 0 mm 0 in B 1 1 15 mm 0 59 in...
Page 296: ...THROTTLE BODY 7 11...
Page 299: ......
Page 313: ...CHARGING SYSTEM 8 14...
Page 321: ...COOLING SYSTEM For JPN 8 22...
Page 351: ...FUEL PUMP SYSTEM 8 52 EASB29B345...
Page 352: ...ELECTRICAL COMPONENTS 8 53 ELECTRICAL COMPONENTS EASB29B346 9 10 11 1 3 2 4 5 6 7 8...
Page 354: ...ELECTRICAL COMPONENTS 8 55 11 10 9 2 3 1 6 7 8 4 5...
Page 356: ...ELECTRICAL COMPONENTS 8 57 EASB29B347 CHECKING THE SWITCHES 4 1 3 2 B B Sb B B B B B B B B...
Page 372: ...ELECTRICAL COMPONENTS 8 73 c Measure the fuel injector resistance...


