


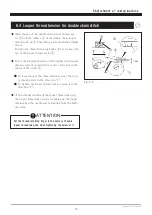

5. Proper operation
14
AZ7000SDR-8, 7500SDR-8
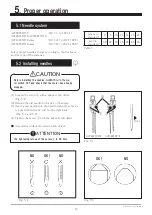
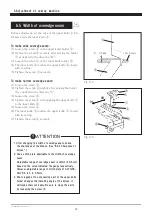
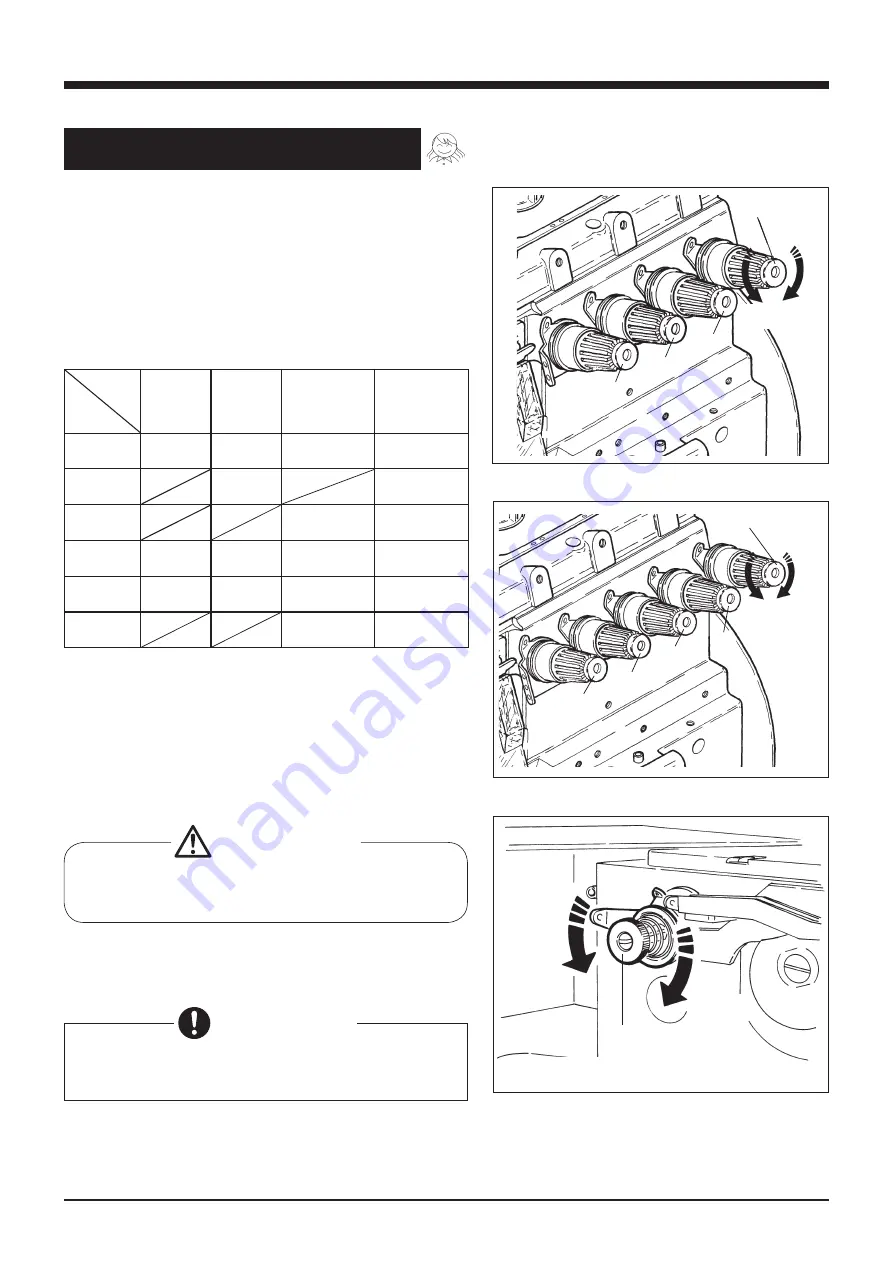
5.3 Adjusting thread tension
Adjust the thread tension with the thread tension spring
caps ① to ⑥ according to the type of fabric, the type of
thread, seam width, stitch length, and other sewing condi-
tions.
● To tighten the thread tension, turn caps clockwise.
● To loosen the thread tension, turn caps counterclock
-
wise.
Fig. 5-6 AZ7500SDR-8/-31,AZ7520SDR-8/-31
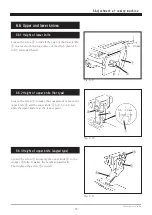
Threading
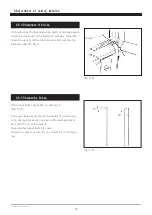
Table 6
⑥
tighten
loosen
open the cloth plate
Fig. 5-4 AZ7020SDR-8, AZ7500SDR-8/-31
Fig. 5-5 AZ7520SDR-8/-31
③
②
①
loosen
tighten
tighten
loosen
①
②
③
④
⑤
④
Threading correctly by referring to the threading figure
which is attached on the back of the front cover.
model
thread
AZ7000SDR-8
single needle
overlock
AZ7020SDR-8
2-needle
overlock
AZ7500SDR-8/-31
2-needle
safety stitch
AZ7520SDR-8/-31
3-needle
safety stitch
left needle
thread
①
①
①
①
right needle
thread
②
②
double chain
needle thread
②
③
upper looper
thread
③
③
③
④
lower looper
thread
④
④
④
⑤
double chain
looper thread
⑥
⑥
Improper threading can cause thread breakage, skip
stitch, and uneven stitch.
ÁÔÔÅÎÔÉÏÎ
Before threading, ALWAYS turn the motor switch OFF
and check that the motor has already stopped.
ÃÁÕÔÉÏÎ


