
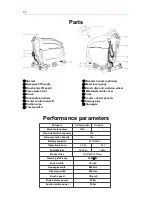


X4
10
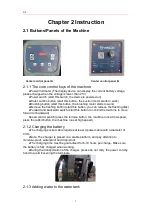
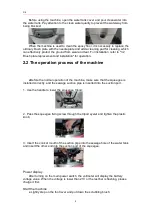
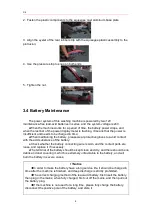
Machine life and operational safety must be ensured by proper and routine
maintenance of the machine. The routine maintenance requirements are tabulated
below. Under suitable working conditions, the maintenance interval can be changed,
which must be determined by the professional responsible for the maintenance.
To perform maintenance operations, the machine must be stopped (remove the start
switch key), so please read the safety section of the manual carefully.
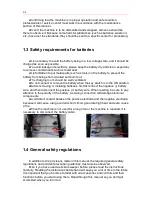
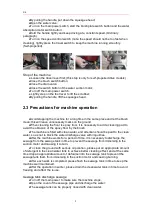
Conditions of Use
●Ambient temperature: -10
℃~
40
℃
●The relative humidity of the air: 5%
~
70%
●No conductive dust, no explosion hazard environment
● An environment that does not contain gases or vapors that corrode metals
●Indoor use, ventilated, non-vibration environment, front and rear space at least
300mm
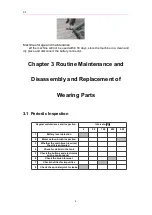
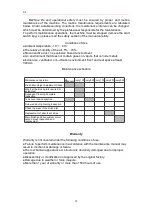
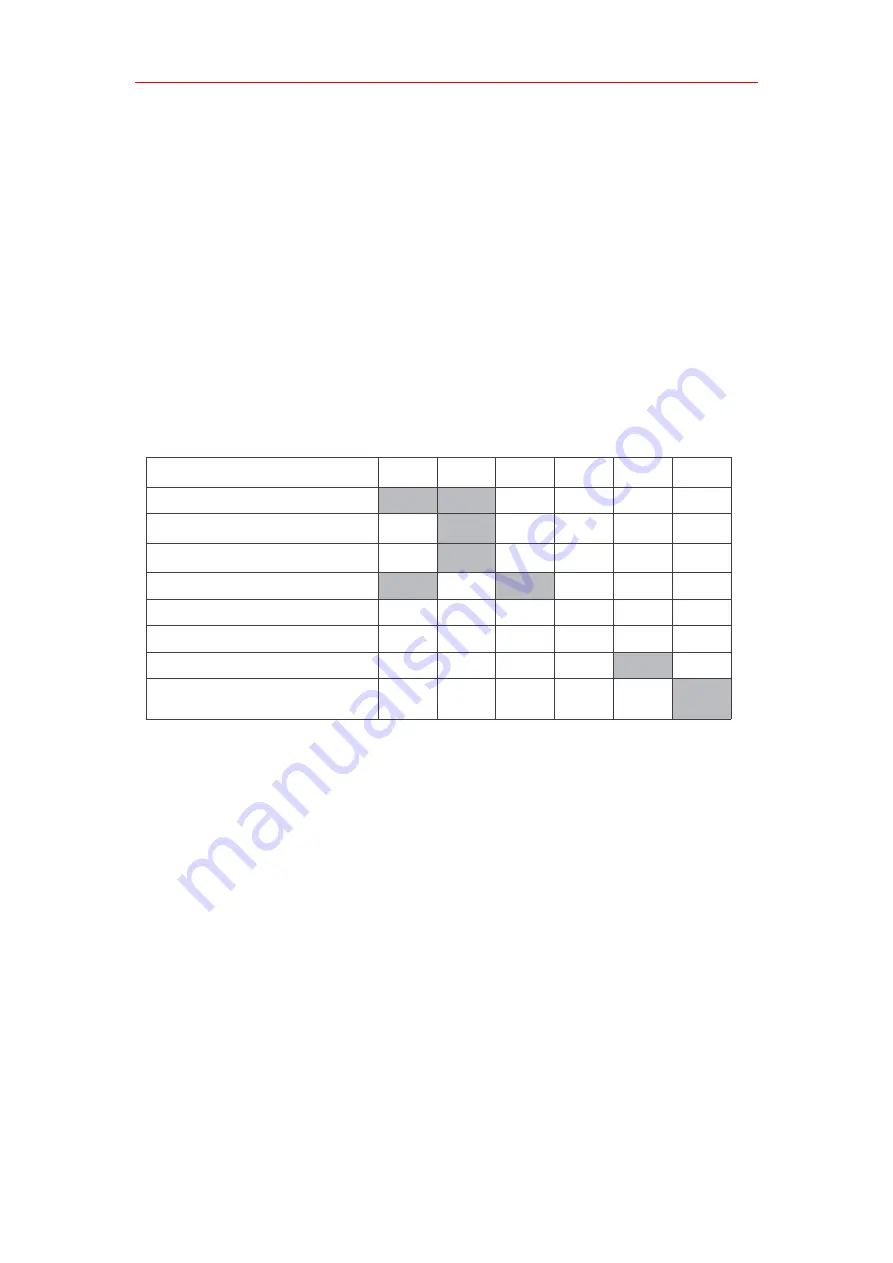
Maintenance schedule
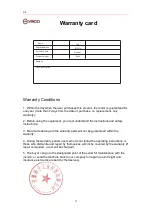
Warranty
Warranty is not covered under the following conditions of use:
● Failure to perform maintenance in accordance with the maintenance manual may
result in mechanical damage or failure.
●The mechanical appearance or structure is obviously damaged due to improper
operation.
●Disassembly or modification not approved by the original factory.
●Damage due to weather or force majeure.
●More than 1 year of warranty or more than 1500 hours of use.
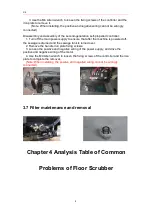
Maintenance operation
On
handover
Every10h Every50h Every100
h
Every200
h
Every500
h
Brush Disc Height Adjustment Check
Whether the brush plate is wired or
entangled
Squeegee Cleaning Complete
Inspection
Tank cover seal inspection
Screw and nut tightening inspection
Check the wear of the brush disc
Replacement of absorbent strips
Main brush and drive system motor
carbon brush inspection and
replacement
Summary of Contents for X4
Page 1: ...X4 FLOOR SCRUBBER Operating instruction...
Page 17: ...X4 1...


