background image

7

3.0 Do's and don 'ts for first use

Please follow the following procedures for the first use of the new machine (under the
guidance of the sales engineer assigned by the company or the agent) :
1. Open the package carefully to prevent damage to the machine during opening.
Remove the machine from the packing case carefully.
Check whether the random accessories are complete;
2. After carefully reading the Operation Manual or explaining the operation essentials
and precautions by the sales engineer,
Operate the machine on a fully understood basis (assign a person to operate it);
3. Connect the suction gripper with the suction gripper. After adjusting the position,
tighten the two fixed handles, straw mouth and the machine
Is connected to the joint of;
4. Take out the brush plate and select the appropriate brush plate or cleaning pad
according to your ground condition to prepare for the installation;
5. Pour clean water into the clean water tank;
6. Putthebrushplateon,putdownthewater-absorbingsteakandbrushplate;
7. Start suction motor, brush motor and solenoid valve;
8. Openthehandleofthewatervalveswitchtoadjusttheappropriatewateroutput;
9. Turn on the forward switch for cleaning;
10. After cleaning,close thebrush platemotor first,and thenclose the waterabsorption
motor;
11. Raise the brush plate and water absorption rack to discharge the sewage;If you have
finished the day's work, please carry out the machine as required
Cleaning and maintenance;
12. Drive the machine to the parking place.

4.0 Daily operation and maintenance

Homework preparation:
1) Select the appropriate detergent and detergent concentration according to the
polluted state of the ground;
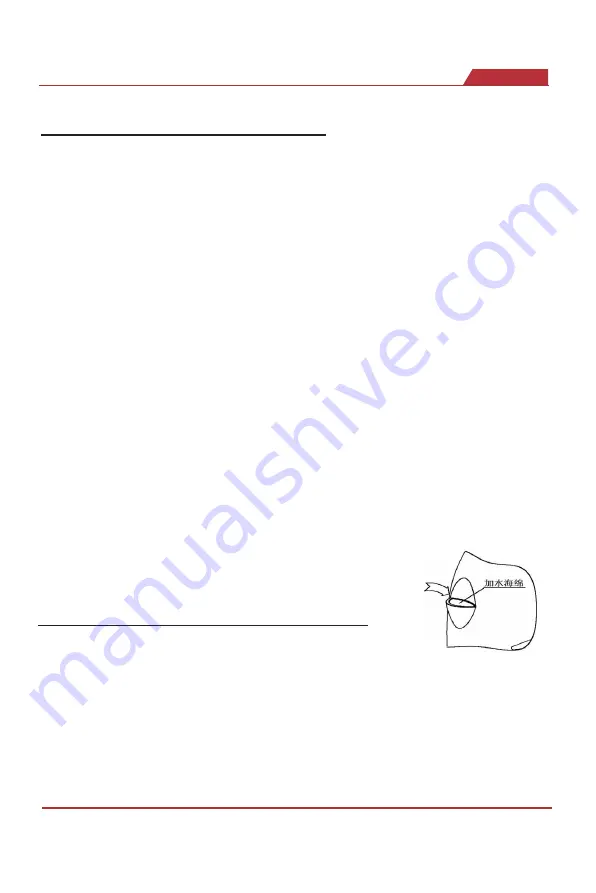
Most of us only need two cups of cleaning fluid from a one-time water cup
(Disposable cups are commonly used) as shown in the picture on the right;
In order toprotect the environment, pleasetry to reducethe amount ofdetergent!Use
a neutral, low-foam cleaner!When using cleaner, use defoaming agent at the same time,
in order to eliminate the foam of sewage tank, extend the service life of water absorption
motor!

Add water sponge

Summary of Contents for YZ-X1

Page 1: ...YZ X1 FLOOR SCRUBBER Operating instruction ANHUI YANGZI INDUSTRIAL TECHNOLOGY CO LTD...

Page 2: ...YZ X1 Instruction Manual 1...

Page 3: ...2 Catalogue 1 0 Operationsafety instruction 01 2 1 Functions and precautions 02 2 2 Features and parameters 03 3 0 For the first time to use 04 4 0 Daily operation and maintenance 05...

Page 4: ...ndanger persons or cause serious damage to property Safety Precautions Attempttooperateorrepairthemachinewithoutreadingthisinstructionmanualmay cause harm to you or others Capable of damaging machiner...

Page 5: ...ld use a three core power cord with a ground wire and a power supply In order to avoid electric shock accidents to the maximum extent please install a leakage circuit breaker Don t put anything on the...

Page 6: ...round will completely dry water 3 The equipment is designed for use on flat ground Do not operate or operate on inclined surface Avoidance of danger 4 The equipment should be stored and parked horizon...

Page 7: ...altotheinstallationandremovalof batteries The suction motor is installed on the cover of the sewage tank After the sewage tank cover is turned over the water absorption motor can be easily repaired 4...

Page 8: ...ter tank 6 Putthebrushplateon putdownthewater absorbingsteakandbrushplate 7 Start suction motor brush motor and solenoid valve 8 Openthehandleofthewatervalveswitchtoadjusttheappropriatewateroutput 9 T...

Page 9: ...handle and control thewaterflow Itcanbothcleanthefloorandreducethewearandtearofcleanwater detergent 6 starttheswitch brushmotor solenoidvalveopen themachinestartstowork Note Theadjustmentofwaterabsorp...

Page 10: ...ushheadandthebrush platebayonetarebasicallyaligned andpressdownthecontrolsurfaceatthistime Brushplatemotorstartbutton thebrushplatewillbeinstalledautomaticallywiththe rotationofthemotor andthen youcan...

Page 11: ...l pleasepurchase the specialoil resistant rubber strip 12 Work at the end of each day 1 Clean the outside of the cleaning machine with dry and wet cloth 2 the sewage tank in the sewage empty and clean...

Page 12: ...tructions and safety instructions 3 Duringthewarrantyperiod theartificialdamageofwarrantyaccessorieswillnotbeguaranteed 4 During the warranty period users who do not follow the operation instructions...

Reviews: