5. Inspection and Servicing of Basic Engine Parts
114
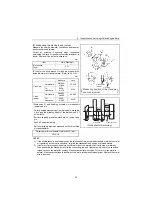
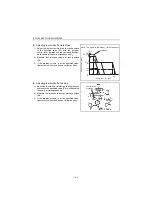
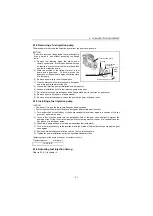
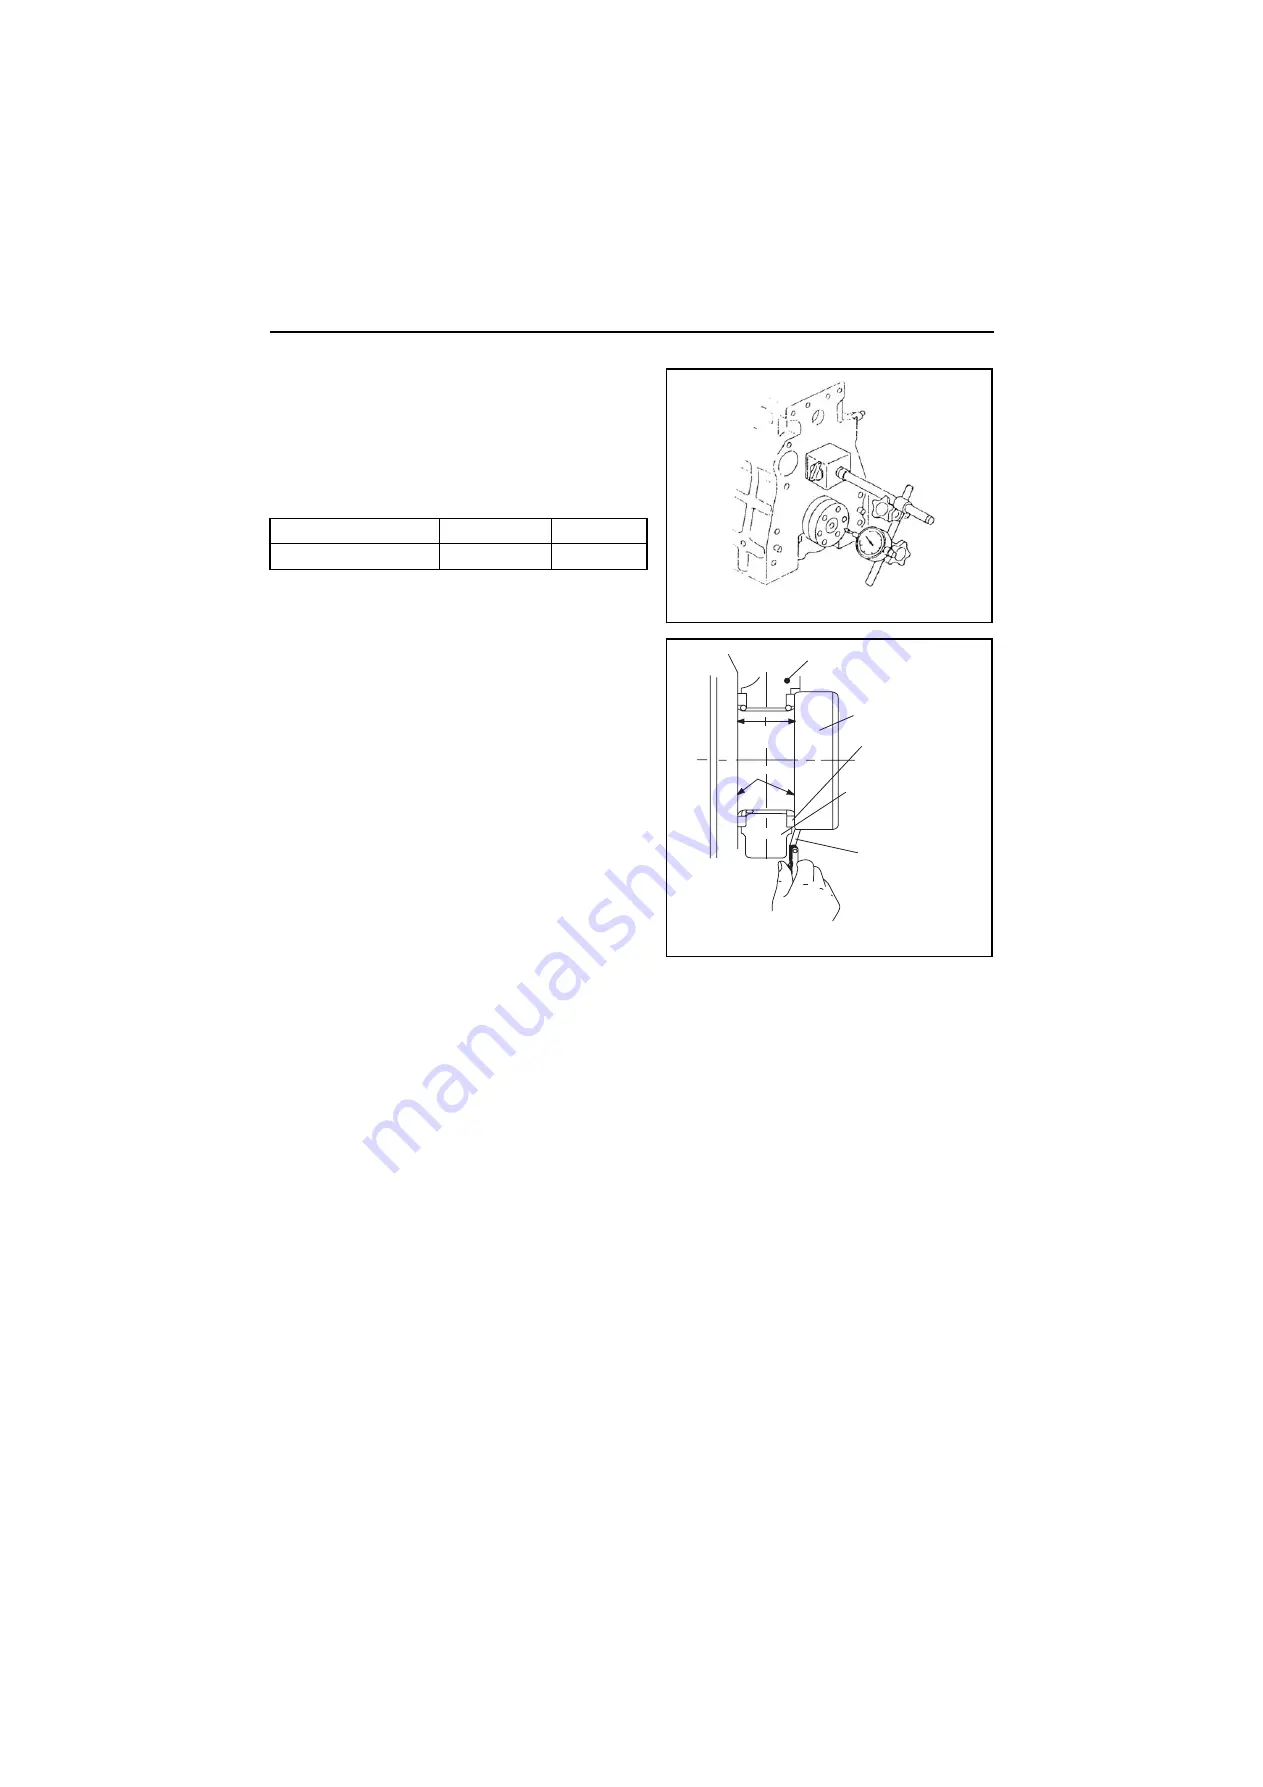
(4) Checking the side gap of a crankshaft
After assembling the crankshaft, tighten the main
bearing cap to the specified toque, and move the
crankshaft to one side, placing a dial gauge on one end
of the shaft to measure thrust clearance.
Replace the thrust bearing if it is worn beyond the limit.
Other measurement method can also be effective.
Insert the thickness gauge directly into the clearance
between the thrust metal and crankshaft thrust face.
mm
Standard
Limit
Crankshaft side gap
0.14-0.22
0.30
(Side gap measurement 1)
(Side gap measurement 2)
Cylinder block
Crankshaft
Thrust metal
Bearing cap
Standard
width
face
Thrust
Thickness gauge


