

8. Turbochager
139
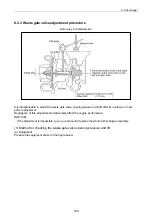
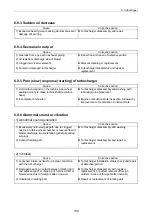
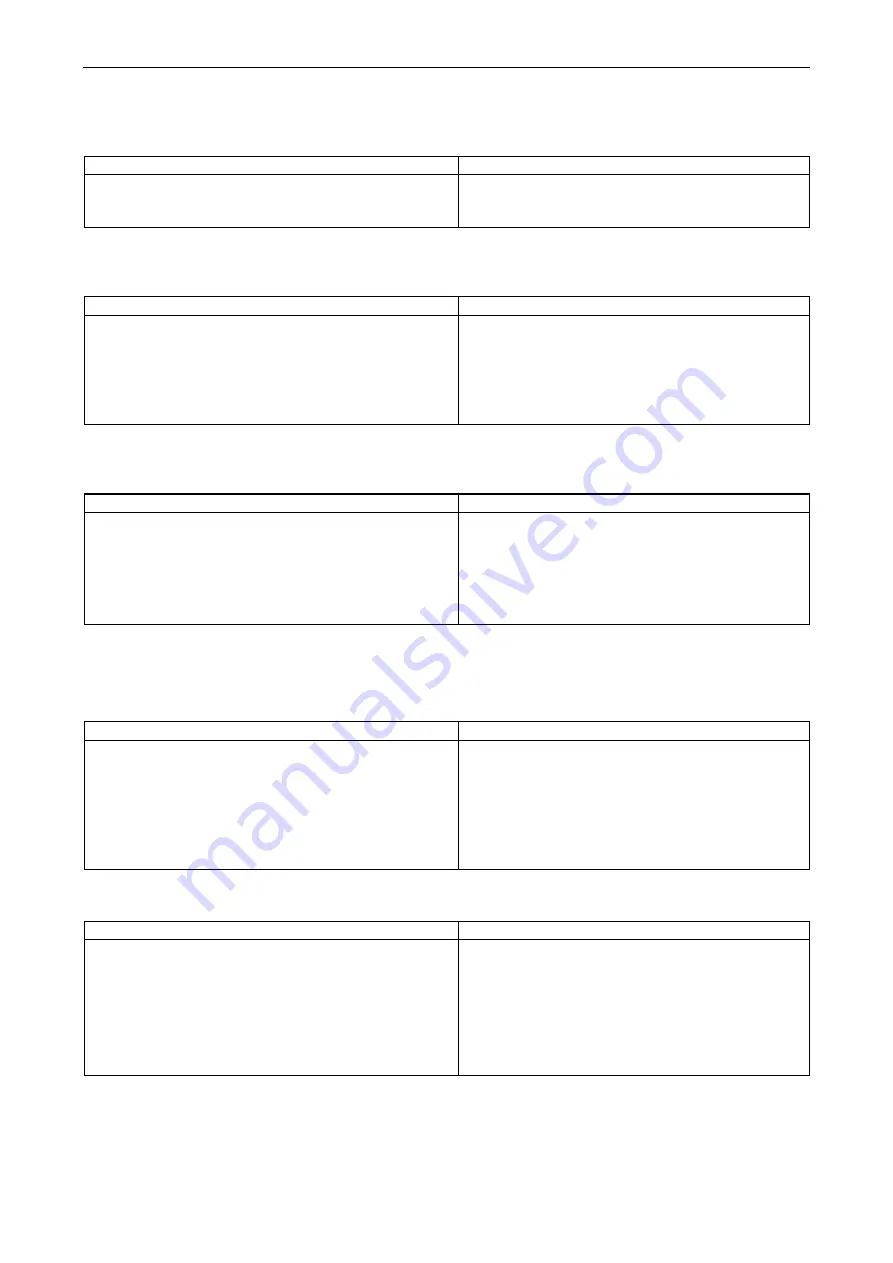
8.8.3 Sudden oil decrease
Cause Corrective
action
1) Excessive bearing wear causing abnormal wear or
damage of seal ring
Turbocharger disassembly and repair
8.8.4 Decrease in output
Cause Corrective
action
1) Gas leak from any part in exhaust piping
2) Air leak from discharge side of blower
3) Clogged air cleaner element
4) Fouled or damaged turbocharger
Inspection and repair of defective portion
Element cleaning or replacement
Turbocharger disassembly and repair or
replacement
8.8.5 Poor (slow) response (starting) of turbocharger
Cause Corrective
action
1) Hard carbon deposit on the turbine side (wheel
sealing portion) to make turbine shaft revolution
heavy
2) Incomplete combustion
Turbocharger disassembly and washing with
lubricating oil replacement
Engine combustion state inspection, followed by
improvement of combustion to normal state
8.8.6 Abnormal sound or vibration
(1) Abnormal sound generation
Cause Corrective
action
1) Excessively narrowed gas path due to clogged
nozzle in turbine wheel chamber or reverse flow of
blower discharge in acceleration (generally called
surging)
2) Contact rotating part
Turbocharger disassembly and washing
Turbocharger disassembly and repair or
replacement
(2) Vibration
Cause Corrective
action
1) Loosened intake, exhaust or oil pipe connection
with the turbocharger
2) Damaged bearing, contact between rotating part
and adjacent part, or chipping of turbine wheel or
blower vane due to foreign matter in vasion
3) Unbalanced rotating part
Turbocharger installation status check and repair
of defective portion
Turbocharger disassembly with repair or
replacement, or perfect removal of foreign
matters in case of foreign matter invasion
Repair or replacement of rotating part
Summary of Contents for 3TNV Series
Page 1: ...4TNV106 4TNV106T 4TNV94L 4TNV98 4TNV98T 3TNV82A 3TNV84 T 4TNV84 T 3TNV88 4TNV88 ...
Page 31: ...1 General 1 4 Engine External Views 16 ...
Page 32: ...1 General 1 5 Structural Description 17 ...
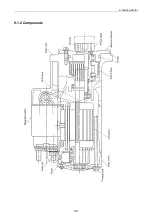
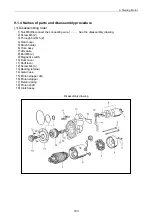
Page 156: ...9 Starting Motor 9 1 2 Components 141 ...
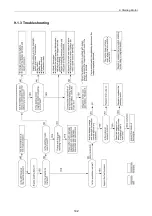
Page 157: ...9 Starting Motor 9 1 3 Troubleshooting 142 ...
Page 172: ...9 Starting Motor 9 2 3 Troubleshooting 157 ...
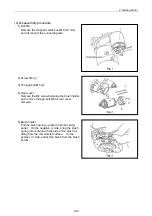
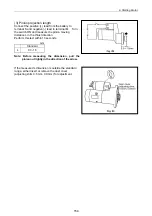
Page 175: ...9 Starting Motor 2 Removal of magnetic switch Remove the M6 bolts 10mm 2 160 ...
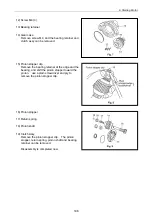
Page 185: ...9 Starting Motor 3 Brush 1 Check wear of the brush and the brush spring force 170 ...
Page 194: ...10 Alternator 179 10 1 6 Troubleshooting ...
Page 195: ...11 Electric Wiring 180 11 ELECTRIC WIRING 11 1 Electric Wiring Diagram ...
Page 213: ......


