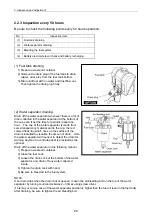
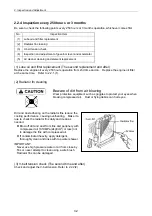


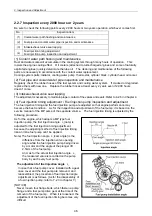
2. Inspection and Adjustment
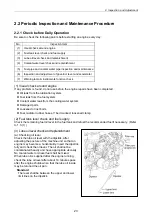
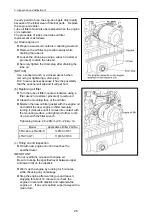
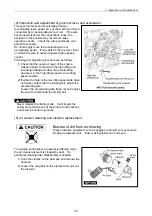
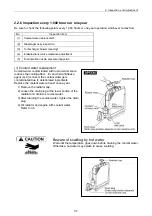
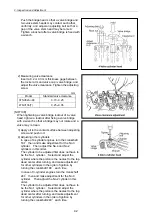
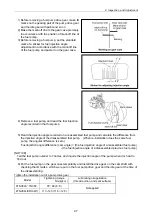
3) Blow air [0.29 0.49MPa (3.0 5.0kgf/cm
2
)] from
inside the element to blow dust off as shown in
the illustration right.
Apply the air blowing pressure as low as possible
so as not to damage the element.
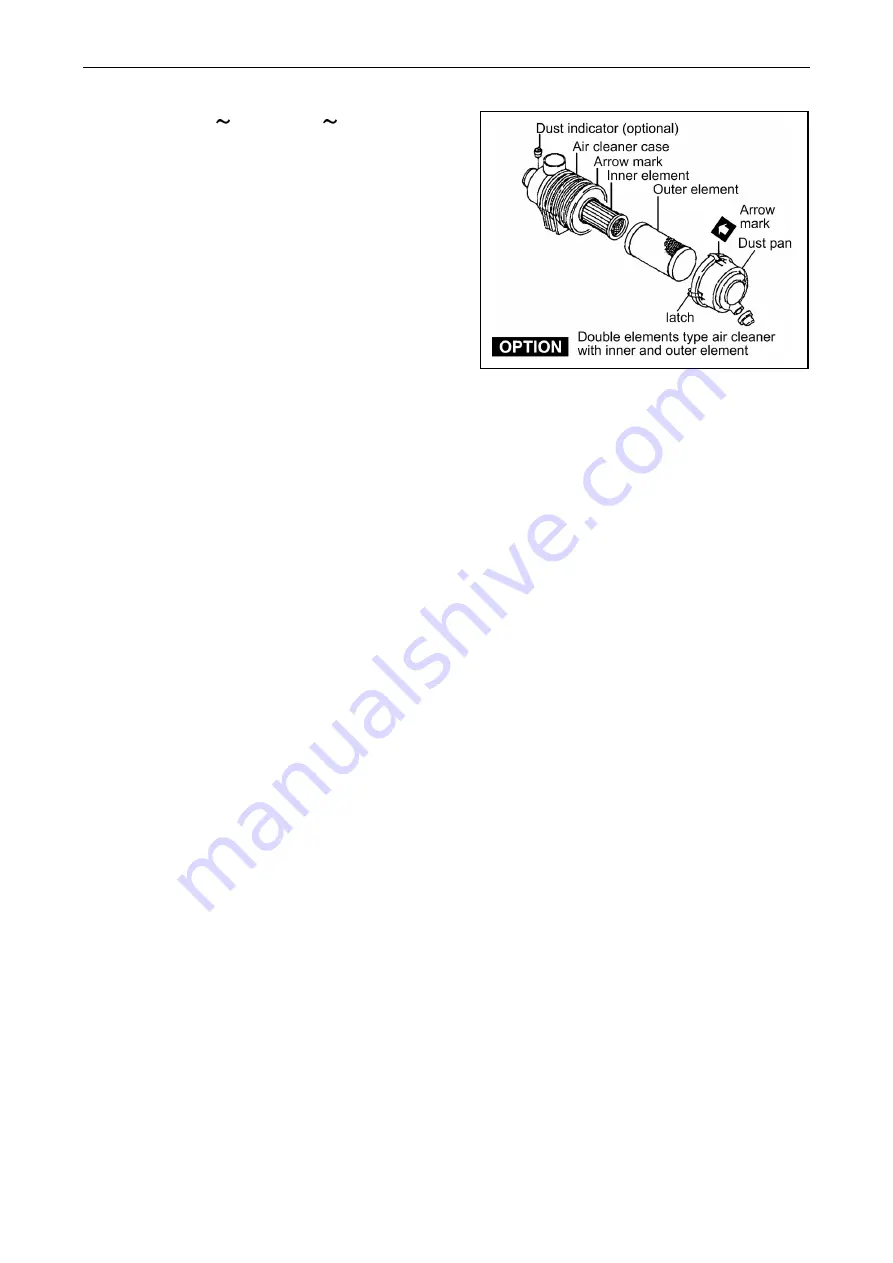
If having the air cleaner with double elements,
never remove and clean the inner element.
The aim of installing the inner element is for back
up protecting from intaking dust during engine
running when leaving the outer element to
reinstall after removing it or when damaging the
outer element unexpectedly during engine
running.
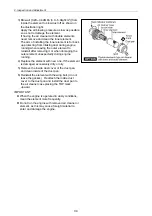
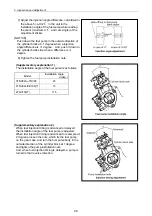
4) Replace the element with new one, If the element
is damaged, excessively dirty or oily.
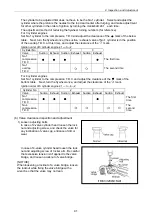
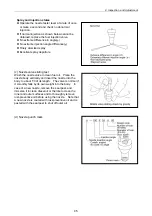
5) Remove the inside dust cover of the dust pan,
and clean inside of the dust pan.
6) Reinstall the element with the wing bolt. (do not
leave the gasket.) Reattach the inside dust
cover to the dust pan and install the dust pan to
the air cleaner case placing the TOP mark
upward.
IMPORTANT:
When the engine is operated in dusty conditions,
clean the element more frequently.
Do not run the engine with removed air cleaner or
element, as this may cause foreigh material to
enter and damage the engine.
34
Summary of Contents for 3TNV Series
Page 1: ...4TNV106 4TNV106T 4TNV94L 4TNV98 4TNV98T 3TNV82A 3TNV84 T 4TNV84 T 3TNV88 4TNV88 ...
Page 31: ...1 General 1 4 Engine External Views 16 ...
Page 32: ...1 General 1 5 Structural Description 17 ...
Page 156: ...9 Starting Motor 9 1 2 Components 141 ...
Page 157: ...9 Starting Motor 9 1 3 Troubleshooting 142 ...
Page 172: ...9 Starting Motor 9 2 3 Troubleshooting 157 ...
Page 175: ...9 Starting Motor 2 Removal of magnetic switch Remove the M6 bolts 10mm 2 160 ...
Page 185: ...9 Starting Motor 3 Brush 1 Check wear of the brush and the brush spring force 170 ...
Page 194: ...10 Alternator 179 10 1 6 Troubleshooting ...
Page 195: ...11 Electric Wiring 180 11 ELECTRIC WIRING 11 1 Electric Wiring Diagram ...
Page 213: ......


