

2. Inspection and Adjustment
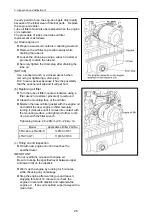
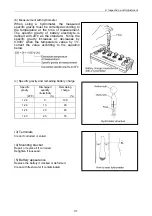
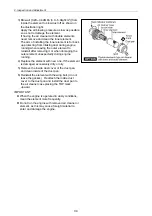
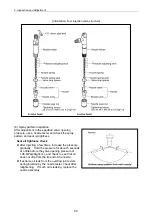
(2) Fuel filter element replacement
Replace the fuel filter at specified intervals, before it is
clogged with dust to adversely affect the fuel flow.
Also, replace the fuel filter after the engine has fully
been cooled.
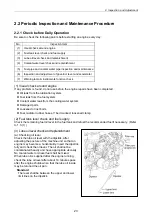
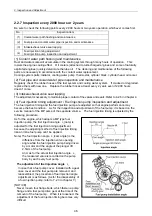
1) Close the fuel cock of the water separator.
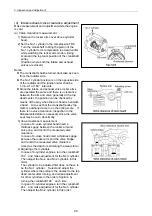
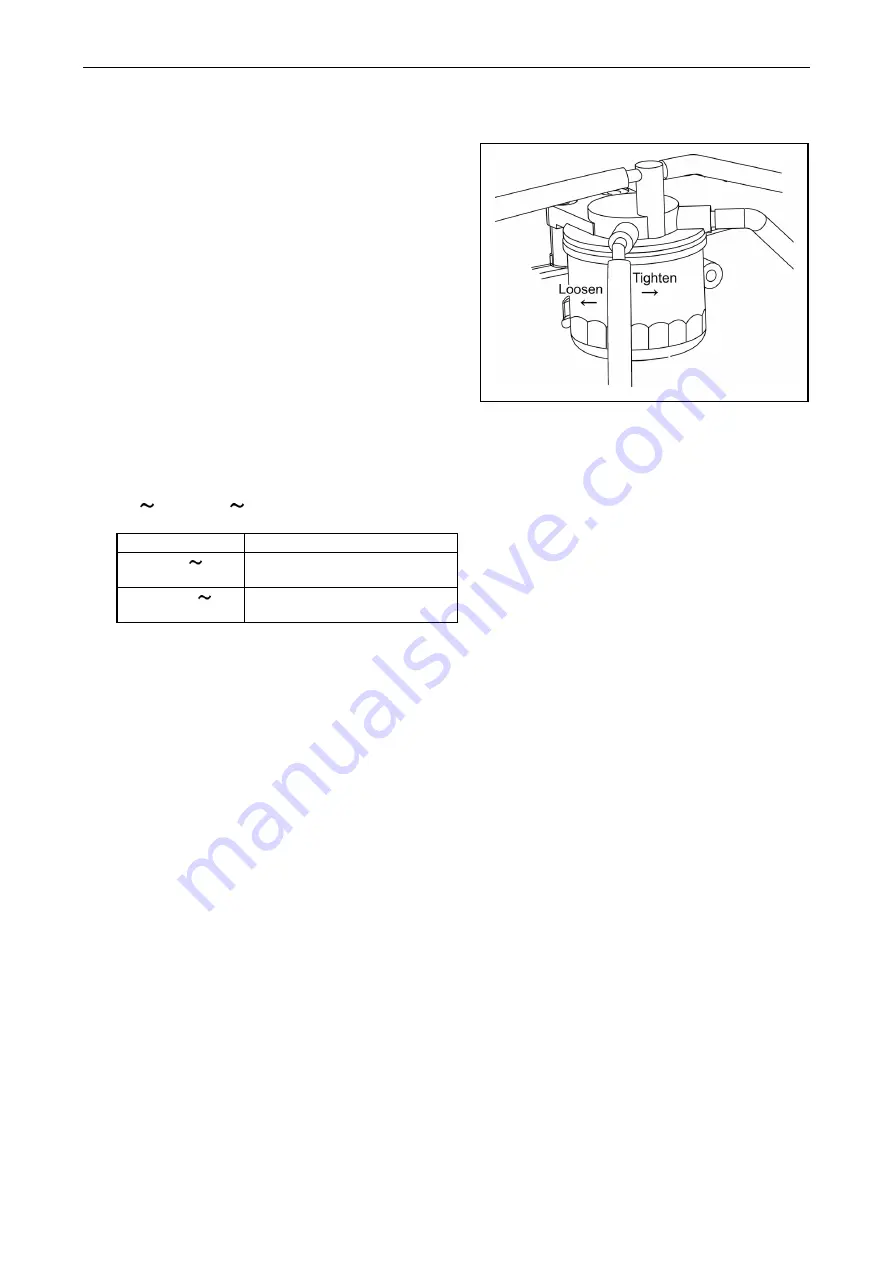
2) Remove the fuel filter using a filter
wrench(customer procured). When removing
the fuel filter, hold the bottom of the fuel filter with
a piece of rag to prevent the fuel oil from
dropping. If you spill fuel, wipe such spillage
carefully.
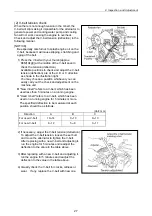
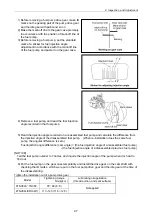
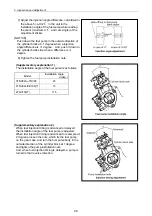
3) Clean the filter mounting surface and slightly
apply fuel oil to the gasket of the new fuel filter.
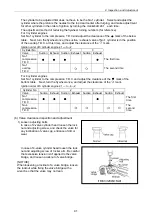
4) Install the new fuel filter manually turning until it
comes into contact with the mounting surface,
and tighten it further to 1/2 of a turn using a filter
wrench.
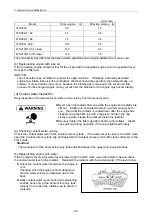
Tightening torque for 3TNV82A to 4TNV106(T):
20 24N
・
m(2.0 2.4kgf
・
m)
Model
Applicable fuel filter Part No.
3TNV82A
4TNV88
119802-55800
4TNV98(T)
4TNV106(T)
123907-55800
5) Bleed the fuel system. Refer to 2.2.3.(3)
IMPORTANT:
Be sure to use genuine Yanmar part (super fine
mesh filter). Otherwise, it results in engine damage,
uneven engine performance and shorten engine life.
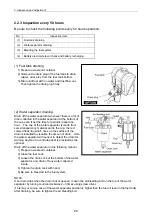
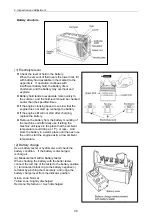
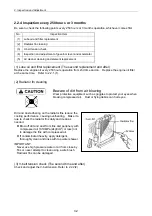
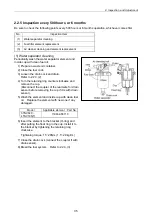
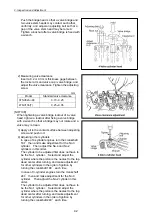
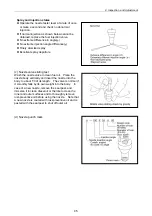
(3) Air cleaner cleaning and element replacement
Replace the air cleaner element periodically even if it is not damaged or dirty.
When replacing the element, clean inside of the dust pan at the time.
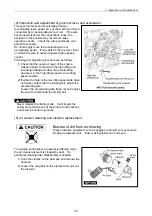
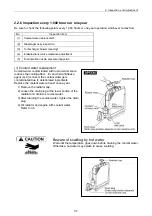
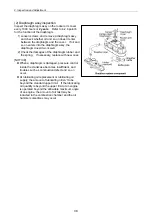
If having the air cleaner with double elements, do not remove the inner element. If the engine output is
still not recover (or the dust indicator still actuates if having the air cleaner with a dust indicator) even
though the outer element has replaced with new one, replace the inner element with new one.
36
Summary of Contents for 3TNV Series
Page 1: ...4TNV106 4TNV106T 4TNV94L 4TNV98 4TNV98T 3TNV82A 3TNV84 T 4TNV84 T 3TNV88 4TNV88 ...
Page 31: ...1 General 1 4 Engine External Views 16 ...
Page 32: ...1 General 1 5 Structural Description 17 ...
Page 156: ...9 Starting Motor 9 1 2 Components 141 ...
Page 157: ...9 Starting Motor 9 1 3 Troubleshooting 142 ...
Page 172: ...9 Starting Motor 9 2 3 Troubleshooting 157 ...
Page 175: ...9 Starting Motor 2 Removal of magnetic switch Remove the M6 bolts 10mm 2 160 ...
Page 185: ...9 Starting Motor 3 Brush 1 Check wear of the brush and the brush spring force 170 ...
Page 194: ...10 Alternator 179 10 1 6 Troubleshooting ...
Page 195: ...11 Electric Wiring 180 11 ELECTRIC WIRING 11 1 Electric Wiring Diagram ...
Page 213: ......


