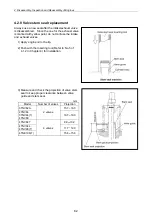
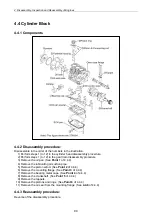
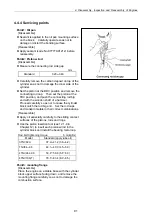
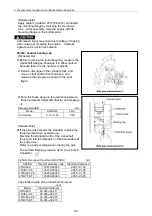
4. Disassembly, Inspection and Reassembly of Engines
80
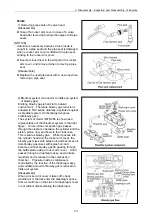
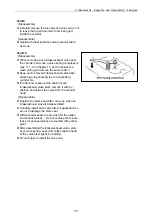
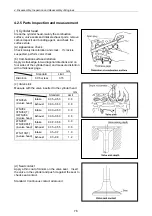
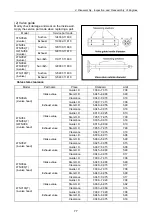
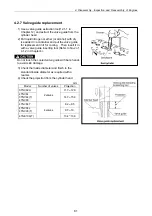
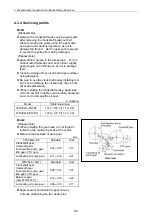
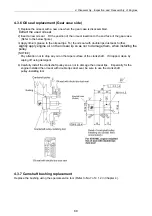
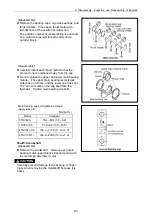
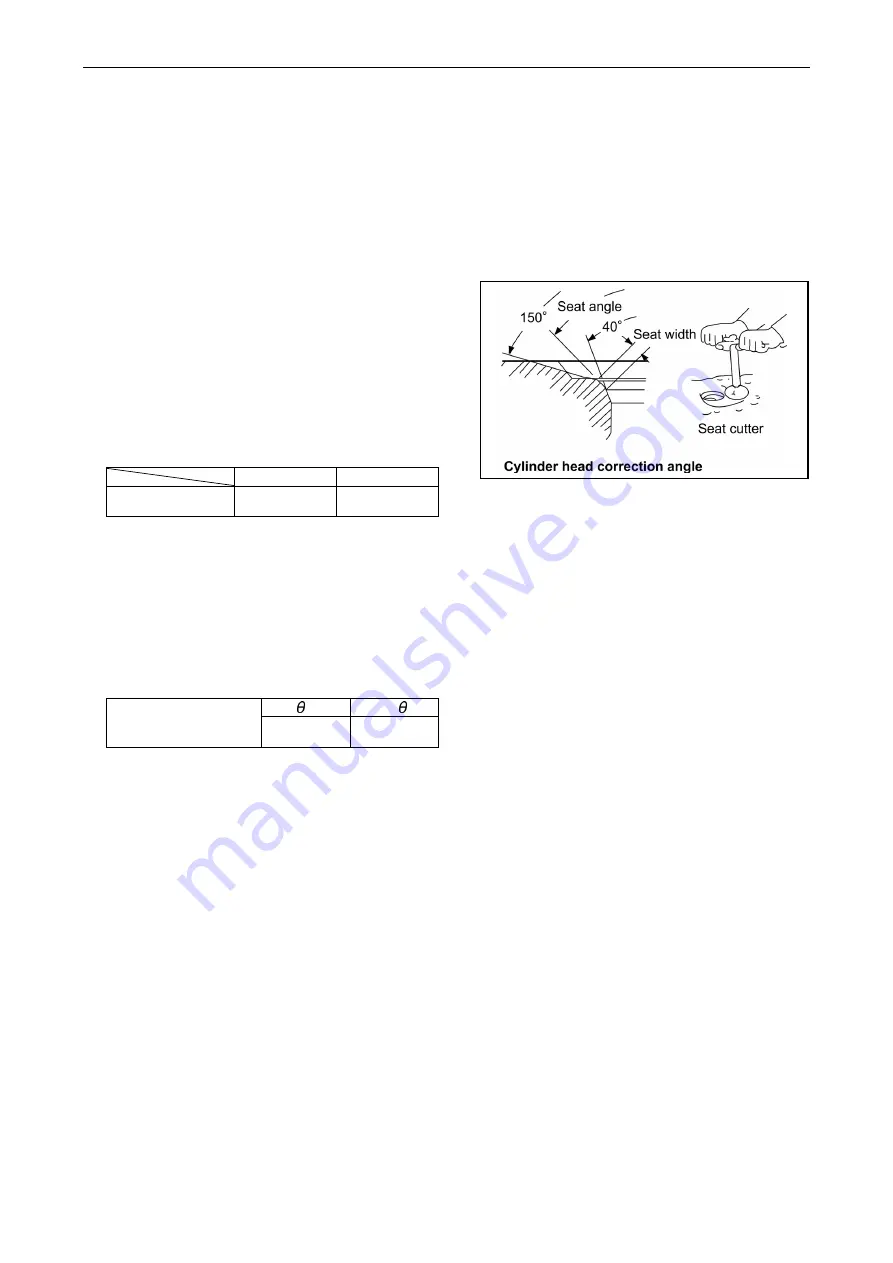
4.2.6 Valve seat correction
[NOTICE]
Always check the oil clearance between the valve and valve guide before correcting the valve seat.
If it exceeds the limit, replace the valve or valve guide first to make the clearance satisfy the standard.
After correction, wash the valve and the cylinder head sufficiently with diesel oil to remove all grinding
powder or compound.
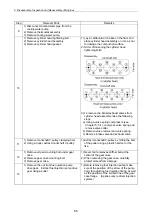
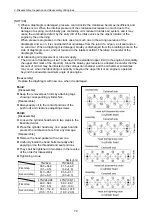
1) If the seat surface is slightly roughened: perform
[A]
and
[B]
below.
[A]:
Lap the valve and seat with a mixture of
valve compound and engine oil.
[B]:
Lap with engine oil only.
2) If the seat is heavily roughened but the width is
almost normal, correct with a seat grinder or seat
cutter first. Then perform lapping
[A]
and
[B]
.
intake
Exhaust
Seat cutter angle
120
90
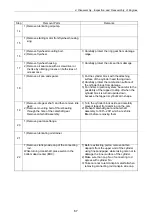
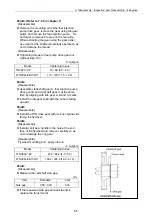
3) If the seat is heavily roughened and the width is
much enlarged, grind the seat inner surface with
a seat grinder whose center angle is 40
°
, then
grind the seat outer surface with a grinder whose
center angle is 150
°
to make the seat width
match the standard. Then perform seat
correction as described in 2), and then carry out
lapping
[A]
and
[B]
.
1
2
Grinding wheel angle
40 150
Summary of Contents for 3TNV Series
Page 1: ...4TNV106 4TNV106T 4TNV94L 4TNV98 4TNV98T 3TNV82A 3TNV84 T 4TNV84 T 3TNV88 4TNV88 ...
Page 31: ...1 General 1 4 Engine External Views 16 ...
Page 32: ...1 General 1 5 Structural Description 17 ...
Page 156: ...9 Starting Motor 9 1 2 Components 141 ...
Page 157: ...9 Starting Motor 9 1 3 Troubleshooting 142 ...
Page 172: ...9 Starting Motor 9 2 3 Troubleshooting 157 ...
Page 175: ...9 Starting Motor 2 Removal of magnetic switch Remove the M6 bolts 10mm 2 160 ...
Page 185: ...9 Starting Motor 3 Brush 1 Check wear of the brush and the brush spring force 170 ...
Page 194: ...10 Alternator 179 10 1 6 Troubleshooting ...
Page 195: ...11 Electric Wiring 180 11 ELECTRIC WIRING 11 1 Electric Wiring Diagram ...
Page 213: ......


