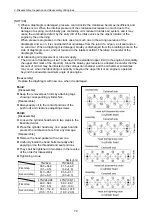
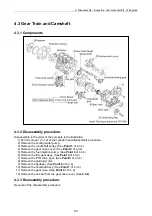
4. Disassembly, Inspection and Reassembly of Engines
84
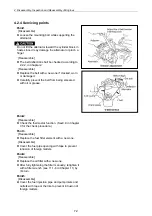
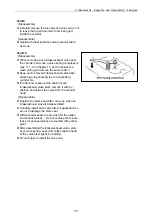
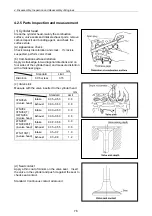
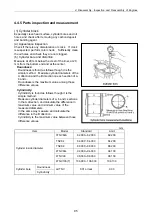
4.3.4 Servicing points
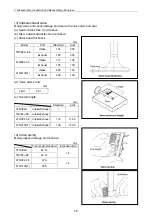
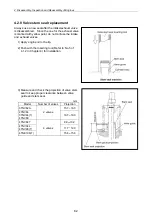
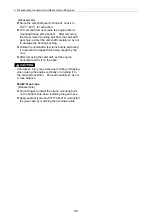
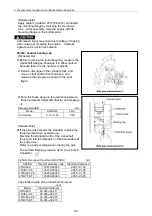
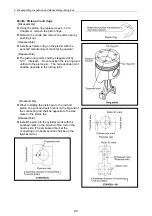
Point1
[Disassemble]
Remove the crankshaft pulley using a gear puller
after removing the crankshaft pulley set bolt.
When removing the pulley using the gear puller,
use a pad and carefully operate so as not to
damage the thread. Set the gear puller securely
to prevent the pulley from being damaged.
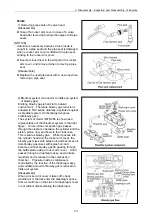
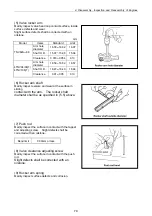
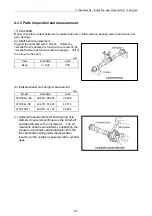
[Reassemble]
Apply lithium grease to the oil seal lips. For the
oil seal with double lips dust seal, further slightly
apply engine oil on the lips so as not to damage
them.
Clean by wiping off any oil on both taper surfaces
using detergent.
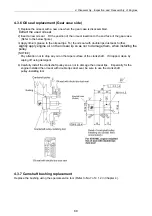
Be sure to use the crankshaft pulley installing tool
so as not to damage the oil seal lips. (See 4.3(6)
Oil seal replacement)
When installing the crankshaft pulley, apply lube
oil to the set bolt to tighten and carefully assemble
so as not to damage the oil seal.
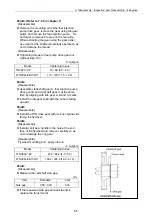
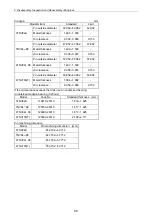
N m(kgf-m)
Model Tightening
torque
3TNV82A TNV88 112.7 122.7 (11.5 12.5)
4TNV94L/98/106(T) 107.9 127.5 (11.0 13.0)
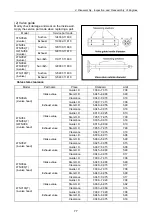
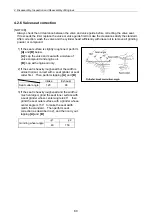
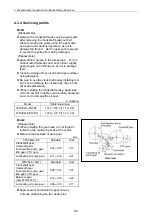
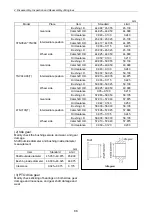
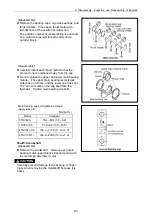
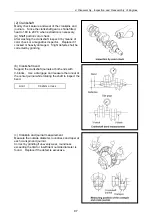
Point2
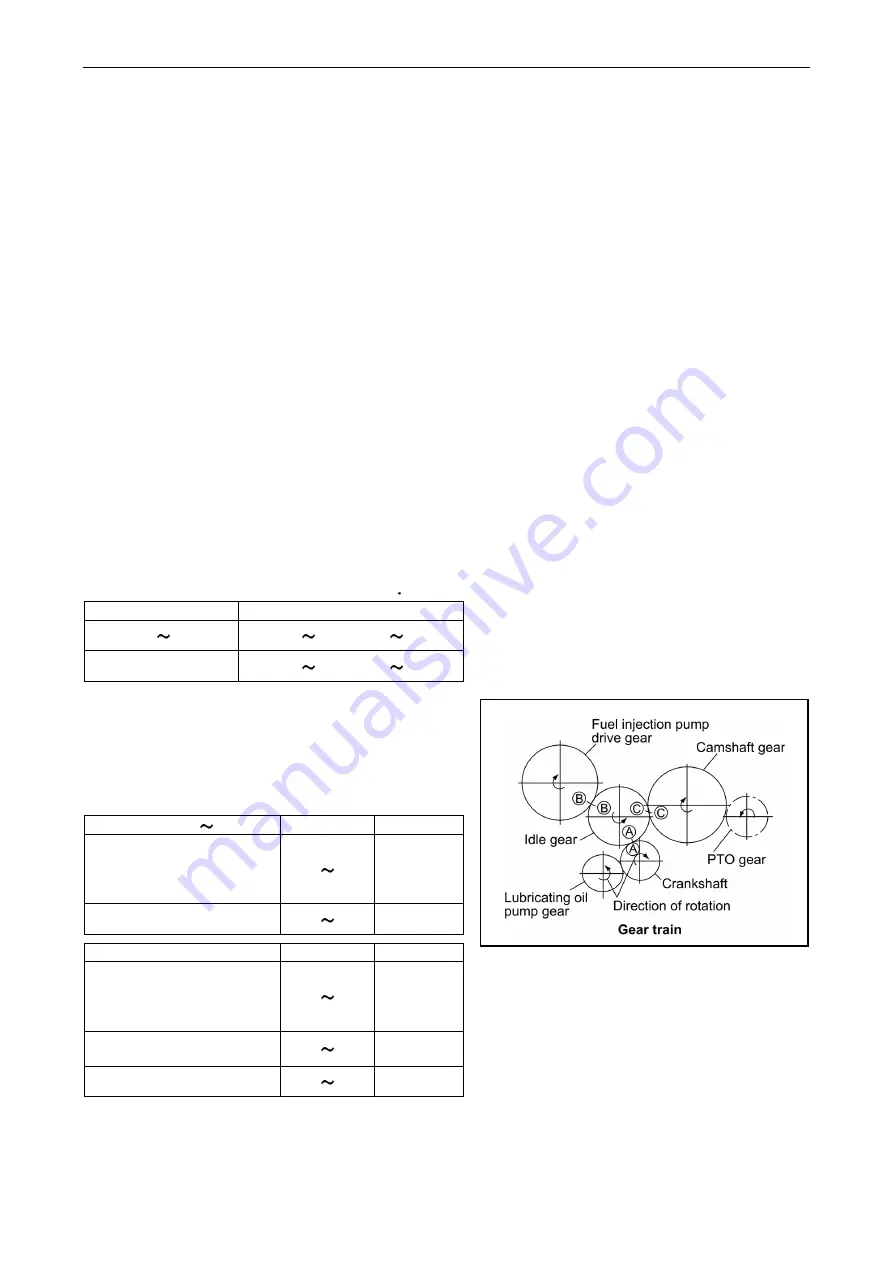
[Reassemble]
When installing the gear case, do not forget to
install the two reinforcing bolts at the center.
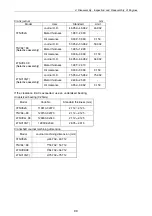
Measure the backlash of each gear.
mm
3TNV82A 88 Standard
Limit
Crankshaft gear,
Camshaft gear,
Fuel injection pump gear,
Idle gear, PTO gear,
0.07 0.15 0.17
Lubricating oil pump gear
0.11 0.19 0.21
4TNV94L-106(T) Standard
Limit
Crankshaft gear,
Camshaft gear,
Fuel injection pump gear,
Idle gear, PTO gear,
0.08 0.14 0.16
Balancer gear
(only 4TNV106(T) )
0.12 0.18 0.20
Lubricating oil pump gear
0.09 0.15 0.17
Apply sealant and install the gear case by
correctly positioning the two dowel pins.
Summary of Contents for 3TNV Series
Page 1: ...4TNV106 4TNV106T 4TNV94L 4TNV98 4TNV98T 3TNV82A 3TNV84 T 4TNV84 T 3TNV88 4TNV88 ...
Page 31: ...1 General 1 4 Engine External Views 16 ...
Page 32: ...1 General 1 5 Structural Description 17 ...
Page 156: ...9 Starting Motor 9 1 2 Components 141 ...
Page 157: ...9 Starting Motor 9 1 3 Troubleshooting 142 ...
Page 172: ...9 Starting Motor 9 2 3 Troubleshooting 157 ...
Page 175: ...9 Starting Motor 2 Removal of magnetic switch Remove the M6 bolts 10mm 2 160 ...
Page 185: ...9 Starting Motor 3 Brush 1 Check wear of the brush and the brush spring force 170 ...
Page 194: ...10 Alternator 179 10 1 6 Troubleshooting ...
Page 195: ...11 Electric Wiring 180 11 ELECTRIC WIRING 11 1 Electric Wiring Diagram ...
Page 213: ......


