ENGINE
TNV DI Service Manual
6-41
2-Valve Cylinder Head
Inspection of Push Rods
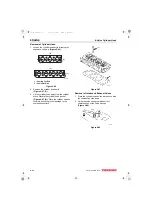
Push Rod Bend
Determine if the bend of the push rods are within
the specified limit.
1. Place the push rods on a flat inspection block or
layout bed.
2. Roll the push rods until a gap can be observed
between a portion of the push rod and the
surface of the block or layout bed.
3. Use a feeler gauge to measure the gap
(Figure 6-15). See Push Rod on page 6-9 for
the service limit.
Figure 6-15
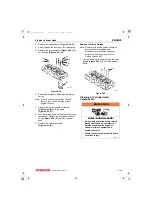
Inspection of Rocker Arm Assembly
Rocker Arm Shaft Hole Diameter
Use a test indicator and micrometer to determine if
the inside diameter of all the rocker arm support
brackets and the rocker arms (Figure 6-16) are
within the specified limits. See Rocker Arm and
Shaft on page 6-9 for the service limit.
Inspect the contact areas (Figure 6-16, (1)) for
excessive wear or damage.
Figure 6-16
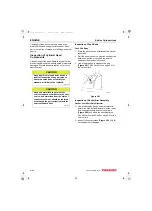
Rocker Arm Shaft Outside Diameter
Use a micrometer to measure the rocker arm shaft
diameter. Measure at each rocker arm location in
two directions 90° apart (Figure 6-17). See Rocker
Arm and Shaft on page 6-9 for the service limit.
Figure 6-17
Inspection of Valve Guides
Visually inspect the valve guides for distortions,
scoring or other damage.
Note: Measure the valve guides while they are
installed in the cylinder head.
CAUTION
Any part determined to not meet the
service standard or limit before the next
service, as determined from the state of
current rate of wear, should be replaced
even though the part currently meets the
service standard limit.
0000120en
0000204
0001916
(1)
(1)
0001952
TNV_DI_SM_A4.book 41 ページ 2007年12月6日 木曜日 午前9時23分


