5. Inspection and servicing of basic engine parts
127
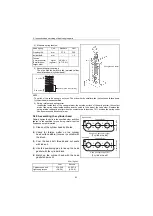
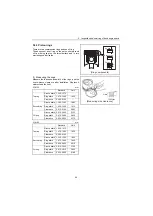
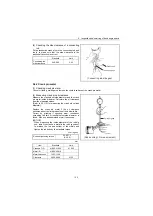
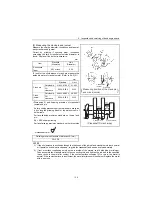
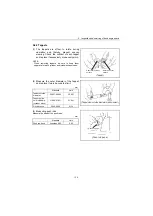
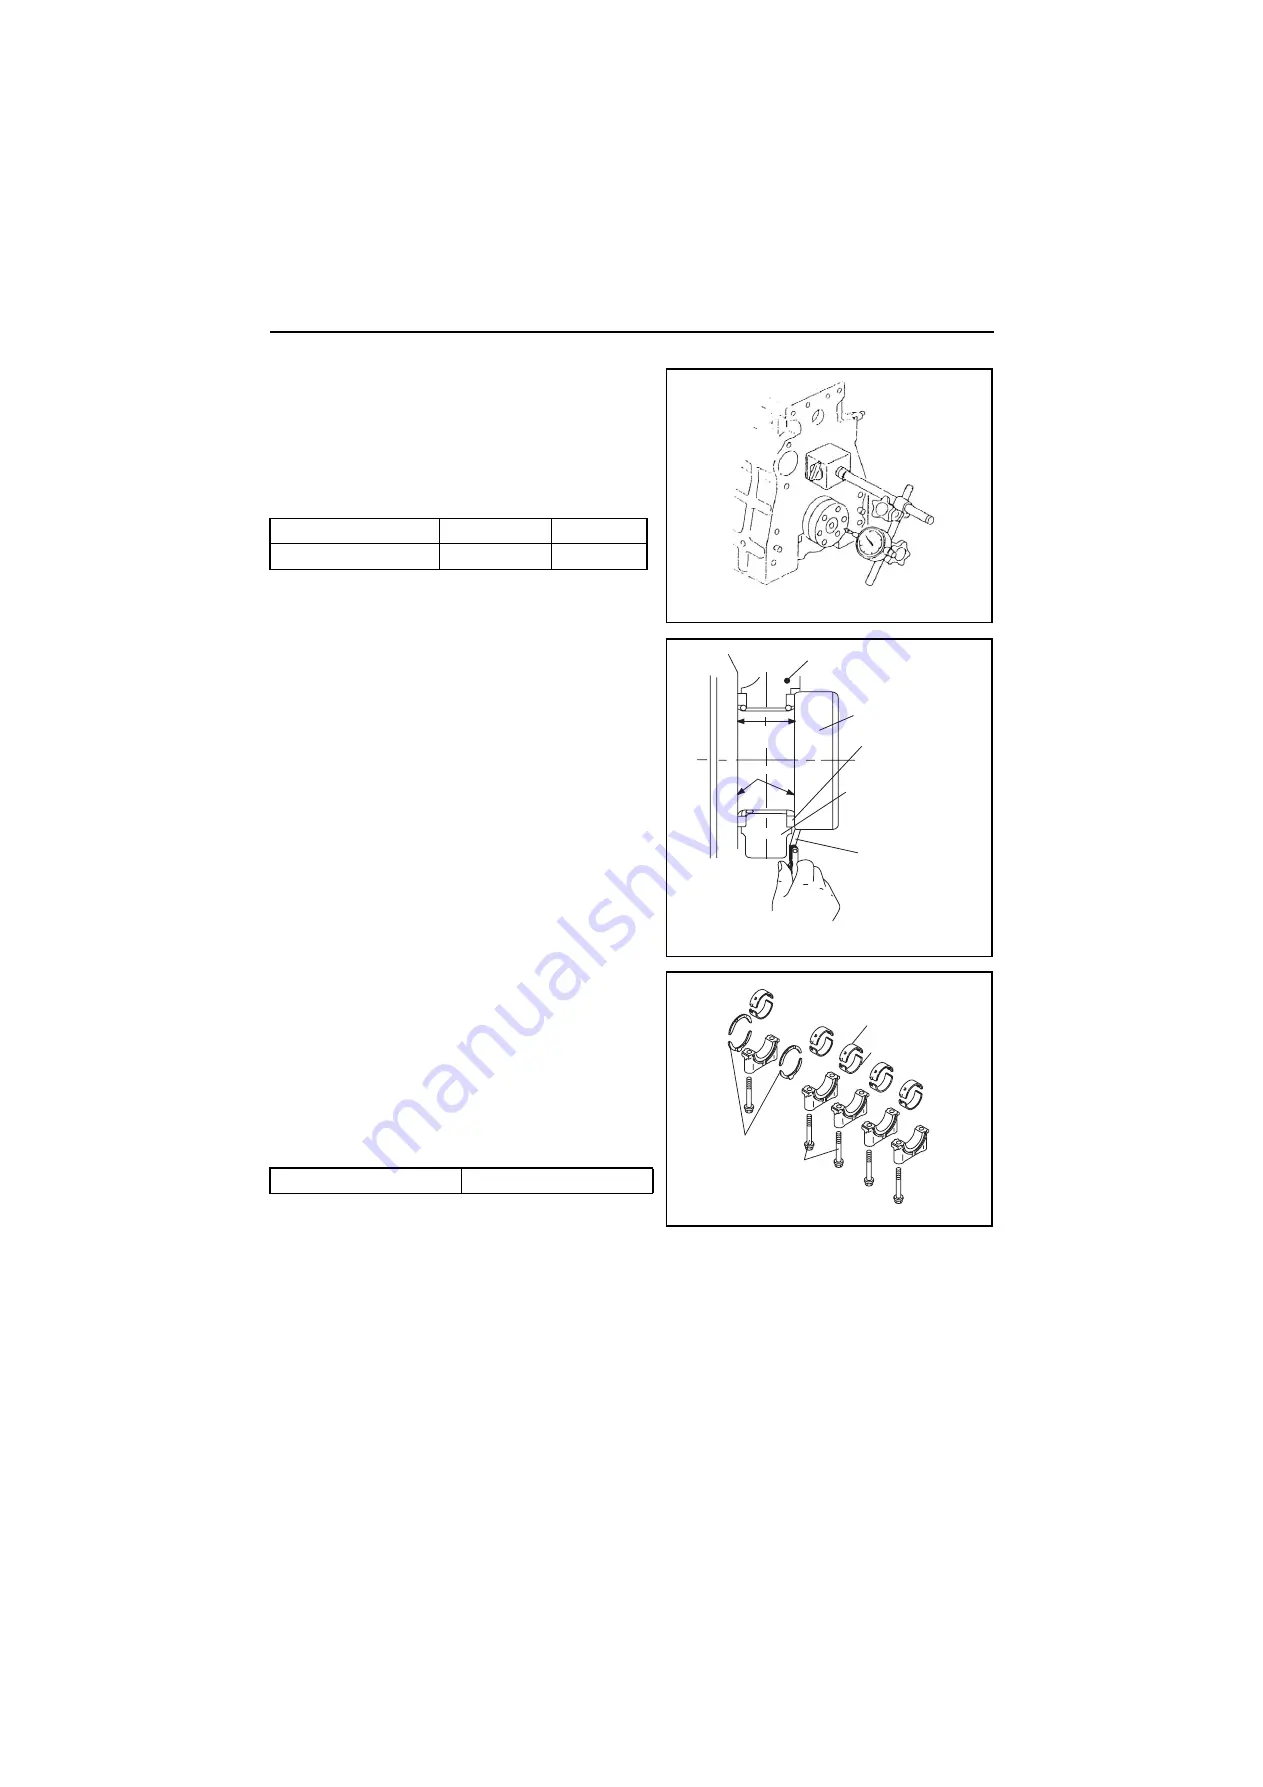
(4) Checking the side gap of a crankshaft
After assembling the crankshaft, tighten the main
bearing cap to the specified toque, and move the
crankshaft to one side, placing a dial gauge on one end
of the shaft to measure thrust clearance.
Replace the thrust bearing if it is worn beyond the limit.
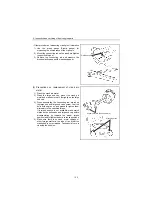
Other measurement method can also be effective.
Insert the thickness gauge directly into the clearance
between the thrust metal and crankshaft thrust face.
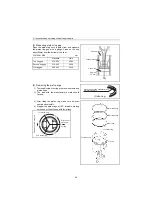
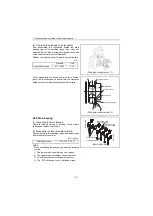
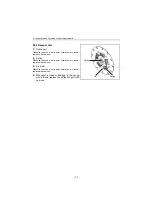
5.5.2 Main bearing
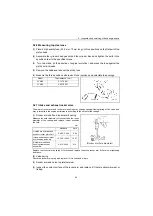
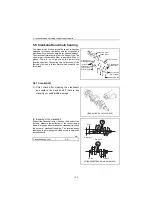
(1) Inspecting the main bearing
Check for flaking, seizure or burning of the contact
surface and replace if necessary.
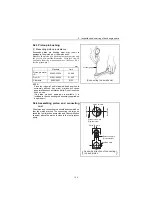
(2) Measuring the inner diameter of metal
Tighten the cap to the specified torque and measure the
inner diameter of the metal.
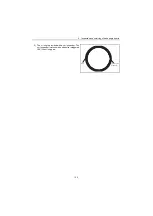
NOTE:
When assembling the bearing cap, keep the following
in mind.
1) The lower metal (cap side) has no oil groove.
2) The upper metal (block side) has an oil groove.
3) Check the cylinder block alignment number.
4) The “FW” on the cap lies on the flywheel side.
mm
Standard
Limit
Crankshaft side gap
0.111-0.250
0.30
N•m (kgf•m)
Tightening torque
75.5-81.5 (7.7-8.3)
(Side gap measurement 1)
(Side gap measurement 2)
Cylinder block
Crankshaft
Thrust metal
Bearing cap
Standard
width
face
Thrust
Thickness gauge
Thrust metals
Block side main
bearing metals
Cap side main
bearing metals
(Main bearing)
Wheel side
Gear side
Main bearing bolt
Summary of Contents for 3YM20
Page 1: ...M9961 03E100 ...

