


SA
S
er
ies
SU
B
-C
O
M
PAC
T T
R
AC
TO
R
/C
O
M
PAC
T T
R
AC
TO
R
OP
E
R
AT
ION MANU
AL
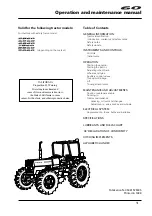
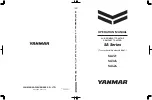
OPERATION MANUAL
SUB-COMPACT TRACTOR
COMPACT TRACTOR
( Tractor Serial Number 400001 - )
SA Series
SA221
SA324
SA424
0A041-EN0072 (Ver. 1.0)
Jul. 2018 (YTSK)
PRINTED IN U.S.A.
YANMAR AGRIBUSINESS CO., LTD.
https://www.yanmar.com