


Installatieinstructies en
Bedieningshandleiding
Installation instructions and
Operation manual
Einbauanleitung und
Bedienungshandbuch
Instructions d’installation et
Manuel d’utilisation
Instrucciones de instalación y
Manual de manejo
Istruzioni per il montaggio e
Manuale per l’uso
Copyright © 2016 Vetus b.v. Schiedam Holland
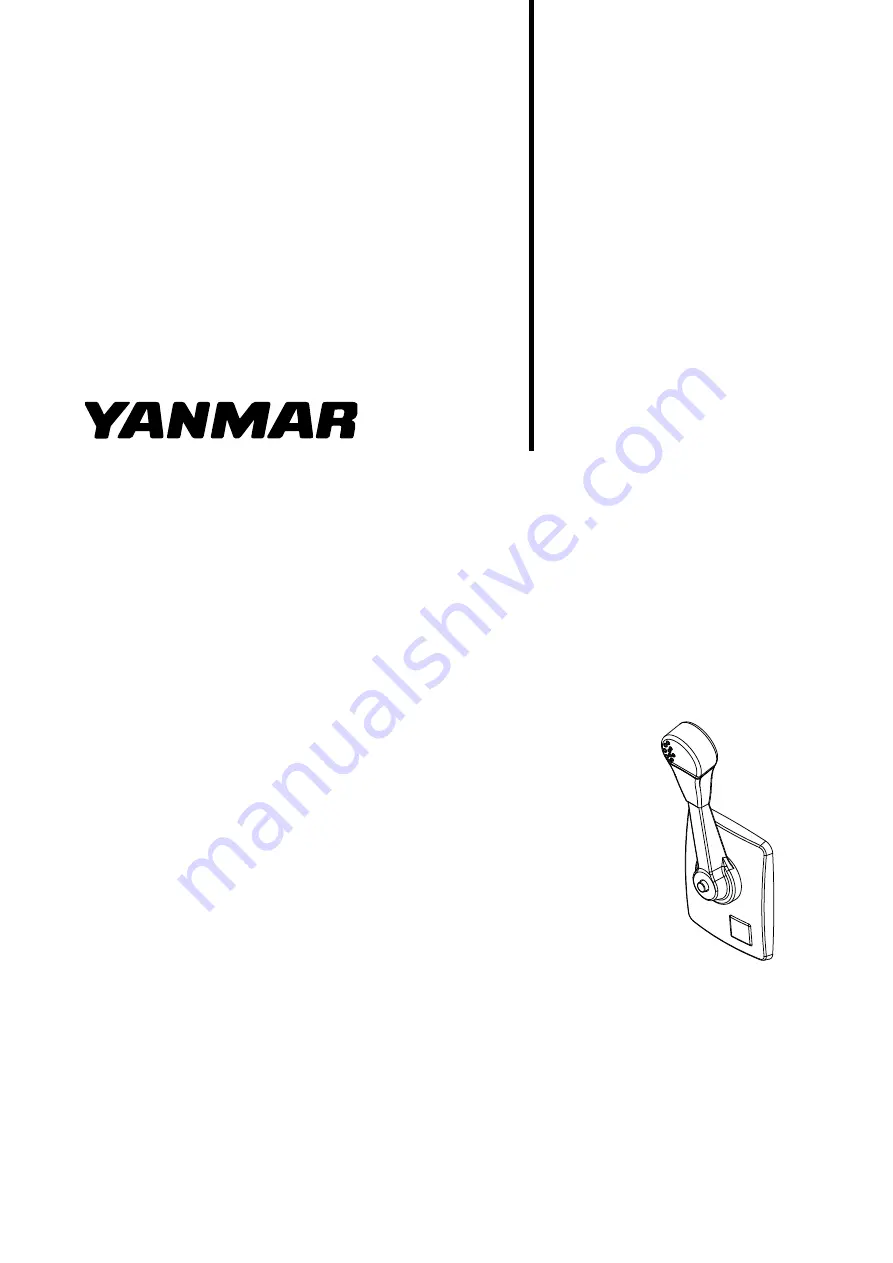
Mechanische motorafstandsbediening
Mechanical remote engine control
Mechanische Motor-Fernbedienung
Télécommande mécanique pour moteur
Mando a distancia mecánico para motores
Telecomandi meccanici per motori
2
6
10
14
18
22
AFSTZIJY


