43
•
The machine can be fitted when this op-
tion is requested.
•
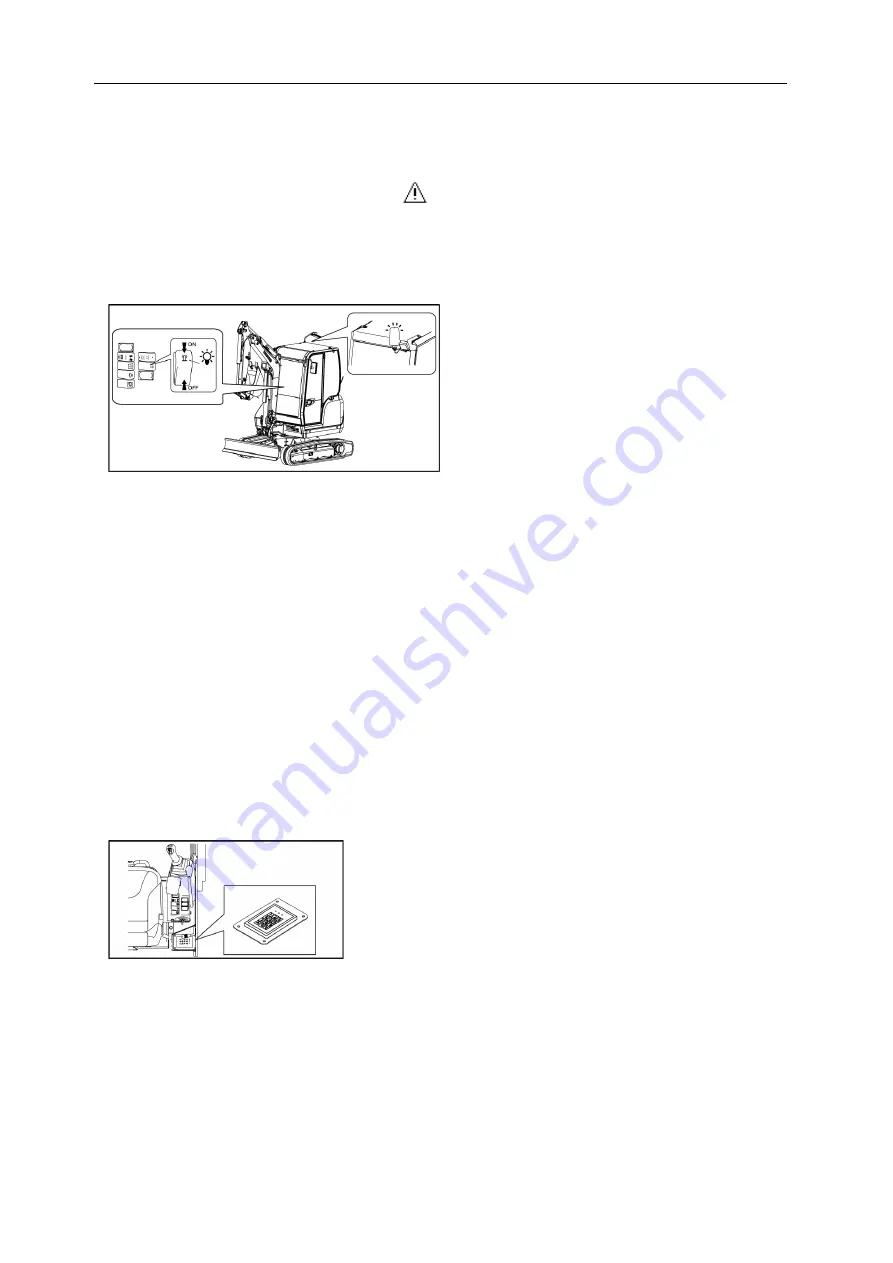
The beacon kit includes the beacon, its
electrical harness and its support, and a moun-
table switch in the cockpit.
•
To activate the flashing light attached to the rear of the cab, turn on the switch located in the
cab on the right of the driver's seat.
•
To attach the flashing light:
1. Remove the protective cap from the pin's tip.
2. Insert the tip of the flashing light in the pin and tighten the nut located at the base of the flash-
ing light.
7.10 Keypad immobilizer
•
The machine can be fitted when this option is requested.
•
The theft deterrent keypad consists of an immobilizer box and a keypad installed in the
cockpit.
•
For more information, consult the instructions supplied with the device.
1. Once the user code has been programmed,
type A, then the 4-digit code and press button
V.
Note
When the code is recognised, the
green light (to the left) will light up.
2. Then turn the starter key within 60
seconds.
7.9 Plug-in flashing light
DANGER
Keep three points of support with the machine to complete the installation safely.
If three points of stable support are not available, use suitable equipment to operate the
machine safely.
Summary of Contents for SV26
Page 3: ......
Page 5: ......
Page 7: ......
Page 9: ......
Page 17: ......
Page 19: ...2 ...
Page 24: ...3 Warning labels 7 3 1 Location of the warning adhesive labels ...
Page 25: ...3 Warning labels 8 ...
Page 75: ...58 ...
Page 115: ...9 Rubber tracks 98 9 6 Track replacement 6 4 2 Track replacement page 149 ...
Page 145: ...128 ...
Page 175: ...158 ...
Page 179: ...162 ...
Page 181: ...164 ...
Page 187: ...170 ...
Page 200: ...C Notes 183 ...
Page 204: ...MINI EXCAVATOR http www yanmar eu ...
Page 205: ...MINI EXCAVATOR SV26 USER OPERATION AND MAINTENANCE MANUAL ...


