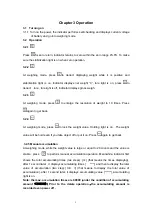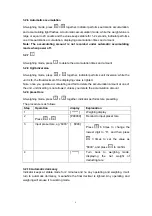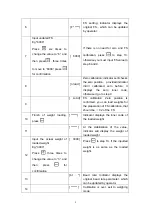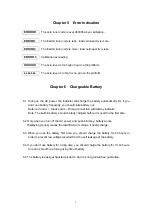
3.3 At calibration and preset tare mode, some of the keys perform as follows
1.
: perform “1” adding, press
to add “1” on the lowest digit .
2.
: perform moving, press
to move the lowest digit to left.
3
: perform inputting, press
to input setting value to the indicator
4
: perform exiting, press
to exit calibration
Chapter 4 Calibration
4.1 Turn on the indicator and connect load cell correctly . the indicator warms up for 15-30
minutes at “no load”
At weighing mode, press
+
together for calibration
4.2 Calibration steps
Step Operation Display
Explanation
1
[ ****** ]
Weighing display
2
Press
+
[ d * ]
Setting of interval: indicator displays
the original interval, which can be
updated by operator
3
Input updated interval
Eg: “1”
Press
once to change
the value to “1”
Press
for confirmation
[ d 1 ]
Parameter range:1,2,5,10,20,50,
Press
to confirm the updated
one is as same as the original one
4
[dP *]
Decimal setting:
Indicator displays the original decimal
position, which can be updated by
operator.
5
Input updated decimal
Eg: “3”
Press
three times to
change the value to “3”
Press
for confirmation
[dP 3]
Parameter range:0~5,
0 means no decimal,
1~5 separately means the decimal
position from 1~5
Press
to confirm the updated
one is as same as the original one.
7


