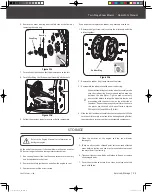
Ball Bearing
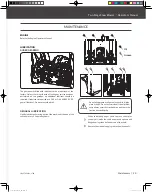
If an assistant is available, you can also separate the auger housing
from the frame assembly to replace belts.
1. Shut off engine, remove key, disconnect spark plug wire and
allow unit to cool completely.
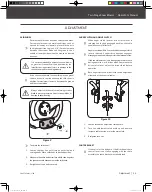
2. Remove belt cover. (See
Figure 17a
)
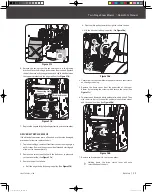
3. Remove the clevis pin and washer from the directional chute
control to remove it from the lower bracket.
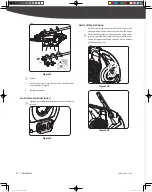
4. Remove bottom cover to avoid bending it when tipping unit
apart. (See
Figure 17c
)
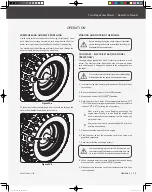
5. Remove the screws securing auger housing to the frame (two
on each side). Tip auger housing and frame. (See
Figure 18c
)
6. Replace auger belt or drive belt.
7. Tip auger housing and frame back together and secure with
screws.
Holding down the auger clutch lever will ease
reconnection of the auger housing and frame.
8. Place belt(s) onto engine sheave(s).
9. Reinstall the directional chute control.
Figure 18c
If the snow blower fails to drive with the drive clutch engaged, and
performing the clutch control cable adjustment fails to correct the
problem, the friction wheel may need to be replaced.
1. To prevent spillage drain all fluids, remove all fuel by rinning
engine until it stops. Remove the key to avoid unintended
starting and allow unit to cool completely.
2. Carefully pivot the snow blower up and forward so that it rests
on the auger housing.
3. Remove the frame cover(s) from the underside of the snow
blower by removing the screws which secure the cover(s). (See
Figure 17c
)
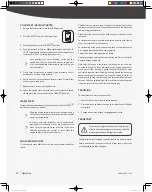
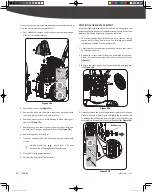
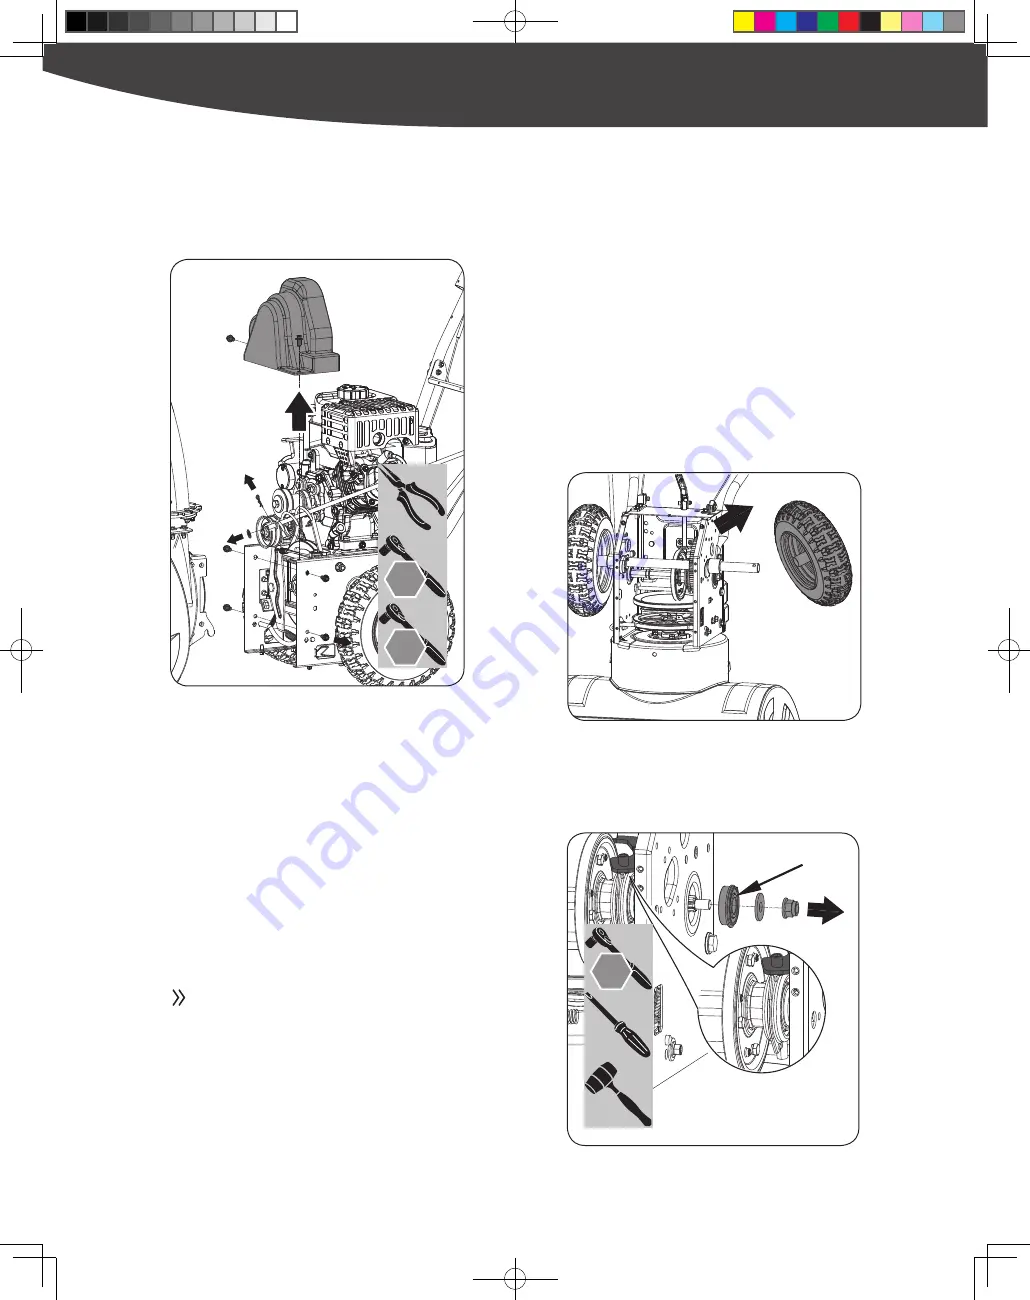
4. Remove the right-hand wheel by removing the axle lock pin.
(See
Figure 19a
)
5. Carefully remove the hex nut and washer which secures the hex
shaft to the snow blower frame and lightly tap the shaft’s end
to dislodge the ball bearing from the right side of the frame. be
careful not to damage the threads on the shaft. (See
Figure 19b
)
FRICTION WHEEL REPLACEMENT
Figure 19a
Figure 19b
10
mm
13
mm
16
mm
19
mm
10
mm
13
mm
16
mm
19
mm
10
mm
13
mm
16
mm
19
mm
23
YB6270PM01 - 1708
|
Service
30255JUS25M101_GB.indd 23
2017/8/24 19:25:17


