background image

model no. 060-3874-8  |  contact us: 1.866.523.5218

20

AIR VENTS

Never cover air vents. Keep them free of obstructions and debris. They must always remain 

clear for proper motor cooling.

OPERATING AS A BLOWER

hold the blower firmly. Sweep from side to side with the nozzle several inches above the 

ground or floor. Slowly advance the unit, keeping the accumulated pile of debris in front of 

you. most dry blowing operations are better suited to low speeds, rather than high speeds. 

high-speed blowing is a better way to move heavier items like large debris or gravel.

OPERATING AS A VACUUM

hold the vac firmly, tilting the vacuum tubes (2-4 in. or 5-10 cm), and use a sweeping action 

to collect light debris. The debris will flow into the bag. Items such as small leaves and twigs 

will be mulched as they pass through the fan housing. For longer bag life and increased 

performance, empty the bag often.

CLEARING A BLOCKED TUBE / IMPELLER

1. Slide the Power/Speed switch down to the OFF position, and wait until the unit comes to a 

complete stop.

2. unplug the unit.

3. Remove the blower tube or vacuum tubes and the bag.

4. Carefully remove material blocking the tube or impeller. Inspect the blades to ensure that 

no damage has occurred. Rotate the impeller blades by hand to ensure that the blockage is 

completely cleared.

5. Reinstall the blower tube or vacuum tubes and the bag.

6. Plug the unit back into the power supply.

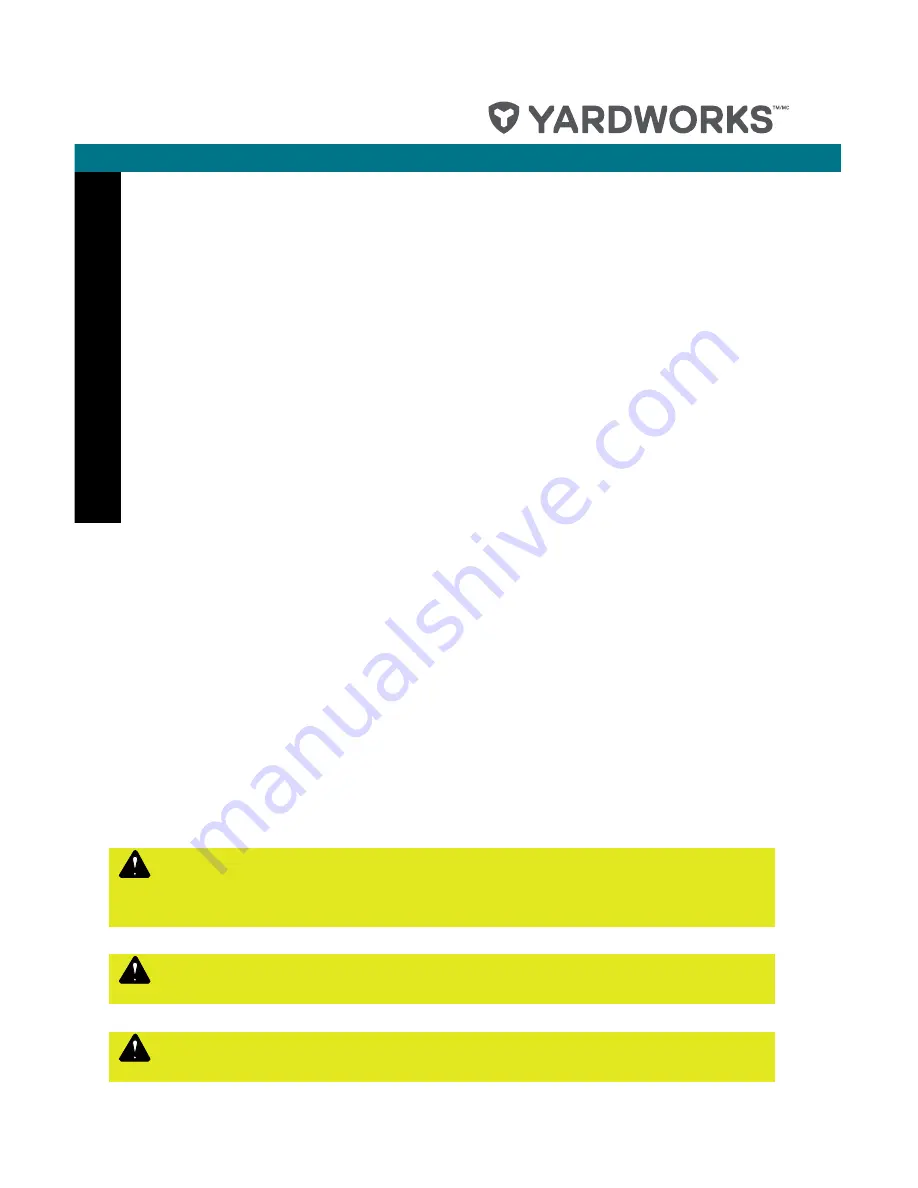
STOP! BLOWER WILL NOT RUN UNTIL GATE IS CLOSED AND LOCKED!


WARNING

: To avoid serious personal injury, do not wear loose-fitting 

clothing or articles such as scarves, strings,chains, ties, etc., that could 

get drawn into the air vents. Tie back long hair to make sure it does not get 

drawn into the air vents.


WARNING

:To avoid serious personal injury, be sure the unit is OFF and 

unplugged before clearing the impeller.


WARNING

:To avoid serious personal injury, always wear gloves to protect 

yourself from the impeller blades or other sharp objects.

Maintenance

Summary of Contents for 060-3874-8

Page 1: ...model no 060 3874 8 contact us 1 866 523 5218 IMPORTANT Read and follow all safety rules and operating instructions before using this product Instruction Manual Electric Leaf Blower Vac with Bag...

Page 2: ...ion 8 EXPLODED VIEW 9 PARTs LIST 10 assembly 11 operation 16 maintenance 20 troubleshooting 22 WARRANTY 23 Table of Contents Motor 12 A Air volume 375 CFM Air velocity 150 or 230 MPH 241 or 370 km h M...

Page 3: ...model no 060 3874 8 contact us 1 866 523 5218 3 1 Switch 2 Auxiliary handle 3 Lock button 4 Blower tube 5 Concentrator nozzle 6 Power cord 7 Vacuum tubes 8 Bag Know Your Blower 1 2 3 4 5 6 7 8...

Page 4: ...d construction min Per Minute Revolutions strokes surface speed orbits etc per minute Safety Alert Indicates a potential personal injury hazard Wet Conditions Alert Do not expose to rain or use in dam...

Page 5: ...ially hazardous situation which if not avoided may result in minor or moderate injury CAUTION Without Safety Alert Symbol Indicates a situation that may result in property damage WARNING To avoid seri...

Page 6: ...extension cord receptacle or extension cord plug in any way Avoid body contact with grounded surfaces such as pipes radiators ranges and refrigerators There is an increased risk of electric shock if...

Page 7: ...aged left outdoors or dropped into water return it to an authorized service centre Do not leave the tool unattended when plugged in Unplug from the power outlet when not in use before servicing and be...

Page 8: ...the proper outlet Do not change the plug in any way This unit has a polarized plug one blade is wider than the other and will require the use of a polarized extension cord This unit plug will only fi...

Page 9: ...model no 060 3874 8 contact us 1 866 523 5218 9 Exploded View...

Page 10: ...3640127 POWER CORD 1 12 34111142 WORM ENCLOSURE 1 13 3410679 3 LOCK BUTTON FOR BLOWER TUBE 1 14 3420106 SHOCKPROOF PAD 1 15 3320127 BUSHING 1 16 33901142 MAGNESIUM IMPELLER 1 17 33203142 BLADE 1 18 34...

Page 11: ...ing call the toll free helpline at 1 866 523 5218 for assistance WARNING To avoid serious personal injury the blower tube or vacuum tubes and bag must be used when operating this unit NOTE blower tube...

Page 12: ...acuum tube into the front clip see Fig 3 on page 13 Press the lock button back to engage the vacuum tube see Fig 4 on page 13 4 To remove vacuum tubes follow steps 3 2 1 5 Insert the bag adaptor into...

Page 13: ...model no 060 3874 8 contact us 1 866 523 5218 13 Assembly...

Page 14: ...AS A BLOWER 1 Slide the blower tube 3 back onto the blower until the lock button 1 engages 2 Insert the concentrator nozzle 2 onto the blower tube 3 Concentrator nozzle is used to increase air flow i...

Page 15: ...18 15 model no 060 3874 8 contact us 1 866 523 5218 INSTALLING THE SHOULDER HARNESS While standing in the operating position adjust the length to fit the operator s size Pull the tab to lengthen pull...

Page 16: ...the extension cord to the unit by using the cord retainer at the rear of the blower 2 Make a loop in the extension cord and pass it through the gap at the rear of the blower and place it over the hoo...

Page 17: ...ch Slide the switch forward for ON Slide the switch forward to the first position for LOW speeds up to 150 MPH 241 km h Slide the switch forward to the second position for HIGH speeds up to 230 MPH 37...

Page 18: ...lasses or goggles ear hearing protection gloves long pants and a long sleeved shirt WARNING To avoid serious personal injury wear goggles or safety glasses at all times when operating this unit Wear a...

Page 19: ...onable hours not early in the morning or late at night when people might be disturbed Comply with times listed in local ordinances Usual recommendations are 9 00 am to 5 00 pm Monday through Saturday...

Page 20: ...e bag often CLEARING A BLOCKED TUBE IMPELLER 1 Slide the Power Speed switch down to the OFF position and wait until the unit comes to a complete stop 2 Unplug the unit 3 Remove the blower tube or vacu...

Page 21: ...such as pine and lemon and solvents such as kerosene because they can damage plastic housings or handles Wipe off any moisture with a soft dry cloth CLEANING THE BAG 1 Empty the bag after each use to...

Page 22: ...not start 1 Unit is unplugged 1 Check cord to make sure it is plugged into an electrical outlet 2 Power speed switch is in the OFF position 2 Slide switch to high or low 3 Defective power switch 3 Ca...

Page 23: ...s are warranted to the original purchaser to be free from defects in material and workmanship for a period of one hundred twenty 120 days from the date of retail purchase How to obtain service Warrant...

Reviews: