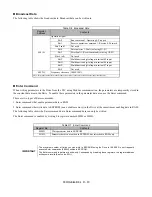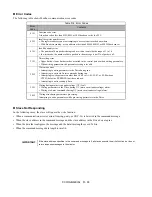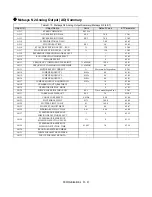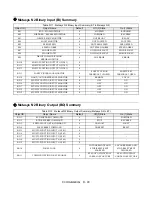
Communications D - 4
Communication Connection Terminal
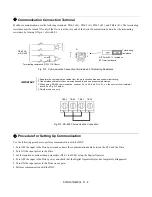
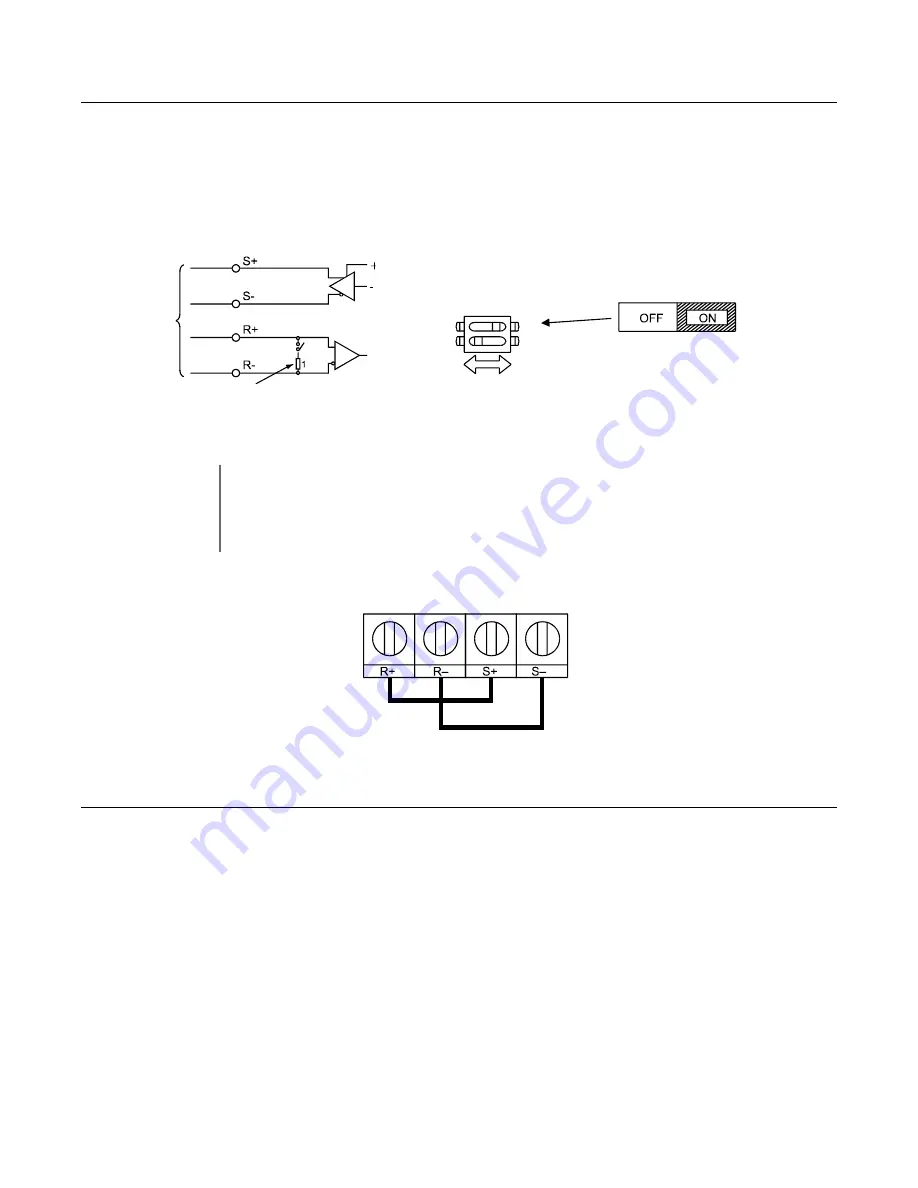
Modbus communication uses the following terminals: TB4-1 (S+), TB4-2 (S-), TB4-3 (R+), and TB4-4 (R-). The terminating
resistance must be turned ON only if the Drive is at the very end of the Serial Communication chain. Set the terminating
resistance by turning ON pin 1 of switch S1.
Fig. D.2 Communication Connection Terminals and Terminating Resistance
Fig. D.3 RS-485 Communication Connection
Procedure for Setting Up Communication
Use the following procedure to perform communication with the DDC.
1. Turn OFF the input to the Drive power and connect the communication cable between the PLC and the Drive.
2. Turn ON the input power to the Drive.
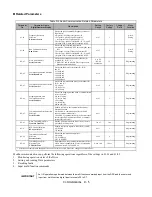
3. Set the required communication parameters (H5-01 to H5-09) using the Digital Operator.
4. Turn OFF the input to the Drive power, and check that the Digital Operator display has completely disappeared.
5. Turn ON the input power to the Drive once again.
6. Perform communication with the DDC.
IMPORTANT
1. Separate the communication cables from the main circuit cables and control circuit wiring.
2. Use shielded cables for the communication cable, and use proper shield clamps.
3. When using RS-485 communication, connect S+ to R+, and S- to R-, on the control circuit terminal
board. See Fig. D-3 below.
4. Shield at one end only.
Terminating resistance (1/2W, 110 Ohms)
RS-422A
or RS-485
Switch
S1
O
F
F
1
Terminating
resistance
DIP Switch S1-1 located on
E7L terminal board.
2
1
TB4-4
TB4-1
TB4-2
TB4-3
Summary of Contents for E7LBA002
Page 1: ...E7L Drive Bypass Technical Manual Model E7L Document Number TM E7L 01 ...
Page 8: ...Introduction vi Notes ...
Page 12: ...Table of Contents x Notes ...
Page 54: ...Electrical Installation 2 22 Wiring Diagram ...
Page 55: ...Electrical Installation 2 23 ...
Page 87: ...Start Up and Operation 4 9 Notes ...
Page 202: ...Diagnostic Troubleshooting 6 30 Notes ...
Page 248: ...Capacity Related Parameters B 6 Notes ...
Page 279: ...Communications D 27 Note ...
Page 280: ...Communications D 28 ...
Page 292: ...Spare Parts F 6 ...
Page 304: ...Index 12 ...
Page 305: ......


