Internal cables and compressed air lines
8
-
46
When operating, be careful not to let the connector and/or the cable touch the robots body.
Elbow type
The appearance of the robot with the connector installed is shown in figure "Mating
connector for internal user I/O wiring harness (elbow type)”.
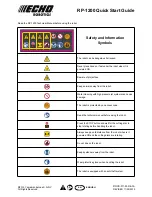
When the connector with the elbow type of end bell is installed, the direction shown in the
following figure is recommended for the connector installation.
When assembling the connector, the key must be located at the position shown in the
following figure.
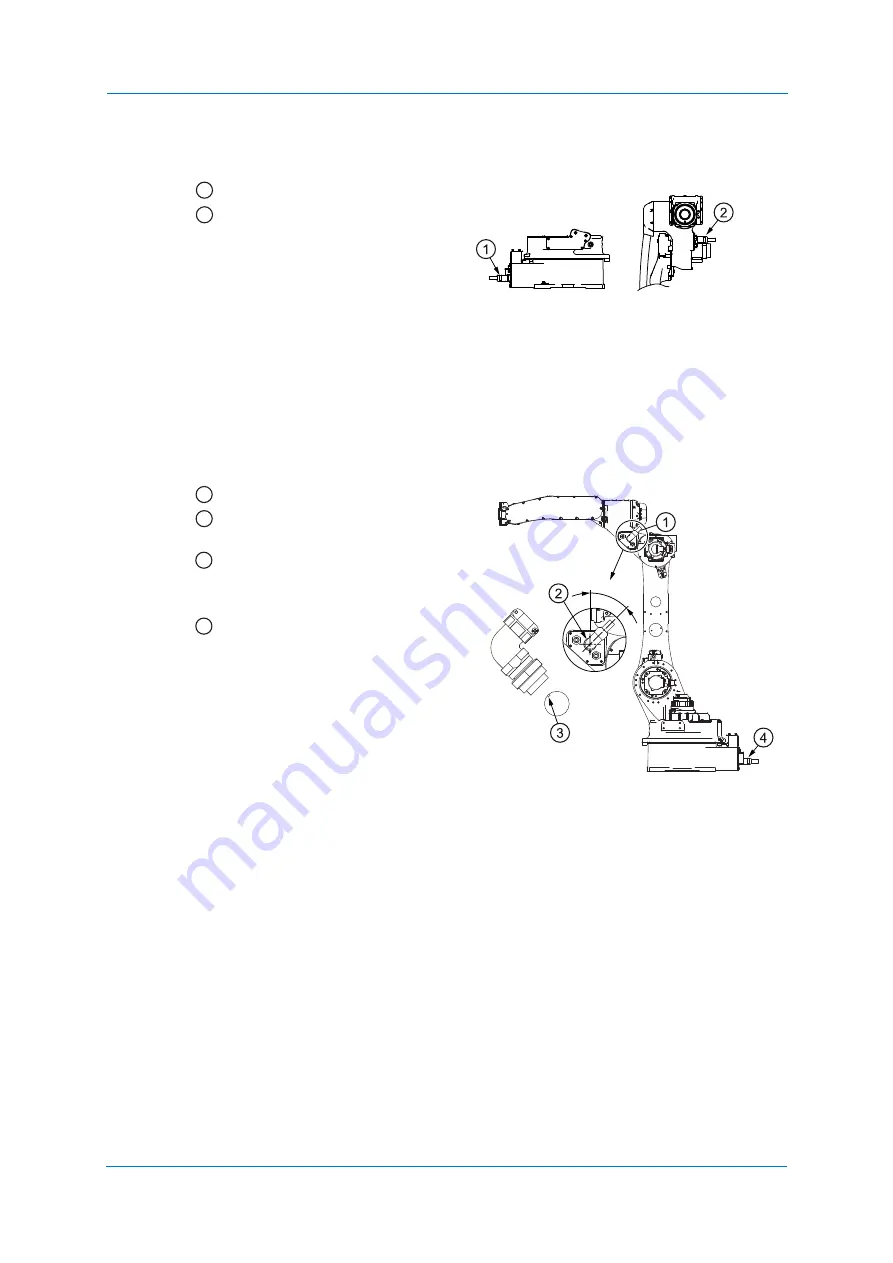
Mating connector for internal user I/O wiring harness (straight type)
Base part: Straight
U-arm part: Straight
Mating connector for internal wiring harness (elbow type)
U-arm part: Elbow
Recommended direction for installing
the connector
Position of the key
When assembling the connector, the
key must be located at this position.
U-arm part: Straight
1
2
1
45°
2
3
4
Summary of Contents for GP25-12
Page 1: ...ROBOTICS YYR 1 06VXH25 A10 GP25 12 Standard Operating and Maintenance Manual...
Page 51: ...Maintenance and inspection 9 51 Fig 9 2 Inspection intervals...
Page 56: ...Maintenance and inspection 9 56 9 3 Wrist unit Sealing part U arm Cover Gasket U arm 1 2 3...
Page 77: ...Parts lists 11 77...


