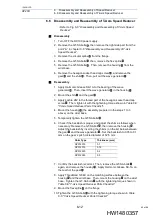
7 Disassembly and Reassembly of Wrist Unit
7-1
159281-1CD
HW1480357
HP20D
7
Disassembly and Reassembly of Wrist Unit
• Refer to
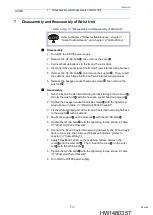
1 “Disassembly and Reassembly of Wrist Unit”
.
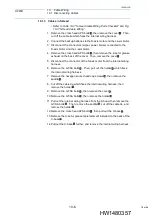
Disassembly
1. Turn OFF the DX100 power supply.
2. Remove the GT-SA bolts , then remove the cover .
3. Connect backup batteries to the B- and T-axis motors.
4. Disconnect the connectors of the B- and T-axis internal wiring harness.
5. Remove the GT-SA bolts , and remove the support . Then, cut off
the cable tie which fixes the B- and T-axis internal wiring harness.
6. Remove the hexagon socket head cap screws , then remove the
wrist unit .
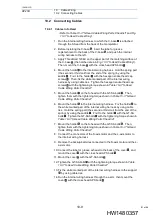
Reassembly
1. Run the B- and T-axis internal wiring harness through the wrist unit ,
then fix the wrist unit with the hexagon socket head cap screws .
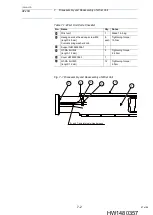
2. Tighten the hexagon socket head cap screws with the tightening
torque shown in
1 "Wrist Unit Parts Checklist"
3. Fix the white-marked part of the B- and T-axis internal wiring harness
to the support with a cable tie.
4. Mount the support on the wrist unit with the GT-SA bolts .
5. Tighten the GT-SA bolts with the tightening torque shown in
1 "Wrist Unit Parts Checklist"
.
6. Connect the B- and T-axis internal wiring harness to the B- and T-axis
motor connectors, then remove the backup batteries. (Refer to
.)
7. Apply ThreeBond 1206C on the matching surface between the
cover and the wrist unit . Then, mount the cover on the wrist
unit with the GT-SA bolts .
8. Tighten the GT-SA bolts with the tightening torque shown in
1 "Wrist Unit Parts Checklist"
.
9. Turn ON the DX100 power supply.
NOTE
chapter 2 “Notes for Maintenance”
,
, and
.
6
5
4
3
2
1
1
1
2
2
3
3
1
4
4
5
1
5
1
6
6
66 of 96


