10 Maintenance and Inspection
10.3Inspection of the Explosion-Proof Device
10-23
180788-1CD
HW1484370
MPX2600
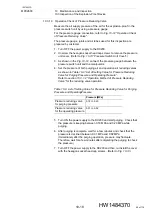
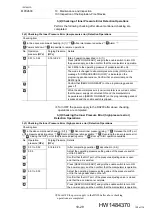
10.3.1.5 Operation Check for Master Valve
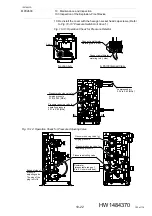
1. Turn OFF the power supply to the DX200.
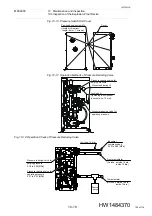
2. Unscrew the hexagon socket head cap screws to remove the pressure
unit cover. (Refer to
Fig. 10-10 “Pressure Switch Unit Cover”
3. Set the pressure of operation air reducing valve as shown in
.
section 10.3.1.2 “Operation Method of Pressure Reducing
for the pressure reducing valve operation.
4. Re-start the DX200 and check that purging operation starts a few
seconds later.
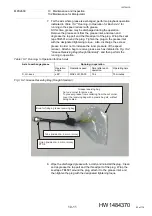
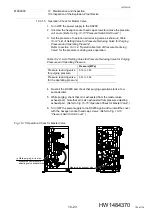
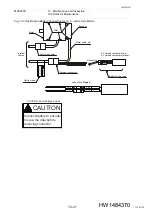
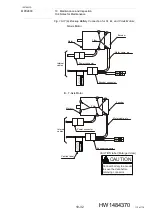
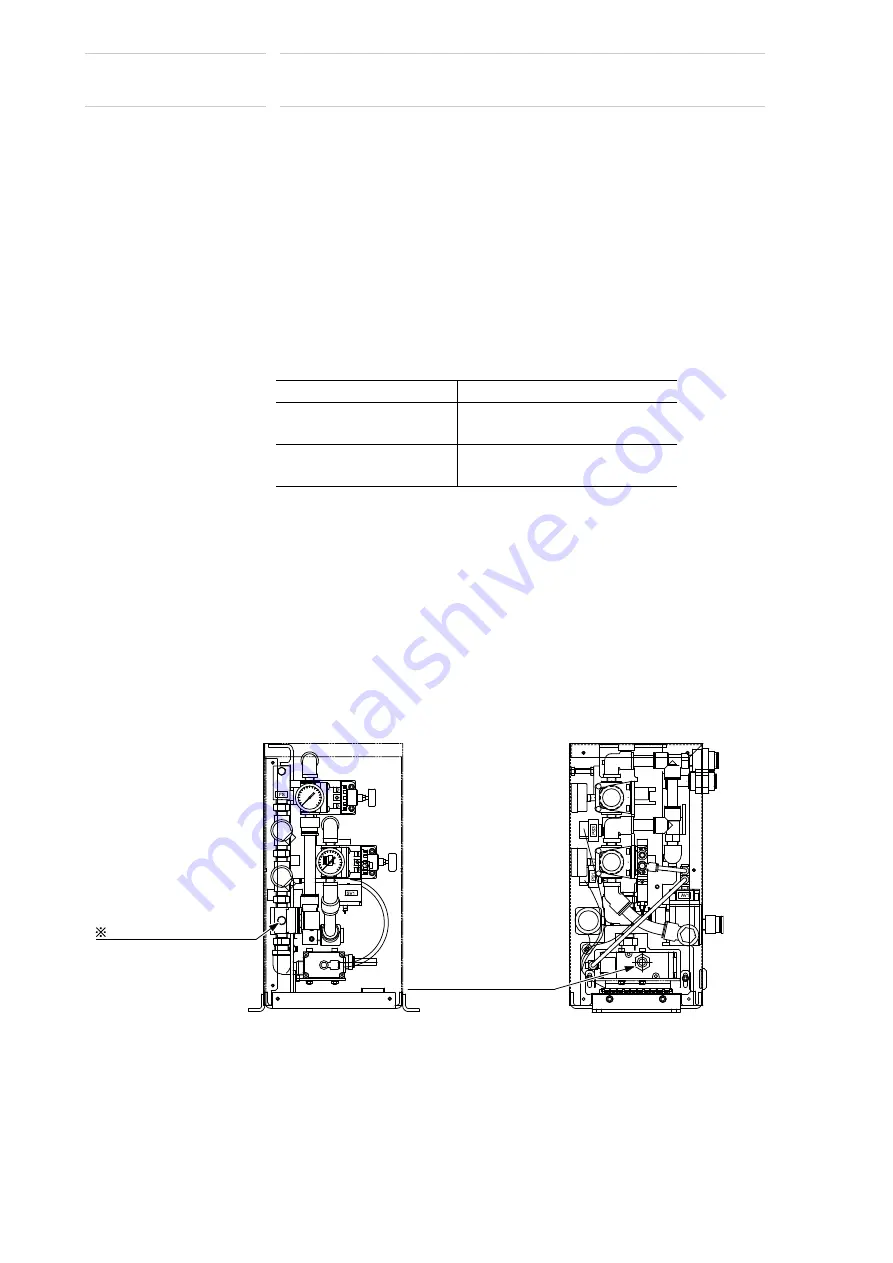
5. While purging, check that air is exhausted from the master valve
exhaust port. Note that air is also exhausted from pressure adjusting
exhaust port. (Refer to
Fig. 10-15 “Operation Check for Master Valve”
6. Turn OFF the power supply to the DX200 again and re-install the cover
with the hexagon socket head cap screws. (Refer to
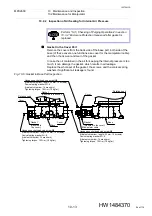
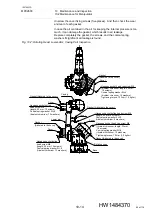
Fig. 10-15: Operation Check for Master Valve
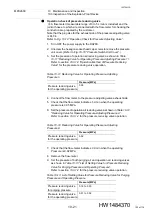
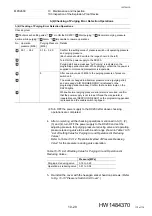
Table 10-14: List of Setting Value for Pressure Reducing Valve for Purging
Pressure and Operating Pressure
Pressure [MPa]
Pressure reducing valve
for purging pressure
0.18 to 0.20
Pressure reducing valve
for the operating pressure
0.01 to 0.02
Master valve exhaust side
ە60&
03D
ۑࠉۑ
ە60&
03D
ۑࠉۑ
While purging, air is also
exhausted from pressure
adjusting valve exhaust side
104 of 116

