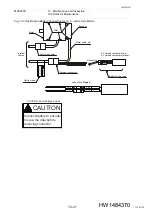
10 Maintenance and Inspection
10.3Inspection of the Explosion-Proof Device
10-17
180788-1CD
HW1484370
MPX2600
10.3
Inspection of the Explosion-Proof Device
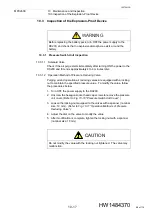
10.3.1 Pressure Switch Unit Inspection
10.3.1.1 Solenoid Valve
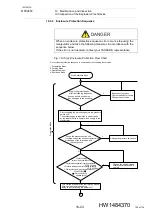
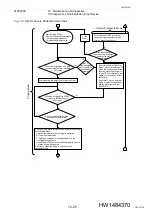
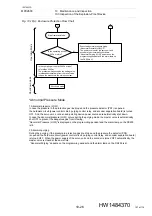
Check if the air purge starts immediately after turning ON the power to the
DX200 and if it ends approximately 4 to 6 minutes later.
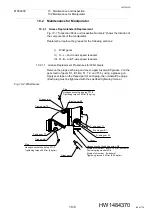
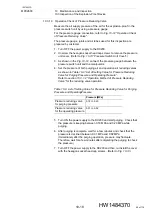
10.3.1.2 Operation Method of Pressure Reducing Valve
Purging air and operation air reducing valves are equipped with a locking
nut to maintain the specified pressure value. To modify the value, follow
the procedures below.
1. Turn OFF the power supply to the DX200.
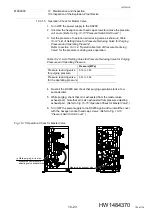
2. Unscrew the hexagon socket head cap screws to remove the pressure
unit cover. (Refer to
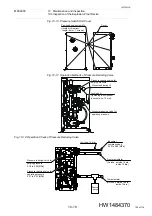
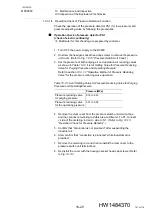
Fig. 10-10 “Pressure Switch Unit Cover”
3. Loosen the locking nut equipped to the valves with a spanner (nominal
size: 10 mm). (Refer to
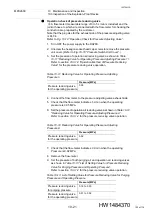
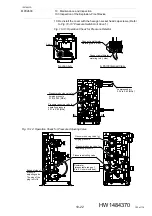
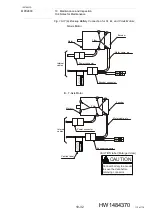
Fig. 10-11 “Operation Methods of Pressure
.)
4. Adjust the dial on the valve to modify the value.
5. After modification is complete, tighten the locking nut with a spanner
(nominal size: 10 mm).
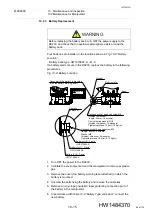
WARNING
Before replacing the battery pack, turn OFF the power supply to the
DX200, and check that no explosive atmosphere exists around the
battery.
CAUTION
Do not modify the value with the locking nut tightened. The valve may
malfunction.
98 of 116

