10
Disassembly and Reassembly of Balancer Unit
10.2 Disassembly and Reassembly of Balancer Unit
10-2
HW1485471
HW1485471
10.2
Disassembly and Reassembly of Balancer Unit
• Refer to
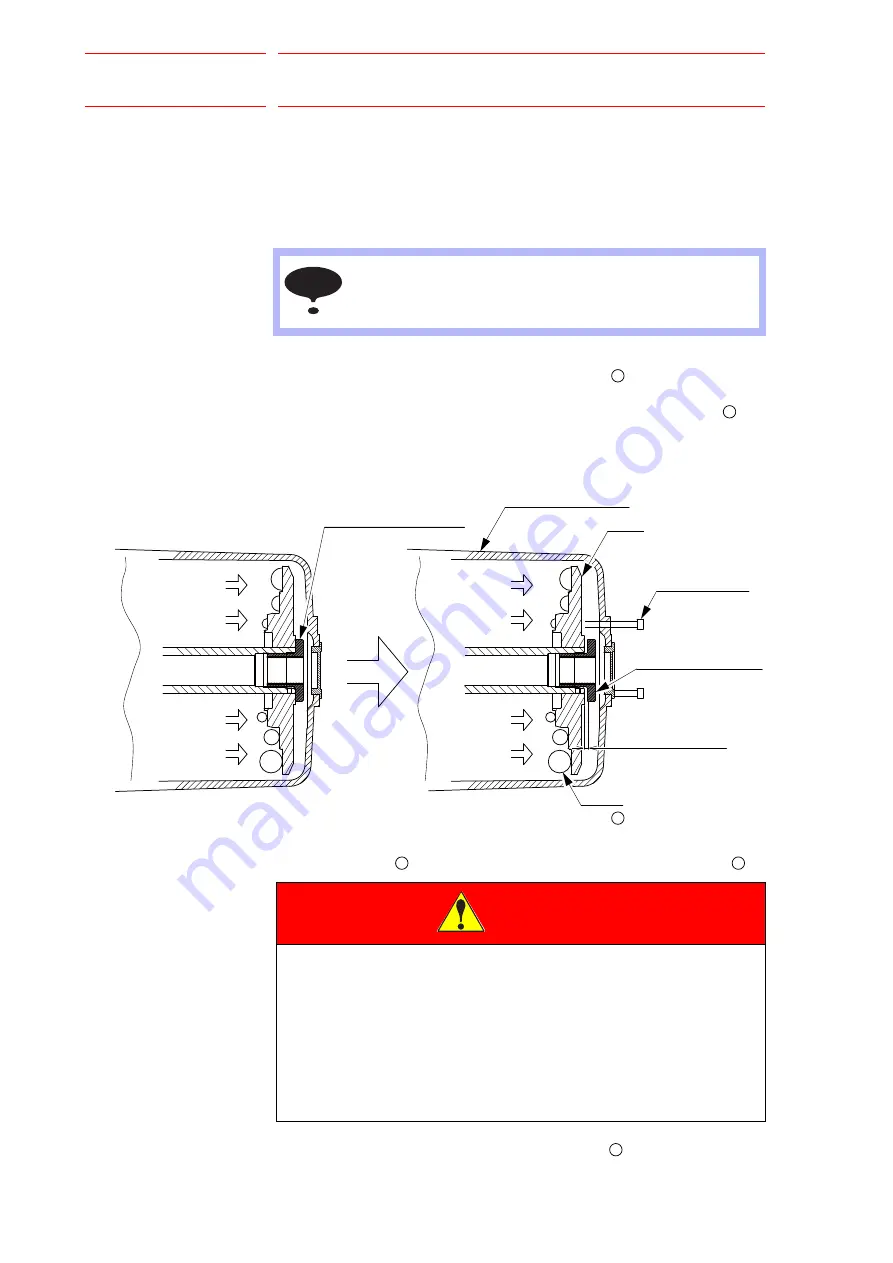
fig. 10-2 “Spring Fixing Bolts Mounted”
.
Disassembly
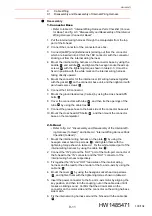
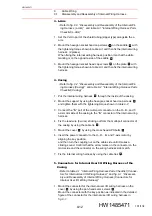
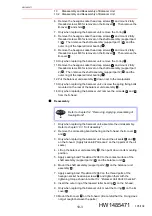
1. Make the L-arm of the manipulator vertical to the ground.
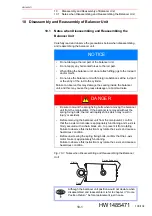
2. Remove the hexagon socket head cap screws
and mount 3 spring
fixing bolts M8 or M10 instead. Push up 3 points evenly about 5 mm of
the flange which is located inside of the balancer unit assembly
so
that the spring force is not applied to the rod of the balancer unit
assembly.
Fig. 10-2: Spring Fixing Bolts Mounted
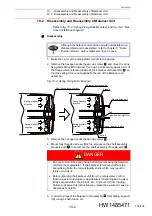
3. Remove the hexagon socket head cap screws
.
4. Mount fully threaded screws M12 for removal on the shaft assembly
(knuckle part)
, then remove the shaft assembly (knuckle part)
.
5. In order to prevent the balancer unit assembly
from falling, support
it by using a chain block, etc.
NOTE
Although the balancer unit position would not deviate when
disassembled and reassembled, refer to
before replacement just in case.
5
1
Space (approx. 5 mm)
Rod
(free from spring force)
Flange
Balancer unit assembly
Spring fixing bolt
Spring pressure
direction
Spring
Spring pressure
direction
Rod (spring force applied)
Spring pressure
direction
Spring pressure
direction
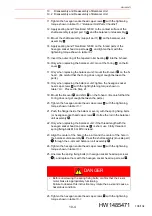
DANGER
•
Be sure to mount the spring fixing bolts when removing the balancer
unit from the manipulator. If the balancer is removed without the
spring fixing bolts, the rod will rapidly shrink which may result in
injury or accident.
•
Before removing the balancer unit from the manipulator, confirm
that the L-axis motor brake is appropriately functioning and L-axis is
firmly secured with a chain block, etc., to prevent it from rotating.
Failure to observe this instruction may rotate the L-axis and cause a
hazardous condition.
6
2
2
1
104/134


