6-23
166006-1CD
166006-1CD
6
Maintenance and Inspection
6.12 Positioner Home Position
RM2-755/1255SL
Positioner
6.12.2 RM2-1255 Headstock
6.12.2.1 Setting the Main Axis (S1) to Home (Zero) Position
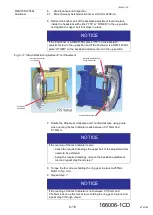
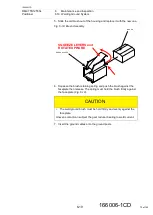
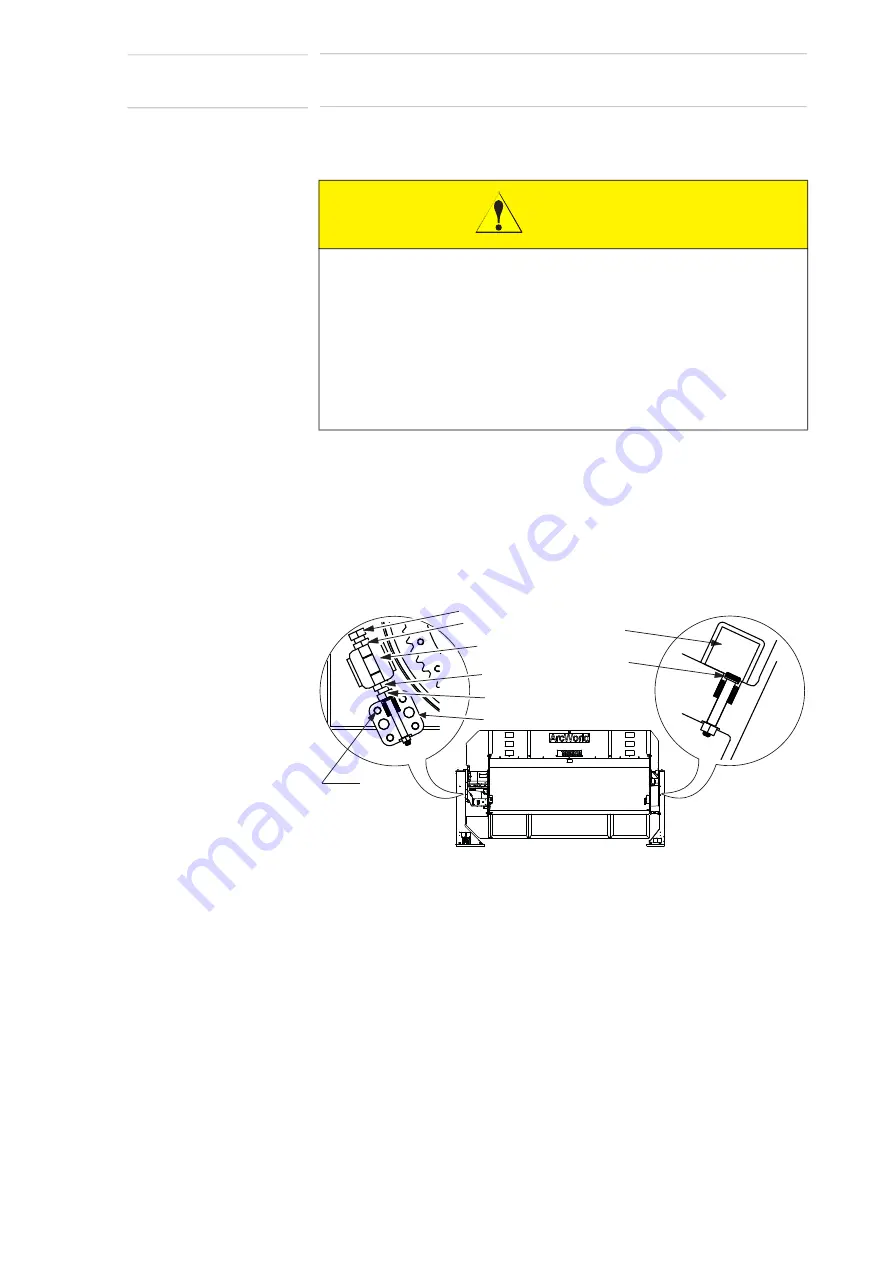
1. With the machine at operating temperature, loosen the jam nuts on the
headstock hardstop adjustment screw.
2. Back the adjustment screws out so the Positioner only touches the
tailstock hardstop.
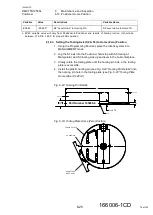
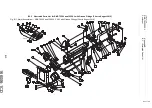
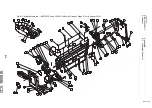
Fig. 6
-
21: Locating Stopping Block with Shock Absorber
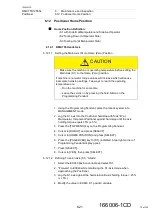
3. Using the Programming Pendant, place the robotic system into
“MANAGEMENT” mode.
4. Jog S1 axis into Positioner hardstop with B-side at Manipulator.
Increment Positioner against hard stop at the tailstock side until the
holding torque is 20%.
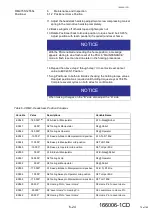
5. Press the [TOP MENU] key on the programming pendant.
6. Cursor to {ROBOT} and press [SELECT].
7. Cursor to {HOME POSITION} and press [SELECT].
8. Press the [PAGE OVER] key to {S1} (indicated in top right corner of
Programming Pendant display panel).
9. Press [SELECT].
10. Cursor to {YES}, and press [SELECT].
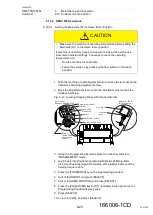
CAUTION
• Make sure the machine is operating temperature before setting the
Main Axis (S1) to the Home (Zero) position.
If machine is not warm torque values will increase which will cause
inaccurate hardstop settings. Two ways to reach the operating
temperature are:
– Run the machine for some time.
– Leave the servos on by pressing the hold button on the teach
pendant.
STOP BLOCK
PLUNGER
BOLT
RM2 -1255SL
HEADSTOCK HARD STOP
RM2-755 & 1255 SL
TAILSTOCK STOPS
PLATE GEAR
STOP BLOCK
JAM NUT
JAM NUT
ADJUSTMENT SCREW
ADJUSTMENT SCREW
MAIN DRIVE HARD STOP
CONICAL
SPRINGS AND
ADJUSTMENT
SCREWS
74 of 145

