Setting Up Your System
109
3)
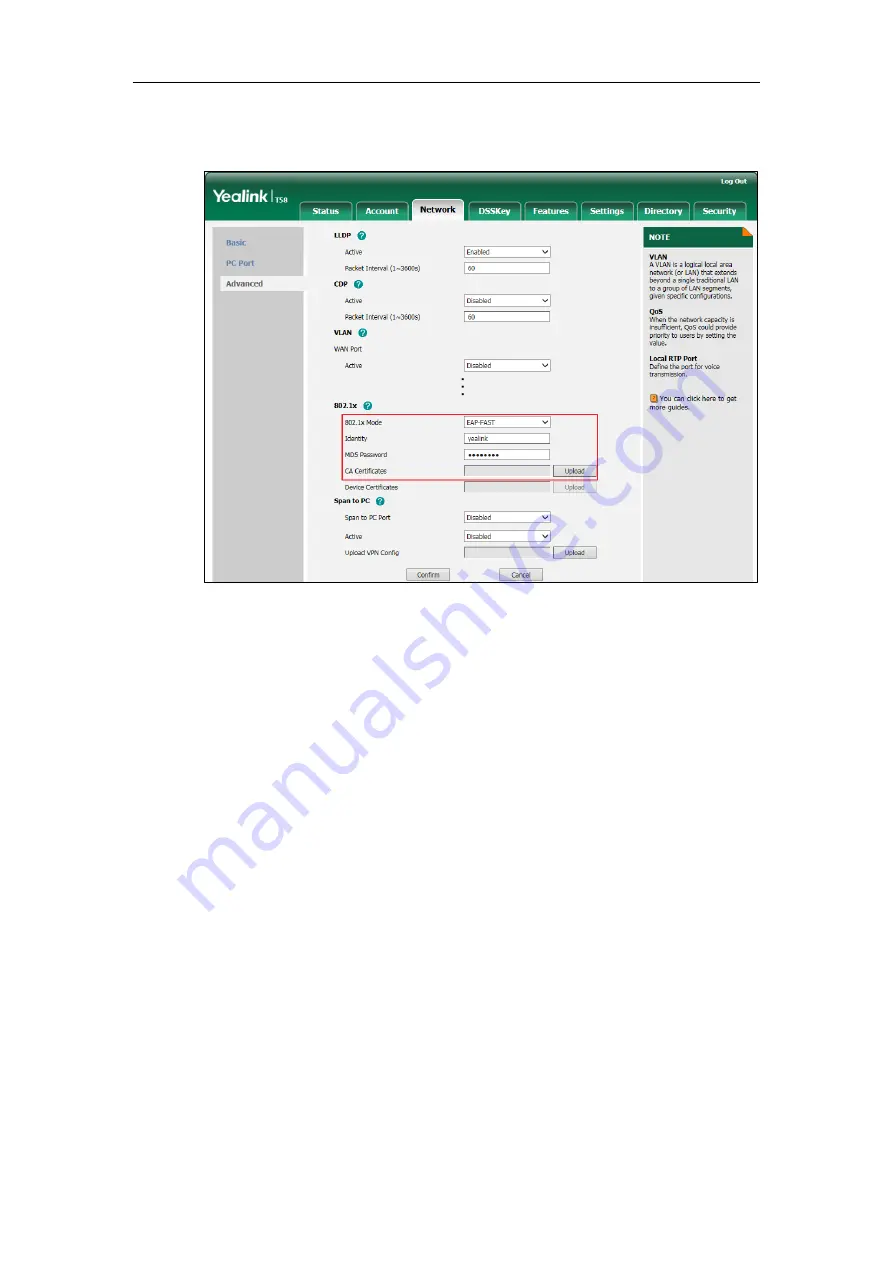
In the
CA Certificates
field, click
Upload
to
select and upload the desired CA
certificate (*.pem, *.crt, *.cer or *.der) from your local system.
3.
Click
Confirm
to accept the change.
A dialog box pops up to prompt that settings will take effect after a reboot.
4.
Click
OK
to reboot the phone.
To configure the 802.1X authentication via phone user interface:
1.
Tap
Settings
->
Advanced
(default password: admin)
->
Network
->
802.1x
.
2.
Tap the
802.1x Mode
field.
a)
If you select
EAP-MD5
:
1)
Enter the user name for authentication in the
Identity
field.
2)
Enter the password for authentication in the
MD5 Password
field.
b)
If you select
EAP-TLS
:
1)
Enter the user name for authentication in the
Identity
field.
2)
Leave the
MD5 Password
field blank.
c)
If you select
EAP-PEAP/MSCHAPv2
:
1)
Enter the user name for authentication in the
Identity
field.
2)
Enter the password for authentication in the
MD5 Password
field.
d)
If you select
EAP-TTLS/EAP-MSCHAPv2
:
1)
Enter the user name for authentication in the
Identity
field.
2)
Enter the password for authentication in the
MD5 Password
field.
Summary of Contents for CP969
Page 1: ......
Page 22: ...Administrator s Guide for SIP T5 Series Smart Media Phones xxii ...
Page 30: ...Administrator s Guide for SIP T5 Series Smart Media Phones 8 ...
Page 474: ...Administrator s Guide for SIP T5 Series Smart Media Phones 452 ...
Page 781: ...Troubleshooting 759 The phone begins rebooting Any reboot of the phone may take a few minutes ...
Page 787: ...Troubleshooting 765 information on capturing packets refer to Capturing Packets on page 735 ...
Page 788: ...Administrator s Guide for SIP T5 Series Smart Media Phones 766 ...
Page 864: ...Administrator s Guide for SIP T5 Series Smart Media Phones 842 ...


