User Guide for the W52P IP DECT Phone
28
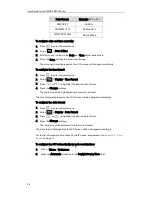
Date Format
Example(2014-5-28)
MM/DD/YY
05/28/14
DD MMM YYYY
28 May 2014
WWW DD MMM
Wed. 28 May
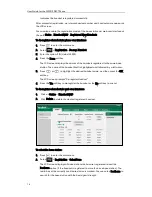
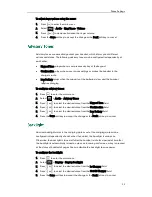
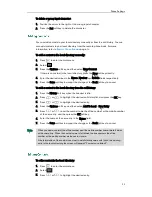
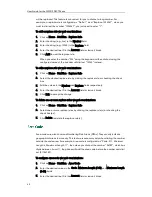
To configure date and time manually:
1.
Press to enter the main menu.
2.
Select ->Date & Time.
3.
Edit the current values in the Date and Time fields respectively.
4.
Press the Save soft key to accept the change.
The date and time displayed on the LCD screen will change accordingly.
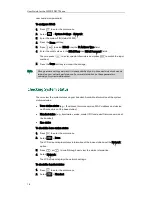
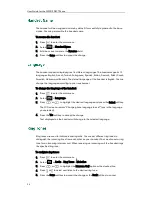
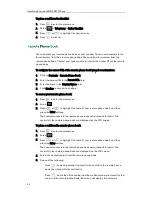
To configure the time format:
1.
Press to enter the main menu.
2.
Select ->Display->Time Format.
3.
Press
or to highlight the desired time format.
4.
Press the Change soft key.
The radio box of the highlighted time format is marked.
The time format displayed on the LCD screen will be changed accordingly.
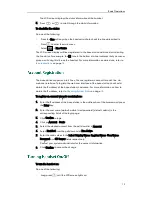
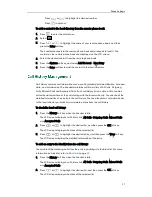
To configure the date format:
1.
Press to enter the main menu.
2.
Select ->Display->Date Format.
3.
Press
or to highlight the desired date format.
4.
Press the Change soft key.
The radio box of the selected date format is marked.
The date format displayed on the LCD screen will be changed accordingly.
For the list of available time zones on the IP phone, please refer to
Appendix A - Time
Zones
on page
73
.
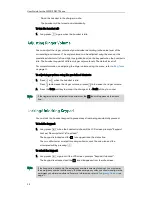
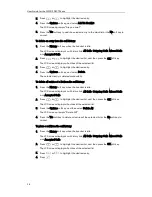
To configure the DST automatically via web user interface:
1.
Click on Phone->Preference.
2.
Mark the Automatic radio box in the Daylight Saving Time field.
Summary of Contents for Telkom W52P
Page 1: ......
Page 10: ...User Guide for the W52P IP DECT Phone x ...
Page 14: ...User Guide for the W52P IP DECT Phone xiv ...
Page 21: ...Getting Started 7 25 Charged 10 Charged Almost Flat ...
Page 22: ...User Guide for the W52P IP DECT Phone 8 ...
Page 28: ...User Guide for the W52P IP DECT Phone 14 ...
Page 80: ...User Guide for the W52P IP DECT Phone 66 ...


