Customizing Your Phone
41
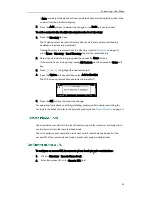
interface. But you can only import or export the contact list via web user interface.
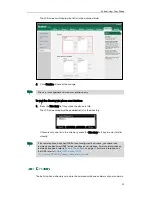
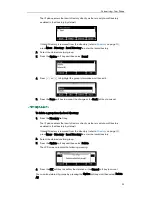
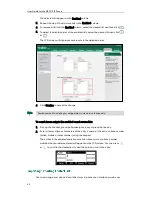
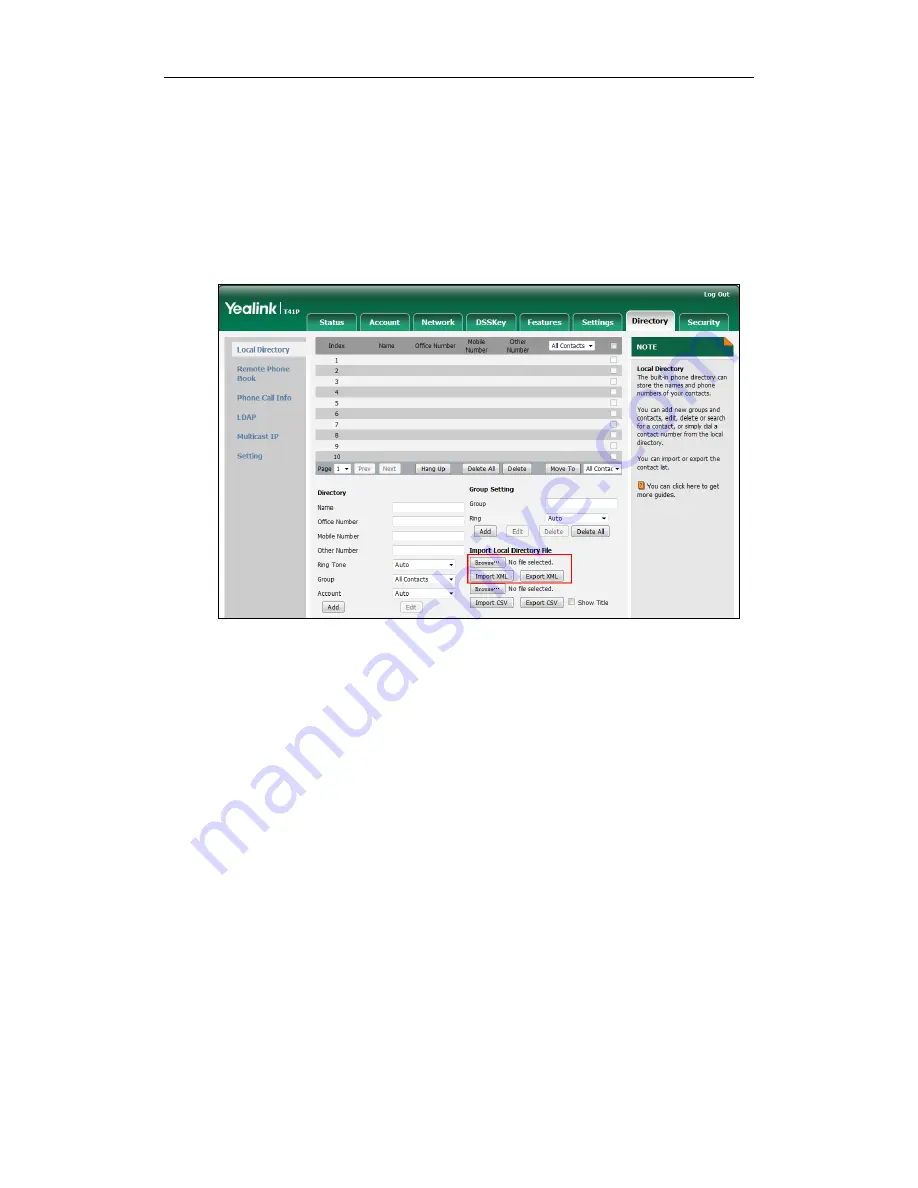
To import an XML contact list file via web user interface:
1.
Click on Directory->Local Directory.
2.
Click Browse to locate a contact list file (the file format must be *.xml) from your
local system.
3.
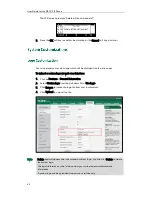
Click Import XML to import the contact list.
The web user interface prompts "The original contact will be covered, continue?".
4.
Click OK to complete importing the contact list.
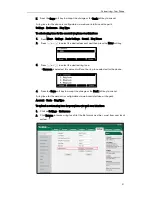
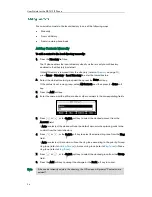
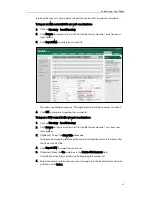
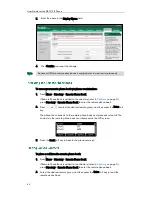
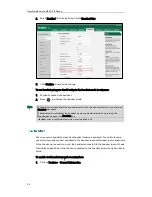
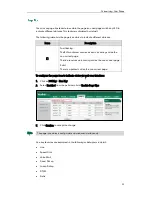
To import a CSV contact list file via web user interface:
1.
Click on Directory->Local Directory.
2.
Click Browse to locate a contact list file (the file format must be *.csv) from your
local system.
3.
(Optional.) Check the Show Title checkbox.
It will prevent importing the title of the contact information which is located in the
first line of the CSV file.
4.
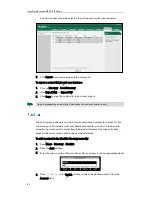
Click Import CSV to import the contact list.
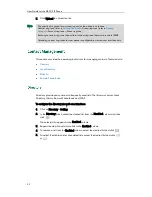
5.
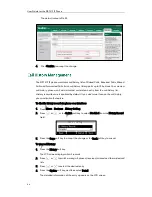
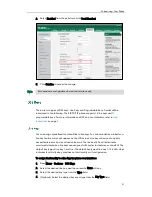
(Optional.) Mark the On radio box in the Delete Old Contacts field.
It will delete all existing contacts while importing the contact list.
6.
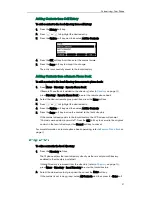
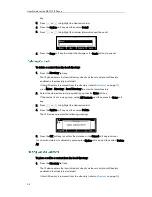
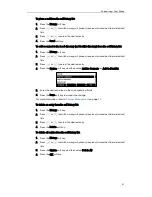
Select the contact information you want to import into the local directory from the
pull down list of Index.
Summary of Contents for Yealink SIP-T41P
Page 1: ......
Page 22: ...User Guide for the SIP T41P IP Phone 10...
Page 160: ...User Guide for the SIP T41P IP Phone 148...

