Yealink IP Phones Configuring Guide
8
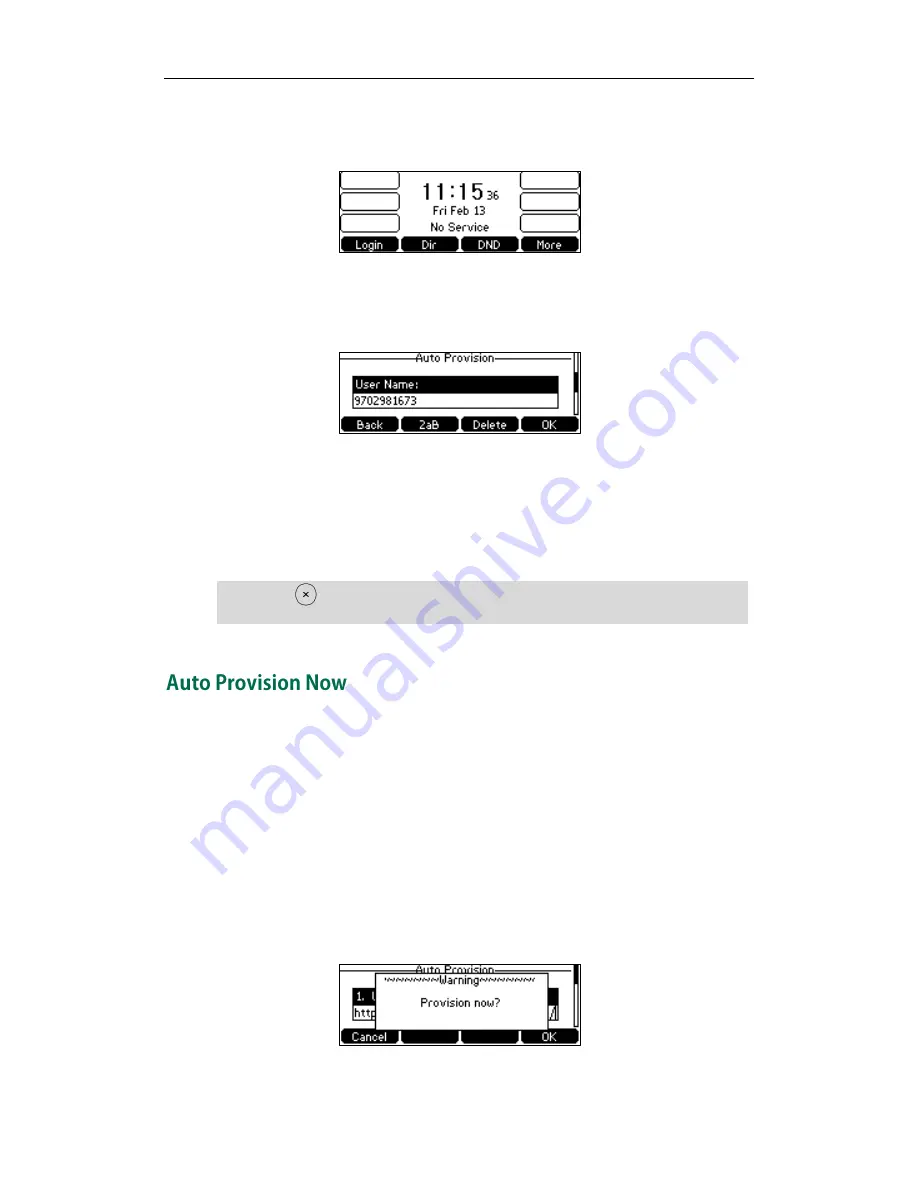
To trigger auto provisioning via powered on:
1.
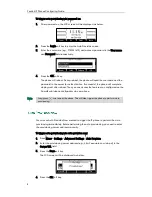
After powered on, the LCD screen will be displayed as below:
2.
Press the Login soft key to enter the Auto Provision screen.
3.
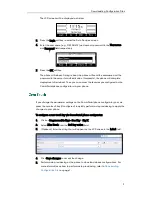
Enter the user name (e.g., 9702981673) and account password in the User name
and Password field respectively.
4.
Press the OK soft key.
The phone will reboot. During reboot, the phone will send the username and the
password to the server for authentication. If successful, the phone will complete
deployment after reboot. Then you can access the features you configured on the
CommPortal phone configurator via your phone.
Note
You can use Auto Provision Now method to trigger the IP phone to perform the auto
provisioning immediately. Before performing the auto provisioning, you need to enter
the provisioning server address manually.
To trigger auto provisioning via auto provision now:
1.
Press Menu->Settings->Advanced Settings->Auto Provision.
2.
Enter the provisioning server address (e.g., http:// example.com /sip-ps/) in the
Server URL field.
3.
Press the Save soft key.
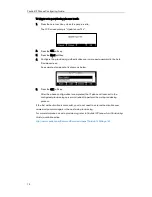
The LCD screen will be displayed as below:
4.
Press the Ok soft key.
Long press can reboot the phone. This will also trigger the phone to perform auto
provisioning.
Summary of Contents for Yealink SIP-T41P
Page 1: ......
Page 6: ...Yealink IP Phones Configuring Guide vi...
Page 11: ...Getting Started 3 2 Press or to scroll through the list and view the specific information...
Page 12: ...Yealink IP Phones Configuring Guide 4...
Page 50: ...Yealink IP Phones Configuring Guide 42...
Page 76: ...Yealink IP Phones Configuring Guide 68...
Page 78: ...Yealink IP Phones Configuring Guide 70...
Page 82: ...Yealink IP Phones Configuring Guide 74...
Page 86: ...Yealink IP Phones Configuring Guide 78...


