Page 22
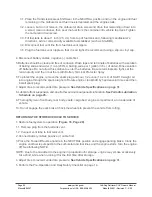
4. Disconnect battery cables, negative (-) cable first.
5. Batteries should be clean and free of corrosion. Wash tops and terminals of batteries with a solution
of baking soda and water (1 cup (237mL) baking soda per 1 gallon (3.8 L) of water). Rinse solution
off batteries. Do not allow this solution to enter the batteries. Be sure terminals are tight. Let the
terminals dry and then coat them with Battery Terminal Protector Spray.
6. To protect the engine, remove the spark plug and pour 1/2 ounce (14.2 mL) of SAE 10 weight oil
into engine through the spark plug hole. Rotate engine crankshaft by hand several times and then
install spark plug.
7. Adjust tires to recommended tire pressure. See Vehicle Specifications on page 31.
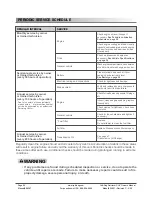
8. Lubricate front suspension and do all other semi-annual periodic lubrication. See Periodic Lubrication
Schedule on page 25.
9. Thoroughly clean front body, rear body, seats, cargo bed, engine compartment, and underside of
vehicle.
10. Do not engage the park brake. Chock the wheels to prevent the vehicle from rolling.
RETURNING THE STORED VEHICLE TO SERVICE
1. Restore fuel system to operation (Figure 16, Page 28).
1.1. Remove plug from the fuel tank vent.
1.2. Connect vent tube to fuel tank vent.
2. Connect battery cables, positive (+) cable first.
3. Place the Forward/Reverse handle in the NEUTRAL position and engage parking brake. Crank the
engine until fuel is pumped into the carburetor and fuel lines and the engine starts. Turn the engine
off. See following NOTE.
NOTE: Due to the oil added to the engine in preparation for storage, engine may smoke excessively
for a short while when running it for the first time after storage.
4. Adjust tires to recommended tire pressure. See Vehicle Specifications on page 31.
5. Perform the Pre-Operation and Daily Safety Checklist on page 14.
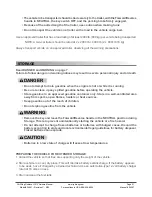
3.1. Place the Transmission Gear Shift lever in the NEUTRAL position and run the engine until fuel
remaining in the carburetor and fuel lines is depleted and the engine stalls.
3.2. Loosen, but do not remove, the carburetor drain screw and drain fuel remaining in bowl into
a small, clean container, then pour the fuel from the container into vehicle fuel tank. Tighten
the carburetor drain screw.
3.3. Fill fuel tank to about 1 inch (2.5 cm) from top of fuel tank and, following manufacturer's
directions, add a commercially available fuel stabilizer (such as Sta-Bil®).
3.4. Disconnect fuel vent line from fuel tank vent nipple.
3.5. Plug the fuel tank vent nipple so that it is air tight. We recommend using a slip-on vinyl cap.
www.yerf-dog.com
For questions in USA, 888-926-6554
Manual# 06367
Yerf-Dog Retriever CUV Owners Manual
Model# 34851 • Revision C - 2/05


