14.
15.
shoCk setup
inspect your shock for any visible damage.
if oil is leaking or you notice any damage to
the surfaces or seals, please contact the Fox
racing shox service center for repair at 800.
FOx.shOx.
shock set-up can fluctuate greatly based on
the rider. the set-up guide is intended as a
base line to get the rider started. experiment
with your settings to find the set-up that
works best for you.
yeti tips
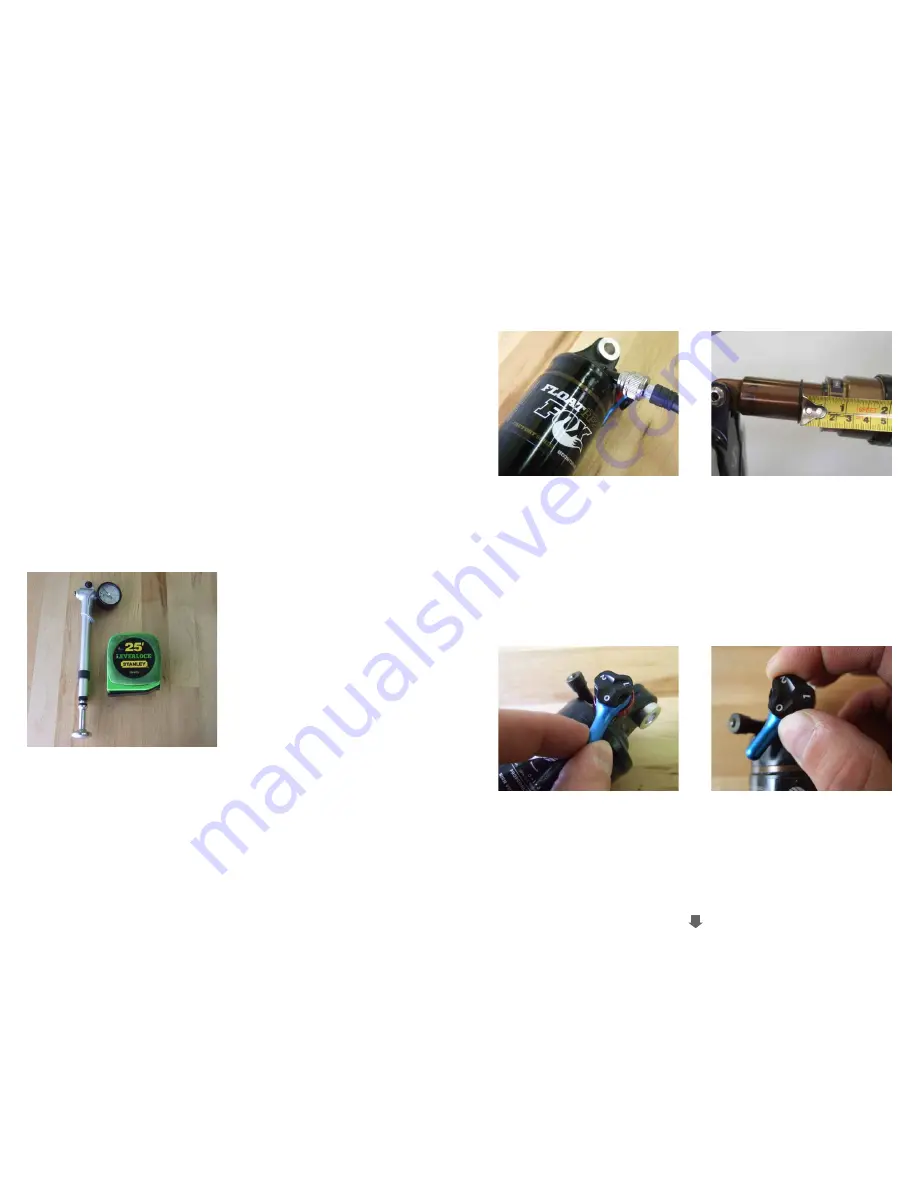
tools needed
• shock pump
• tape measue
01. air pressure
02. sag
03. pro pedal
the main air spring controls the sag of the shock.
For the sB95 to ride properly it is important to
setup the shock with the correct amount of sag.
For general riding the sB95 works best with
25-30 % (13-15mm) of shock sag. to increase
the sag reduce the main spring air pressure.
to reduce the sag increase the main spring air
pressure.
Once you have set your baseline air pressure you
need to measure the sag. to measure the sag
slide the travel indicator (O-ring) up against the
shock body. with a friend supporting the bike,
sit on the saddle (do not bounce) and allow your
body weight to compress the shock. Once you
have compressed the shock, get off the bike
and measure the distance between the shock
body and the new position of the travel indicator
(O-ring). this is your sag.
the pro-pedal dampening has four levels of adjustment and is controlled by the blue lever and the numbered
black dial. Use each setting to adjust the shock for different riding conditions and situations. For example,
use propedal for riding to the top of the mountain and then switch to open for the descent. the four different
levels of dampening on the shock are: (0) open, (1) light, (2) medium, and (3) firm pro-pedal. if the bike feels
too firm, put it on a light setting, and if it feels too sluggish, turn it to the stiffer setting. we have found that
the sB95 rides best (climbing and descending) with the pro-pedal in the open or light settings.


