28
5000-028A ASSEMBLY INSTRUCTIONS
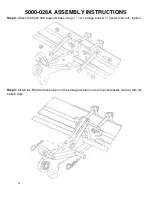
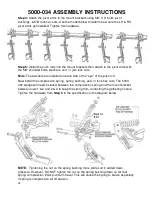
Step 4:
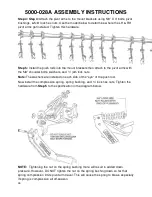
Step 4:
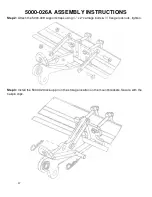
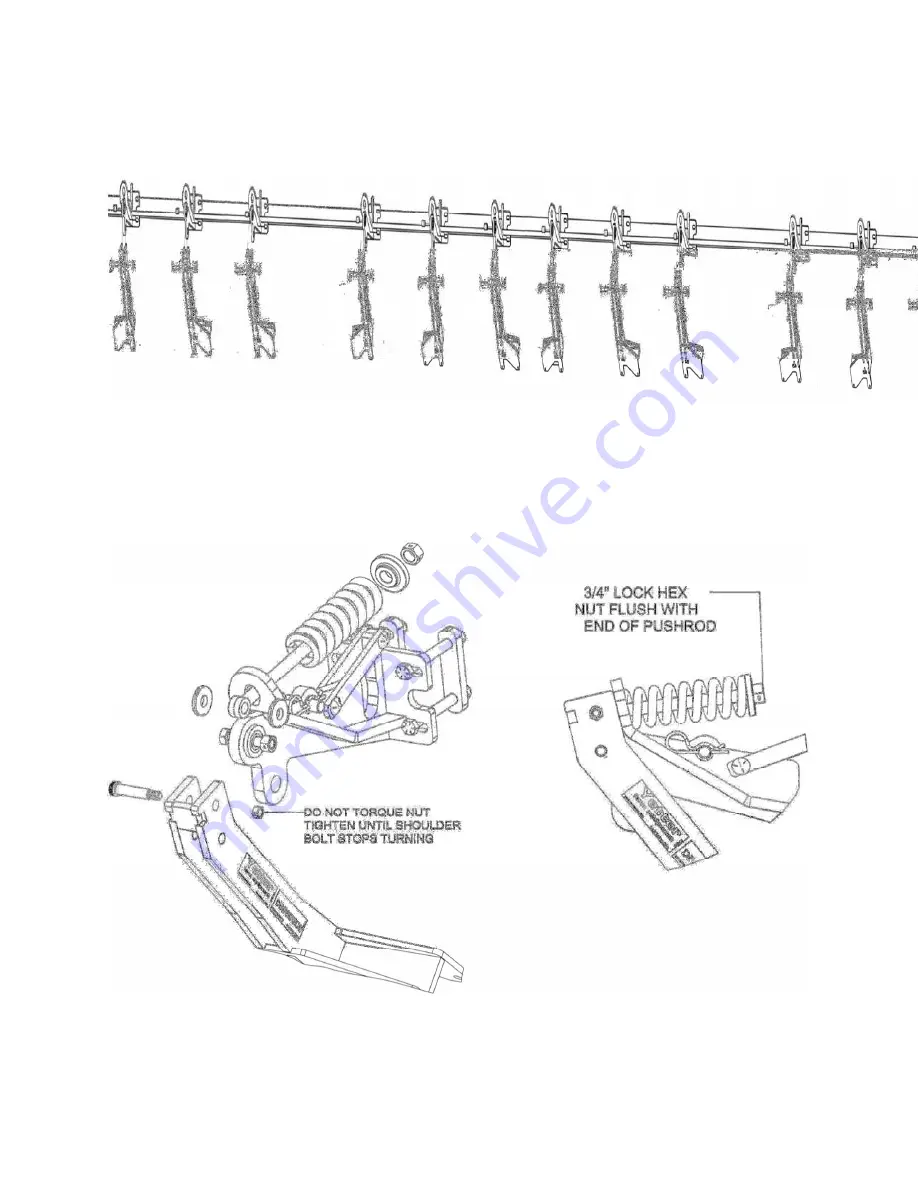
Attach the pivot arms to the mount brackets using 5/8” X 3” bolts, pivot
bushings, & 5/8” lock hex nuts. Use the model below to determine where the LH & RH
pivot arms get installed. Tighten this hardware.
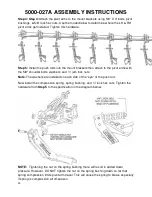
Step 5:
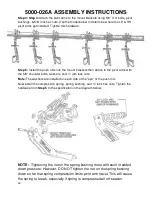
Install the push rods into the mount brackets then attach to the pivot arms with
the 5/8” shoulder bolts, washers, and ½” jam lock nuts.
Note:
The washers are installed on each side of the “eye” of the push rod.
Now install the compression spring, spring bushing, and ¾” lock hex nuts. Tighten the
hardware from
Step 5
to the specification in the diagram below.
NOTE:
Tightening the nut on the spring bushing more will result in added down
pressure. However, DO NOT tighten the nut on the spring bushing down so far that
spring compression limits pivot arm travel. This will cause the spring to break, especially
if spring is compression all off-season.
Summary of Contents for 5000-025A
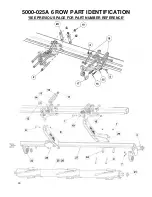
Page 39: ...39 5000 025A 6 ROW PART IDENTIFICATION SEE PREVIOUS PAGE FOR PART NUMBER REFERENCE ...
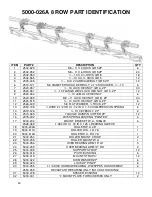
Page 41: ...41 5000 026A 8 ROW PART IDENTIFICATION SEE PREVIOUS PAGE FOR PART NUMBER REFERENCE ...
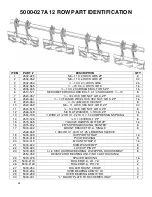
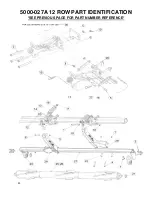
Page 43: ...43 5000 027A 12 ROW PART IDENTIFICATION SEE PREVIOUS PAGE FOR PART NUMBER REFERENCE ...
Page 45: ...45 5000 028A 16 ROW PART IDENTIFICATION SEE PREVIOUS PAGE FOR PART NUMBER REFERENCE ...
Page 49: ...49 ...
Page 50: ...50 ...
Page 52: ...52 2565 785_Rev_D 12 2018 ...

