7
ASSEMBLY
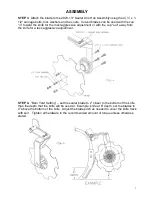
STEP 3.
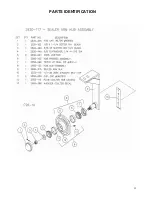
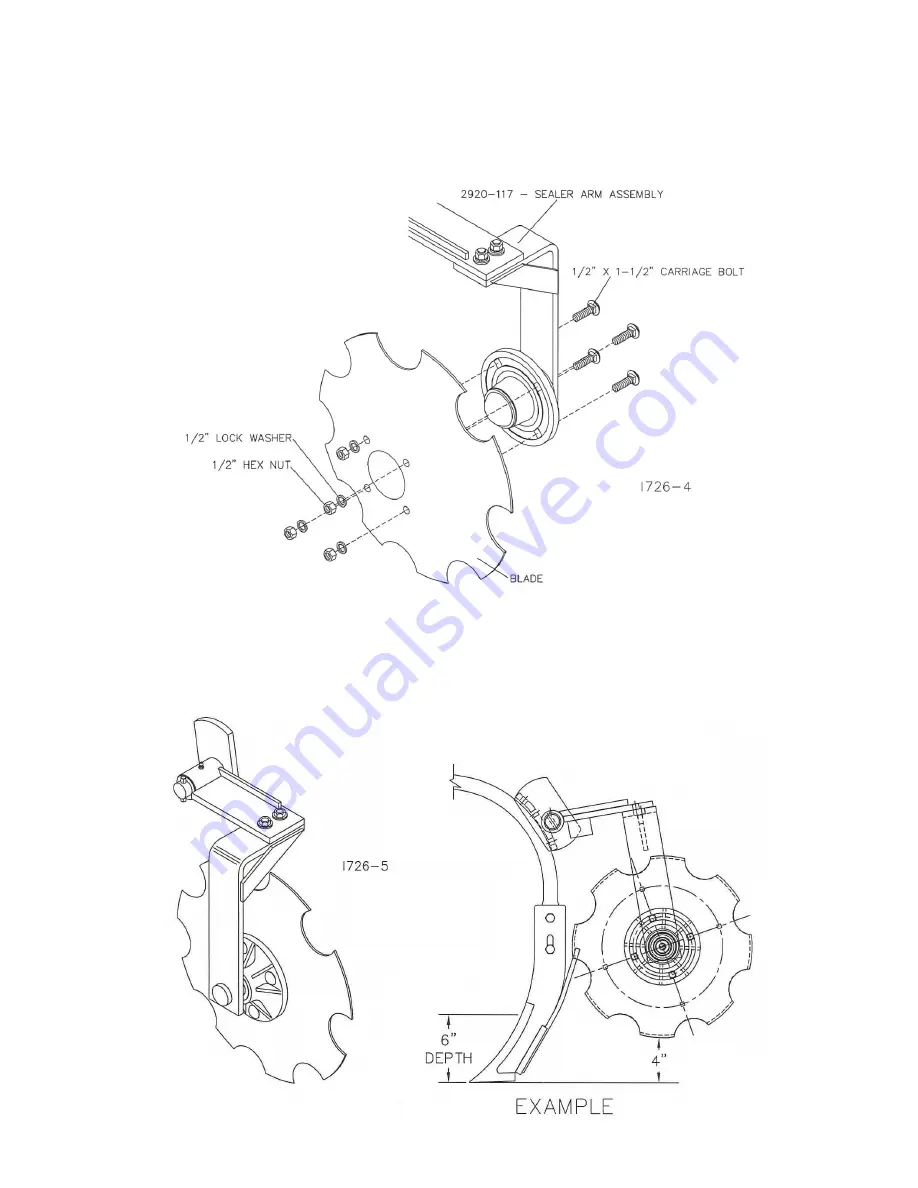
Attach the blade to the 2920-117 Sealer Arm Hub Assembly using the 4)
½” x 1-
1/2” carriage bolts, lock washers and hex nuts. Curved blades can be used with the cup
“in” toward the knife for the most aggressive adjustment or with the cup “out” away from
the knife for a less aggressive adjustment.
STEP 4.
“Barn Yard Setting” – set the sealer blade to 2” closer to the bottom of the knife
than the depth that the knife will be used at. Example: knife at 6” depth, set the blades to
4” above the bottom of the knife. Adjust the blade pitch as needed to cover the knife track
with soil. Tighten all hardware to the recommended amount of torque unless otherwise
stated.
Summary of Contents for MAX SEALER PLUS 2920 Series
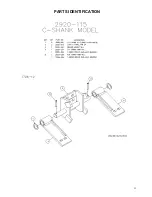
Page 9: ...9 PARTS IDENTIFICATION...
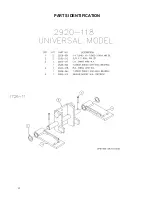
Page 10: ...10 PARTS IDENTIFICATION...
Page 11: ...11 PARTS IDENTIFICATION...
Page 12: ...12 PARTS IDENTIFICATION...
Page 13: ...13 PARTS IDENTIFICATION...
Page 14: ...14 PARTS IDENTIFICATION...
Page 16: ...16 2565 727_REV_C 09 2023...

