V. Application
1. Suitable for a variety of elements soldering and de-soldering such as: SOIC,
CHIP, QFP, PLCC, BGA (especially suitable for mobile phone board and cable
seat de-soldering).
2. For thermal shrinkage, drying, paint, adhesive removal, thawing, preheating,
welding glued.
VI. Air gun Holder Installation
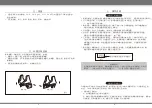
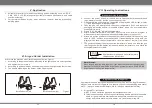
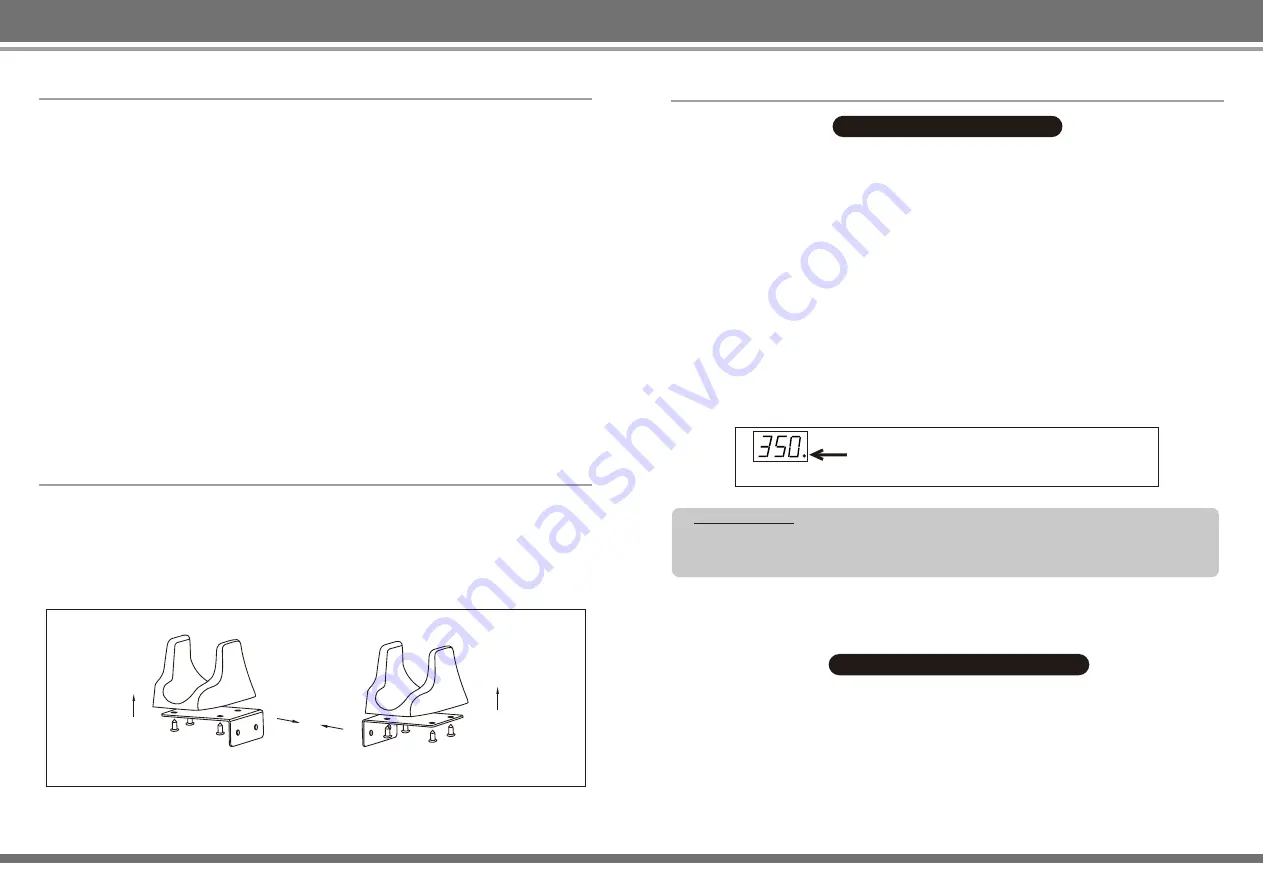
At first use the machine must install the gun holder, as Figure 1.
1. According to the personal habits, according to the figure shown in select position
and tighten the four screws.
2. According to personal habits, as shown in select position tighten the four screws.
3. The handle assembly on the holder, check if appropriate
Installed on the left
Installed on the right
Figure 1
Figure 2
Application of high-speed track temperature
compensation instructions
13
14
Upgrade version add to air gun manual /auto. conversion function ,toggle the panel
manual /auto. switch over toggle switch, then switch over corresponding work state.(
AUTO . is air gun automatic work state ,MAN. is air gun manual work state)
1. Air gun AUTO. work state:
A. AUTO. mode operation way same as the standard version .
B.This mode not suitable all-too-frequent soldering ,handle back into the handle
frame, air gun immediate start down to a sleep state, can effectively save
energy and reduce machine (host, heater, etc.) wear and prolong life.
When the gun and iron work together, if you want check each of them could be
press set to look it.( Rework blue bright mean gun temperature, SOLDER red
bright mean soldering iron temperature)
Warm Prompt:
VII. Operating Instructions
1. Connect the power supply, air nozzle device required (as far as possible use
large diameter nozzle), put the gun on the gun holder.
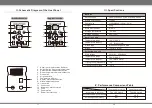
2. On power switch and gun switch, the beside of display blue LED bright, display
“---”, and then the gun at standby status.
3. Take the gun, the display show the preset temperature 2sec, and then start
heating up. Adjust the airflow for suitable airflow , when the gun temperature
steady start to work.
4. Press “UP”/ “DOWN”
adjust the temperature.
5. After Constant temperature, the lower right corner of point blink, program in
milliseconds to tracking and compensation the temperature.(as figure 2)
6. After work, put the gun back to the gun holder, the machine will stop heat up and
down to 100°C, and then into standby mode. If the soldering iron still in work, the
display will be show the iron temperature. If the iron also not work will be show
“---”
7. The gun into standby, if display show iron temperature, when you take the gun
from the gun holder the display will be show the gun temperature, and stard the
setting temperature for work.
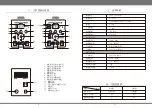
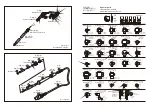
Standard version (Gun parts)
Upgrade version (Gun parts)

