YG125-30B
Maintenance Manual
Lubrication system
23
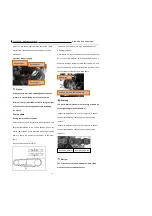
Steps for oil pump installation:
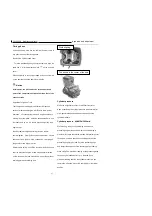
The installation procedures are the removal procedures in reverse order. Pay attention to the following points during the
installation:
1
、
The spare parts shall be clean and intact
;
2
、
Install clutch assembly, and the retaining nut M18 shall be coated with thread retaining adhesive LOCTITE243;
tightening torque: 114N.m -126N.m
;
3
、
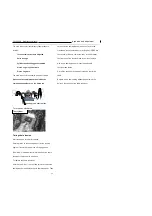
Install clutch push rod assembly
;
4
、
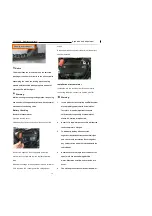
After the right crankcase cover is mounted in place, the angle and position of the clutch operating lever may
possibly change; readjustment shall be carried out to accommodate the adjustment of clutch control line
;
5
、
The seal washer at the bolt under the oil pump, shall be replaced with new ones.
;
6
、
Remember to refill engine oil after all these are completed.
。
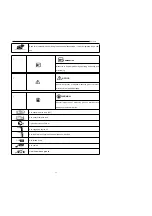
CAUTION
The clutch retaining nut must be screwed up to the specified tightening torque,must be applied to prevent the nut
from getting loose.
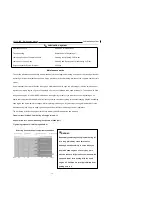
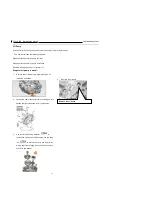
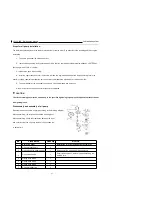
Disassembly and assembly of oil pump
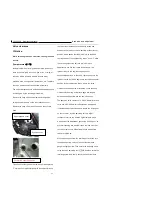
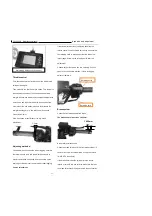
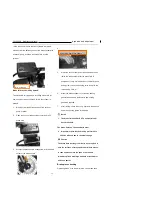
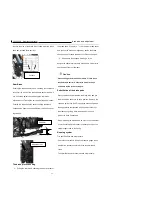
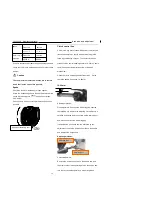
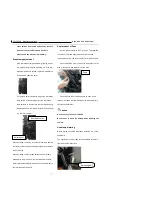
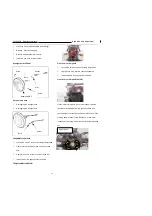
Disassemble and assemble oil pump according to the following diagram.
While assembling, the rotor shall be coated with engine oil.
While assembling, check the clearances between the inner
and outer rotors of the oil pump; replace it if it exceeds the
wearing limit.
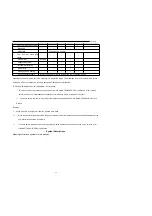
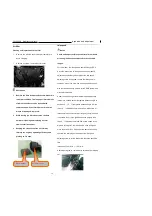
No.
Procedures
Quantity
NOTICE
Removing order
Installation is in the reverse order of removal
1
Oil pump location pin
2
2
Oil pump sealing paper gasket
1
Replace it with a new one while assembling
3
Oil pump assembly
1
Coat it with engine oil; replace it when exceeding the
wearing limit
4
Flange bolts M6*32
1
5
Flange bolts M6*50
1
6
Flange bolts M6*40
1
7
Oil pump rubber ring
3
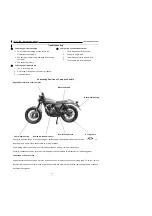
Summary of Contents for YG125-30B
Page 99: ...YG125 30B Maintenance Manual Frame and exhaust system 106 10 Frame and exhaust system...
Page 130: ...YG125 30B Maintenance Manual Illumination signal system 136 Circuit schematic drawing...
Page 141: ...YG125 30B Maintenance Manual Engine management system 147 Circuit schematic drawing...
Page 151: ...YG125 30B Maintenance Manual Electrical System Diagram 157 19 Electrical System Diagram...

