YG48Q-5AMaintenance ManualMagneto and starting system
85
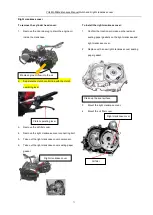
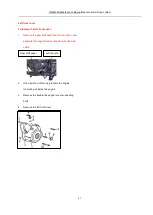
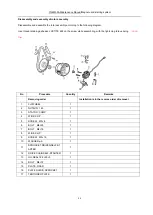
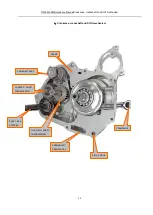
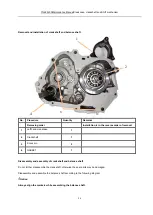
Starting motor and starting
Transmission system
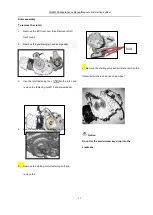
1.
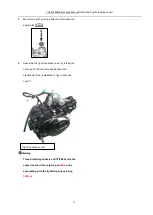
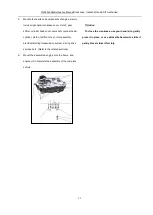
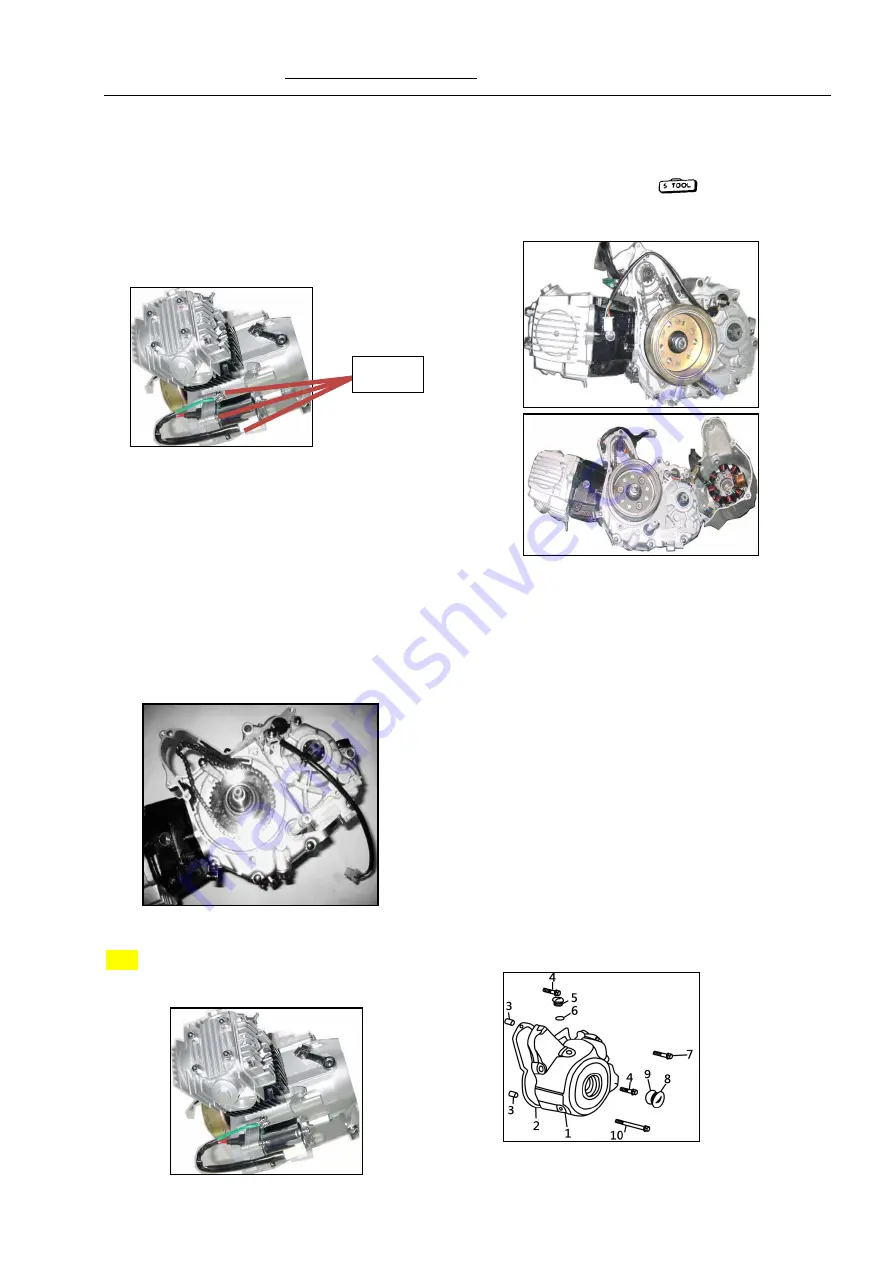
Remove the live wire and earth wire of the starting
motor.
2.
Remove the starting motor connecting bolt M6×25.
3.
Push the motor towards the right and lift it, and then
carefully take it out from the left side.
Installation is in the reverse order of removal
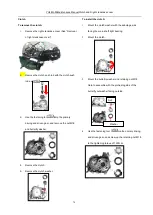
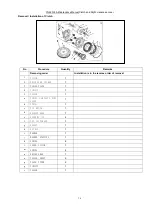
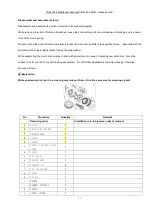
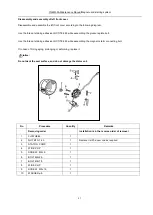
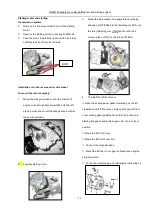
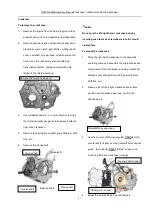
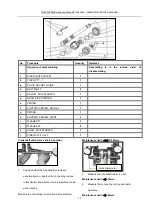
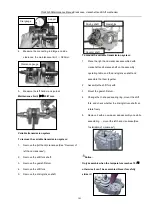
To mount the rotor assembly:
1.
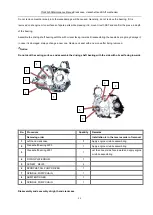
Mount the disk gear washer, coat the mixture of
engine oil and molybdenum disulfide onto the left
crank journal, and mount the disk gear and confirm
the semicircular key.
2.
ssembly starting motor
3.
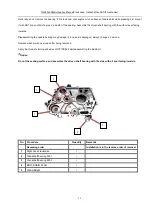
Mount the plain washer and apply thread retaining
adhesive LOCTITE648 to the fastening nut M10; use
the rotor fastening tool to fasten the rotor, and
screw up the nut M10 to the torque of 38N.m
4.
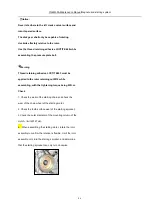
To install the left front cover:
⑴
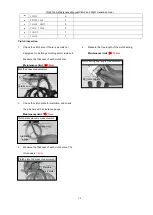
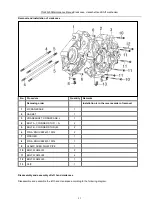
Clean the sealing paper gasket remaining on the left
crankcase and left front cover, replace with new left front
cover sealing paper gasket and confirm the location pin,
starting idle gear, double-linked gear, etc. are in correct
position.
⑵
Mount the left front cover,
⑶
Mount the left front cover bolt
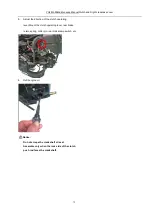
⑷
Connect the magneto leads.
⑸
Mount the left rear cover, gear shift pedal and engine
protection plate.
⑹
Put on the oil drain plug and refill engine lubricating oil.
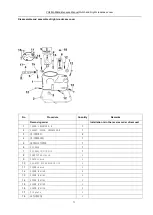
BOLT
Summary of Contents for YG48Q-5A
Page 38: ...YG48Q 5AMaintenance ManualFuel system 41 4 Fuel system...
Page 92: ...YG48Q 5AMaintenance ManualFrame and exhaust system 105 10 Frame and exhaust system...
Page 123: ...YG48Q 5A Maintenance ManualIllumination signal system 136 Circuit schematic drawing...
Page 126: ...YG48Q 5A Maintenance ManualIllumination signal system 139...
Page 133: ...YG48Q 5A Maintenance ManualEngine management system 146 Major parts and components...
Page 134: ...YG48Q 5A Maintenance ManualEngine management system 147...
Page 144: ...YG48Q 5A Maintenance ManualElectrical System Diagram 157 19 Electrical System Diagram...

