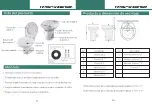
background image

7

8

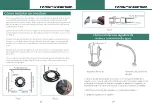
How to operate toilet

Winterization and Storage
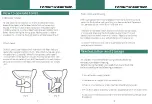
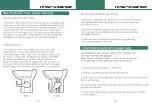
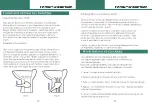
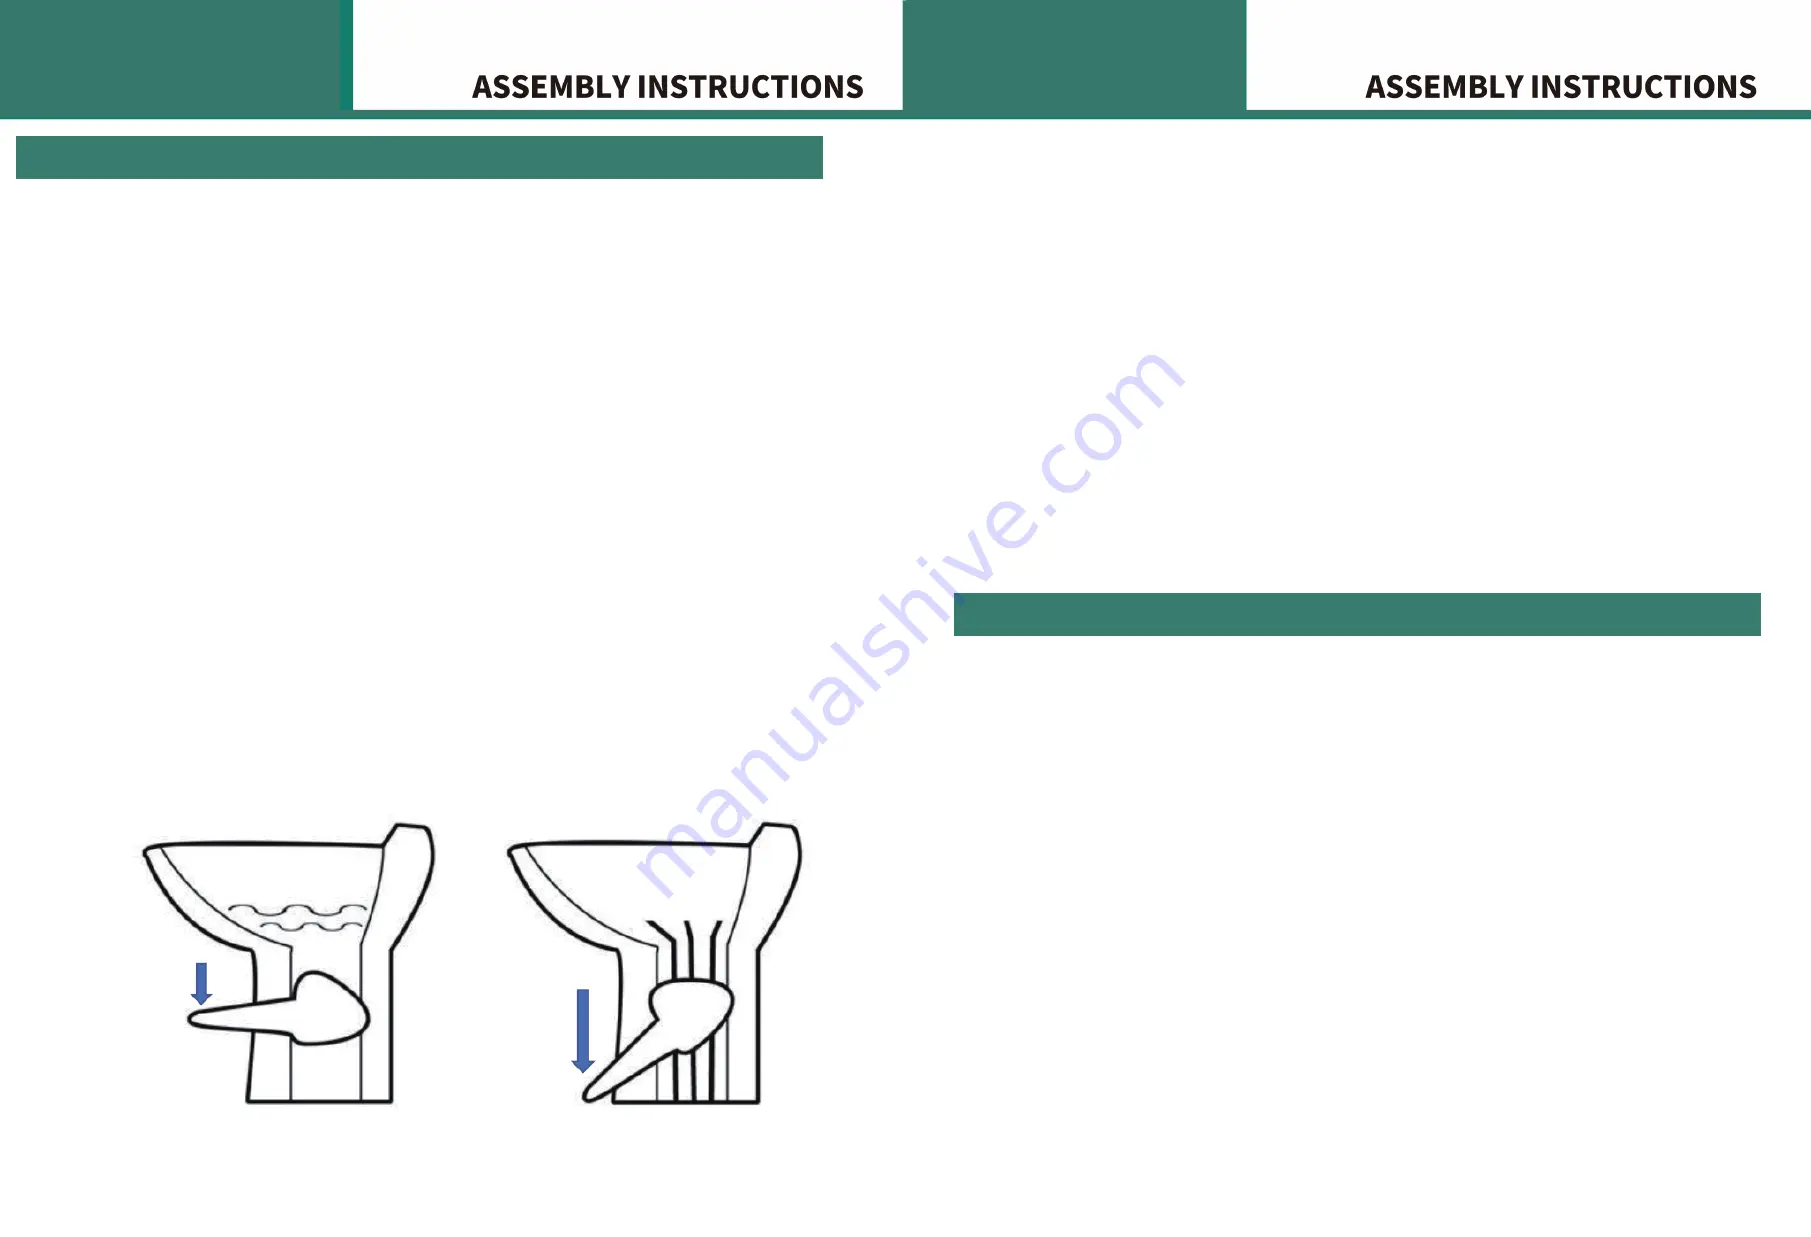
1.Add water to bowl

To add water to the toilet, press the flush pedal part way

down.Water flows into the bowl while flush valve remains

closed. If the flush valve moves,release on the pedal slight-

ly.Adding water to an empty bowl helps prevent holding tank

odors from entering the living space.Adding water is recom-

mended, that is prior to flushing solids and toilet paper.(Fig.4)

2.Flush toilet

To flush, press pedal down until it contacts the floor. Release 

pedal after completing flush (Fig.5). When flushing liquids, press 

the pedal for 1-2 seconds. When flushing solids, press pedal 

until contents in the bowl are rinsed. Flushing longer than nec-

essary will cause holding tank to fill too quickly. A small amount 

of water will collect in the bowl after flushing creates an airtight 

seal.

(Fig.4)

(Fig.5)

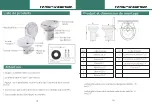
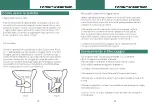
Flush valve/ seal cleaning

After a period of time, mineral deposits from hard water may build 

up on the flush ball or seal, resulting in a slow water leak.To prevent 

this, periodically clean the flush valve and seal.

1.Remove minor debris from the flush valve and seal by slowly

pressing and releasing the flush pedal several times.This will

loosen and rinse debris from the surfaces. Repeat several times

for stubborn buildup (use a soft bristle brush if necessary).

2.Lubricate the flush valve and seal periodically with silicone

spray or paste lubricant.

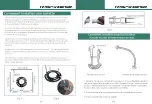
This toilet is not intended for using when exposed to 

temperatures below freezing.

Before storing the toilet, you need drain water from the 

toilet according to the following procedures.

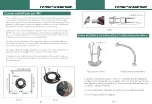
1.Turn off water supply to toilet.

2.Remove water supply line from water inlet.

3.Place a small container under inlet to collect draining water.

4.Press flush pedal and allow water to completely drain from water inlet.

5.Leave water line disconnected until the threat of freezing temperature

disappears.

Summary of Contents for BFTLPT-2008

Page 1: ...2 TOILETTE CON SCARICO A GRAVIT 1 SCHWERKRAFT SP LTOILETTE TOILETTE CHASSE D EAU PAR GRAVIT INODORO DE GRAVEDAD GRAVITY FLUSH TOILET BFTLPT 2008...

Page 2: ...ess the foot pedal to touch the ground until opening the ush valve 4 Ensure water supply pressure is no more than 0 4Mpa 5 Hot water more than 40 degrees is forbidden Product and mounting dimension Th...

Page 3: ...or ange Align holes in toilet base with T bolts as toilet is lowered onto oor ange 4 Install oor mounting nuts onto T bolts When tightening base should be securely attached and at against oor Attach b...

Page 4: ...5 Flush valve seal cleaning After a period of time mineral deposits from hard water may build up on the ush ball or seal resulting in a slow water leak To prevent this periodically clean the ush valve...

Page 5: ...n Sie das Fu pedal um den Boden zu ber hren und dadurch das Sp lventil zu nen 4 Stellen Sie sicher dass der Wasserzulaufdruck nicht h her als 0 4 MPa ist 5 Beachten Sie bitte dass das Verwenden von he...

Page 6: ...ss die Dichtung des Boden ansches an der Unterseite der Toilette installiert ist 4 Montieren Sie die Bodenbefestigungsmuttern auf die T Schrauben Beim Anziehen sollte der Sockel sicher befestigt sein...

Page 7: ...zu schnell Nach dem Sp len sammelt sich eine kleine Menge Wasser in der Sch ssel um sie luftdicht zu verschlie en Abb 4 Abb 5 Reinigung von Sp lventil und Dichtung Nach einiger Zeit k nnen sich Miner...

Page 8: ...ur la p dale pour toucher le sol jusqu l ouverture de la valve de chasse 4 Assurez vous que la pression d alimentation en eau ne d passe pas 0 4 MPa 5 L eau chaude de plus de 40 degr s est interdite P...

Page 9: ...la toilette est abaiss e sur la bride de plancher 4 Installez les crous de montage au sol sur les boulons en T Lors du serrage la base doit tre solidement x e et plat contre le sol Fixez les couvercl...

Page 10: ...a vanne de chasse joint Apr s un certain temps des d p ts min raux provenant de l eau dure peuvent s accumuler sur la boule de chasse ou le joint en tra nant une lente fuite d eau Pour viter cela nett...

Page 11: ...se 3 Premere il pedale del piede per toccare il suolo no all apertura della valvola di scarico 4 Assicurarsi che la pressione di alimentazione dell acqua non sia superiore a 0 4 MPa 5 L acqua calda ol...

Page 12: ...ura la toilette sulla angia del pavimento allineare i fori nella base della toilette con i bulloni a T 4 Installare i dadi di montaggio a pavimento sui bulloni a T Fissare saldamente sul pavimento dur...

Page 13: ...i tempo i depositi minerali dell acqua possono accumularsi sulla sfera di scarico o sulla guarnizione provocando una lenta perdita di acqua Per evitare ci pulire periodicamente la valvola di scarico e...

Page 14: ...tes est n incluidos 3 Presione el pedal para tocar el suelo hasta que se abra la v lvula de descarga 4 Aseg rese de que la presi n del suministro de agua no sea superior a 0 4 MPa 5 El agua caliente a...

Page 15: ...bre el reborde del suelo 4 Instale las tuercas de montaje en el suelo en los pernos en T Al apretarlas la base debe quedar bien sujeta y plana contra el suelo Coloque las tapas de los pernos en las tu...

Page 16: ...de descarga junta Despu s de un per odo de tiempo los dep sitos minerales del agua dura pueden acumularse en la bola de descarga o en el sello dando lugar a una fuga de agua lenta Para evitarlto limp...

Reviews: