IM 12B6K3-E-E
17
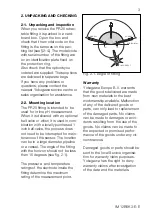
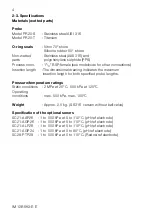
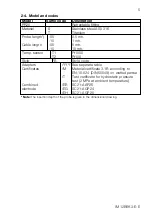
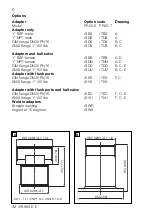
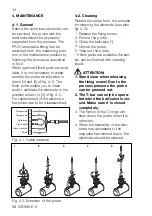
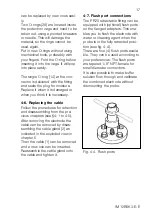
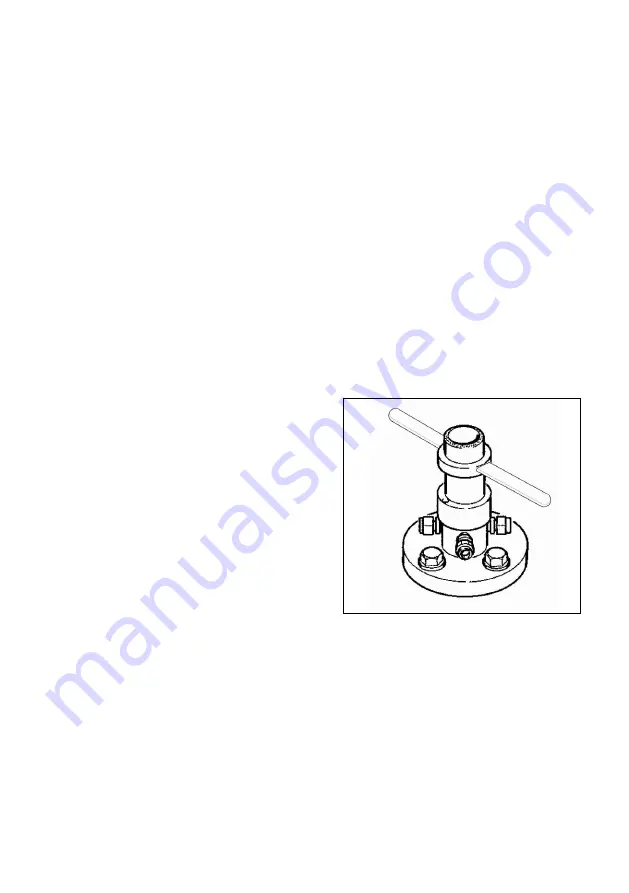
Fig. 4-4. Flush ports
can be replaced by new ones easi-
ly.
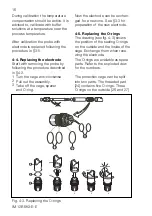
Two O-rings [28] are located inside
the protection cage and need to be
taken out, using a pointed tweezers
or needle. This will damage the
material, so the rings cannot be
used again.
Put in new O-rings without using
mechanical tools, preferably with
your fingers. Fold the O-ring before
inserting it into the cage. It will pop
into place easily.
The single O-ring [14] at the con-
nector is delivered with the fitting
and seals the plug for moisture.
Replace it when it is damaged or
when you think it is necessary.
4-6. Replacing the cable
Follow the procedures for retraction
and disassembling from the pre-
vious chapters (see §4-1 to 4-5).
After removing the electrode the
cable can be removed by disas-
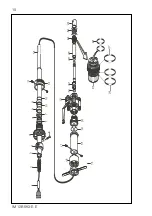
sembling the cable gland [2] as
indicated in the exploded view in
chapter 5.
Then the cable [1] can be removed
and a new one can be inserted.
Reassemble the cable gland onto
the cable and tighten it.
4-7. Flush port connections
The PR20 retractable fitting can be
equipped with (optional) flush ports
on the flanged adapters. This ena-
bles you to flush the electrode with
water or cleaning agent when the
probe is in the fully retracted posi-
tion (see fig. 4-4).
There are four (4) flush ports availa-
ble. They can be used according to
your preferences. The flush ports
are tapered 1/8" NPT-female for
small diameter connectors.
It is also possible to make buffer
solution flow through and calibrate
the combined electrode without
dismounting the probe.

