<7. MAINTENANCE>
7-9
IM 12E04A02-02E
7.8 Cleaning of Lenses
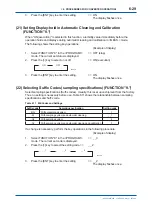
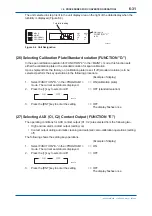
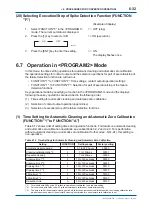
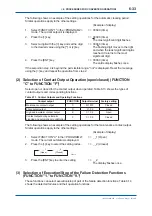
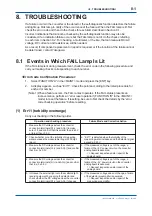
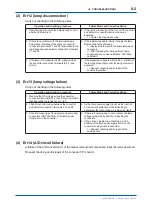
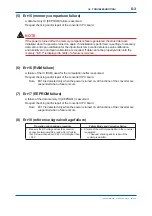
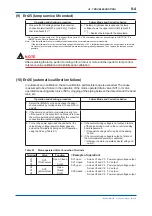
1. Select the <MAINT.> mode and turn off the power switch.
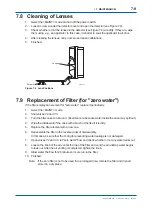
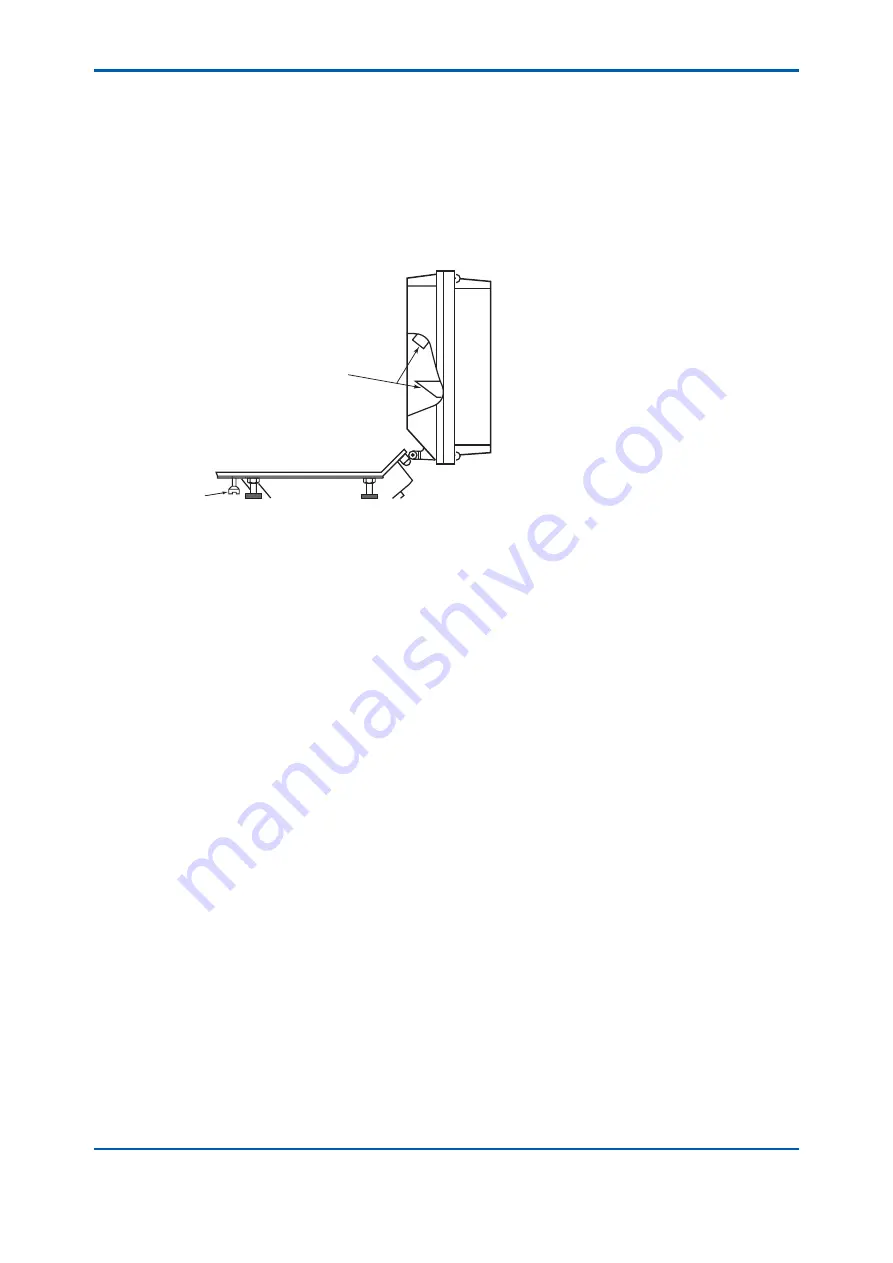
2. Loosen screw A under the detector cover and open the detector (see Figure 7.4).
3. Check whether or not the lenses in the detector (see Figure 7.4) are dirty. If they are, wipe
them using, e.g., an applicator. In this case, it is better to soak the applicator in alcohol.
4. After cleaning the lenses, carry out zero and span calibrations.
5. Finished.
F0705.ai
Screw A
Lenses
Figure 7.4 Lens Positions
7.9 Replacement of Filter (for "zero water")
If the
fi
lter employs an element for "zero water", replace it periodically.
1. Select the <MAINT.> mode.
2. Shut valves V2 and V3.
3. Turn
the
fi
lter case to remove it. (Exercise care because water inside the case may spill out.)
4. Wipe the inside wall of the case with a brush or the like if it is dirty.
5. Replace
the
fi
lter element with a new one.
6. Reassemble
the
fi
lter in the reverse order of disassembly.
In this case, be sure that the O-ring for preventing water leakage is not damaged.
7. Open valves V2 and V3, let "zero water"
fl
ow and check whether or not any water leaks out.
8. Loosen the knob of the air vent at the top of the
fi
lter and vent the air until tap water begins
to leak out. After the air venting is completed, tighten the knob.
9. Allow water the
fl
ow for 20 minutes or more run-in the
fi
lter.
10. Finished.
Note: If the zero
fi
lter is not to be used for a prolonged time, remote the
fi
lter and dry and
store it in a dry place.
3rd Edition : May. 31, 2010-00
Summary of Contents for Vigilant Plant EXA TB Series
Page 49: ...Blank Page ...
Page 59: ...Blank Page ...
Page 119: ...Blank Page ...
Page 125: ...Blank Page ...
Page 127: ...Blank Page ...
Page 133: ...Blank Page ...

