background image

5

COMMENTS/QUESTIONS? EMAIL SUPPORT@YOLOBIKE.COM

Your bike has been largely pre-assembled and only requires a few additional 
assembly steps before you’re ready to ride. 

1. Open the bike box from the top.

2. Locate and set aside the bundles of pedals and 
reflectors. 

3. Remove/pull/slide the new bike away 
through the top of the opened box and 
then stand the bike frame upright with the 
kickstand down. 

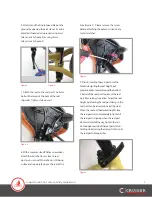
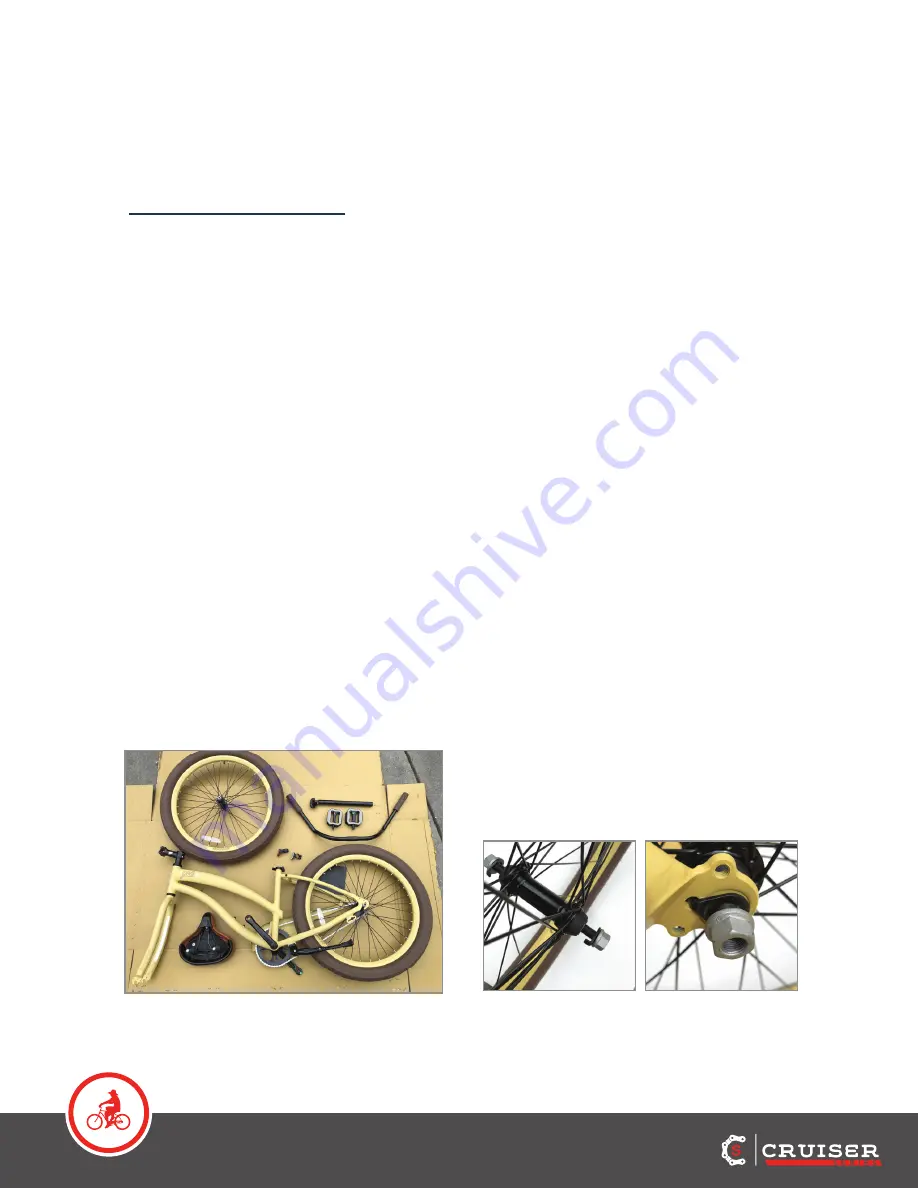
4. Carefully remove all packaging materials 
from around the bike, taking care to avoid 
scratching the frame with any sharp or metal 
tools (Figure 1). Please follow the guidelines 
below for correct assembly. 

A S S E M B L Y   I N S T R U C T I O N S

5. Attach the front wheel:

a. Loosen the axle nuts until they are almost 

removed, but leave them on (Figure 2).

b. Be sure and match the tread pattern of the 

rear wheel before attaching the front wheel. If 

you are unsure, on the side of the tire there is a 

marking that says drive and an arrow pointing 

which direction the wheels should turn.

c. Grab the wheel and hold it into the dropouts 

(bottom upside down “U” of the front fork).

d. Place the lawyer tabs into the middle hole 

by the dropout.  These are the black washers 

with tabs that are closer than the nuts as 

observed at middle of the rear hub (Figure 3).

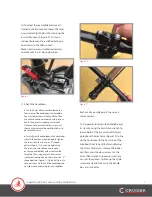
e. Hand tighten the nuts until the front wheel 

can stay in the dropouts. Then grab the 15 

mm wrench and strongly tighten both sides 

(down to 30 nm if using a torque wrench), 

alternating back and forth to ensure both axle 

nuts are evenly tight. Be sure that the front 

wheel is evenly spaced inside the front fork 

from left to right.

Please check before each ride. 

Figure 1

Figure 2

Figure 3

Summary of Contents for CRUISER Series

Page 1: ...1 COMMENTS QUESTIONS EMAIL SUPPORT YOLOBIKE COM O W N E R S M A N U A L...

Page 2: ...________________9 OPERATINGYOURNEWYOLO BIKE BRAKES________________________________________________________________11 TIRES__________________________________________________________________11 KICKSTAND...

Page 3: ...with the highest standards of quality Since 2007 our Tribe has grown to include team riders and ambassadors independent retailers SUP events yoga or kid s camps or those who ve joined us for uncommon...

Page 4: ...single speed bike with rear tire on Front tire Small box containing bundles of two pedals and two red and white reflectors Seat Seat post Handle bar WHAT YOU WILL NEED FOR ASSEMBLY 15mm open end or s...

Page 5: ...ut leave them on Figure 2 b Be sure and match the tread pattern of the rear wheel before attaching the front wheel If you are unsure on the side of the tire there is a marking that says drive and an a...

Page 6: ...ostisslippingwhentheseatpost clampisclosedalltheway tightenthenut ontheoppositesideoftheseatpostclamp holdingwhileturningtheclamp Dothisuntil theseatpostnolongerslips 6 Safely stand the Single Speed b...

Page 7: ...th your hand slowly begin to tighten the screws into the stem in an X shaped pattern Figure 10 As you are tightening the screws be sure to keep an even gap on the top and bottom of the stem and the fa...

Page 8: ...ecommended up to 30 PSI You should monitor regularly to ensure the best performance from each tire Correct tire pressure is critical to the peak performance of the bike 14 Attach the white reflector t...

Page 9: ...mmended MECHANICAL SAFETY CHECK Inspect your bike regularly before riding Make sure no hardware or connections are loose Keeping your bike well maintained keeps your bike safer to ride and reduces cha...

Page 10: ...ght of approximately 275 lbs Exceeding the maximum weight can result in damage to the bike or injury WARNING UNDERSTAND THE RISKS AND USE EXTRA CAUTION Your insurance policies may not provide coverage...

Page 11: ...is recommended at 30 PSI KICKSTAND TheYOLO Single Speed bike is equipped with a heavy duty aluminum alloy kickstand The kickstand is designed to hold an unmounted bike in the upright position You shou...

Page 12: ...rts with anti rust treatment Damage from corrosion is not covered under warranty so special care should be given to extend the life of your bike when used in coastal areas or areas with salty air or w...

Page 13: ...fective part or parts damaged during shipping If the product cannot be repaired after reasonable attempt at the discretion ofYOLO Bike Co we will work with every customer to provide a satisfactory res...

Page 14: ...ponsible for any direct indirect or consequential damages including without limitation damages for personal injury property damage or economic losses whether based on contract warranty negligence or p...

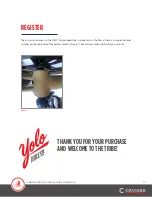
Page 15: ...is serial numbers on theYOLO Single Speed bike in a location On the frame there is an engraved serial number on the underside of the bottom bracket Figure 1 Record your serial number for your records...

Reviews: