SHOULD YOU REQUIRE ANY ASSISTANCE REGARDING THIS PRODUCT PLEASE CONTACT YORK DIRECTLY.
*
*
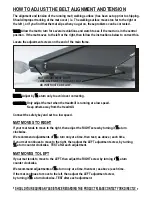
HOW TO ADJUST THE BELT ALIGNMENT AND TENSION
MAT MOVES TO RIGHT
If your mat tends to move to the right, then adjust the RIGHT screw by turning it
½
a turn
clockwise.
½
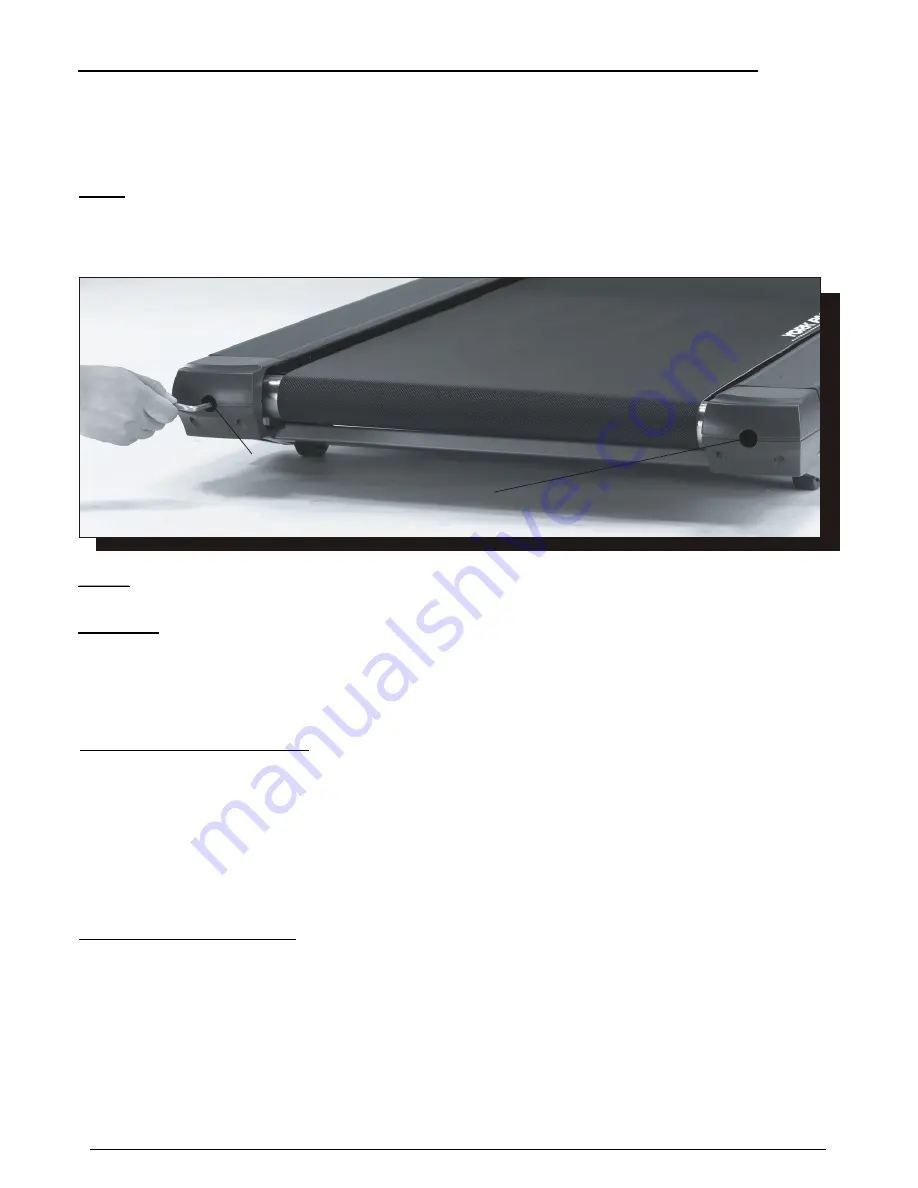
MAT ADJUSTMENT BOLTS
- USE ALLEN KEY TO ADJUST MAT
AS INSTRUCTED BELOW.
The alignment and tension of the running mat ( walking surface ) has been set up prior to shipping.
Should improper tracking of the mat occur ( ie. The walking surface moves too far to the right or
the left ), or if you find that the mat slips when you get on, these problems can be corrected.
TEST: Allow the mat to turn for several revolutions and watch to see if the mat runs in the central
position. If the mat moves to the left or the right, then follow the instructions below to correct this.
Locate the adjustment screws on the end of the main frame.
TEST:
NOTE: Adjust by
½
a turn only to avoid over correcting.
CAUTION: Only adjust the mat when the treadmill is running at a low speed.
Keep others away from the treadmill.
Connect the safety key and set to a low speed.
NOTE:
½
CAUTION:
If the mat continues to move to the left, then adjust the LEFT adjustment screw,
by turning it
½
a turn clockwise. TEST after each adjustment.
½
We recommend adjustments of
½
a turn only at a time, then test ( as above ) each time.
½
MAT MOVES TO LEFT
If your mat tends to move to the LEFT, then adjust the RIGHT screw by turning it
½
a turn
counter clockwise.
½
If your mat continues to move to the right, then adjust the LEFT adjustment screw, by turning
½
a turn counter clockwise. TEST after each adjustment.
½
We recommend adjustments of
½
a turn only at a time, then test ( as above ) each time.
½
Summary of Contents for Pacer 5000 HRC
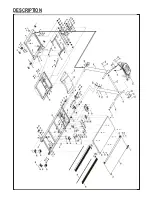
Page 7: ...DESCRIPTION ...


